
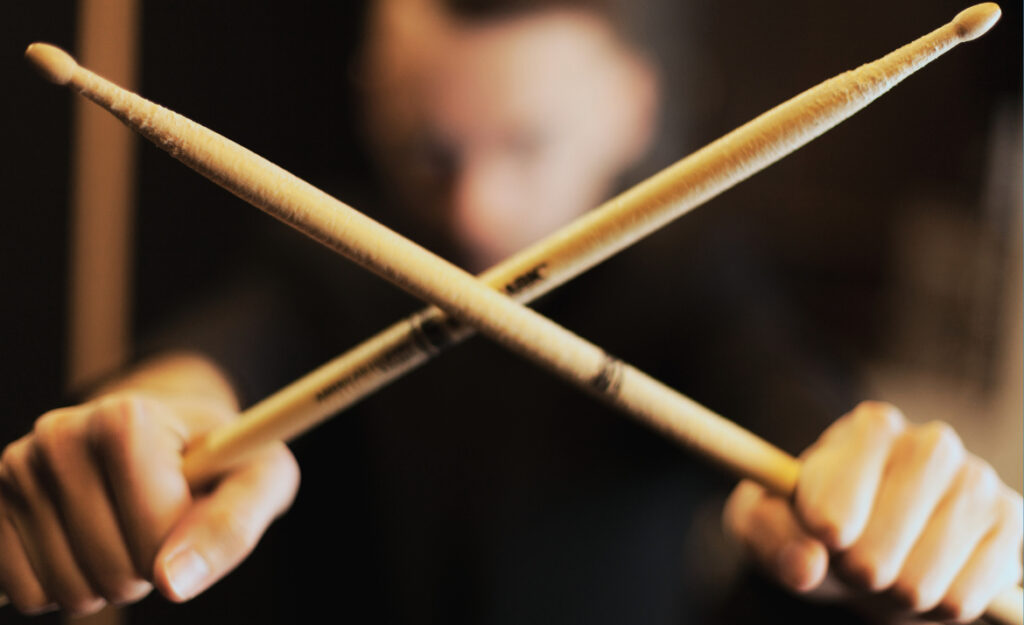
Pulling battered drumsticks from a stick bag reminds drummers that good tools deserve care. When you clean drumsticks regularly, you avoid sticky buildup, preserve grip, and make each pair last longer. These practices fit any schedule, too.
Drummers know every pair tells a story of gigs, practice, and hard-earned calluses. Yet clean drumsticks not only ensure gear stays reliable but also protect your investment—making replacement less frequent. Consistency here pays real dividends.
This guide reveals practical methods and small tweaks that help drummers keep sticks performing at their best. Explore detailed, step-by-step advice, memorable analogies, and real-life scenarios for maintaining drumsticks with confidence.
Effective Daily Habits Keep Drumsticks in Top Shape
Applying quick routines makes clean drumsticks an effortless part of your practice. This section provides step-by-step daily care, exact scripts for what to check, and a comparison table for cleaning methods.
Small, regular actions prevent grime and sweat from damaging wood or finish. Choose a few to make a real difference every time you play.
Visual Check and Immediate Actions
Glance over your sticks for new chips or sticky spots when finishing a session. If your hands feel different mid-song, pause to inspect. “Oops, a splinter!” means it’s time to file it down before packing up.
If you see sweat marks or sticky residue near the grip, use a microfiber cloth to wipe it off straight away. This stops acids from sinking in and prevents stubborn buildup over time. Even on busy days, this takes just seconds.
Regular check-ins reveal wear-and-tear before it impacts your playing. Make “clean drumsticks” part of your post-practice ritual—like carefully rolling up cables—so you never need to guess if your gear is ready.
Wiping and Spot Cleaning: Details Matter
After wiping with a dry cloth, look for visible dirt on the shaft. Use a slightly dampened cloth (water only, avoid chemicals) to remove smudges, especially near logos where grime collects. Always dry sticks thoroughly to prevent swelling.
For sticky residue left by tape or sweat, gently rub those spots with a mix of mild soap and water on a cloth. Wipe, rinse, and dry swiftly. This focused cleaning keeps sticks smooth and preserves their feel.
Finishing with a clean, dry cloth ensures your next session starts with fresh, responsive sticks. These small touches add visible longevity, making each pair last for months instead of weeks.
| Cleaning Method | Tools Needed | Best For | What to Do Next |
|---|---|---|---|
| Dry Cloth Wipe | Microfiber cloth | Grip area after playing | Store in bag after fully dry |
| Damp Cloth Clean | Soft cloth/water | Visible grime or sticky areas | Dry with towel, air out |
| Soap Spot-Clean | Mild soap/cloth | Heavy residue or tape gunk | Rinse, dry, check logos |
| Fine Sanding | Fine-grit sandpaper | Small splinters or rough edges | Wipe dust, test grip |
| Alcohol Wipe | Isopropyl pad | Disinfecting without soaking | Air dry, avoid overuse |
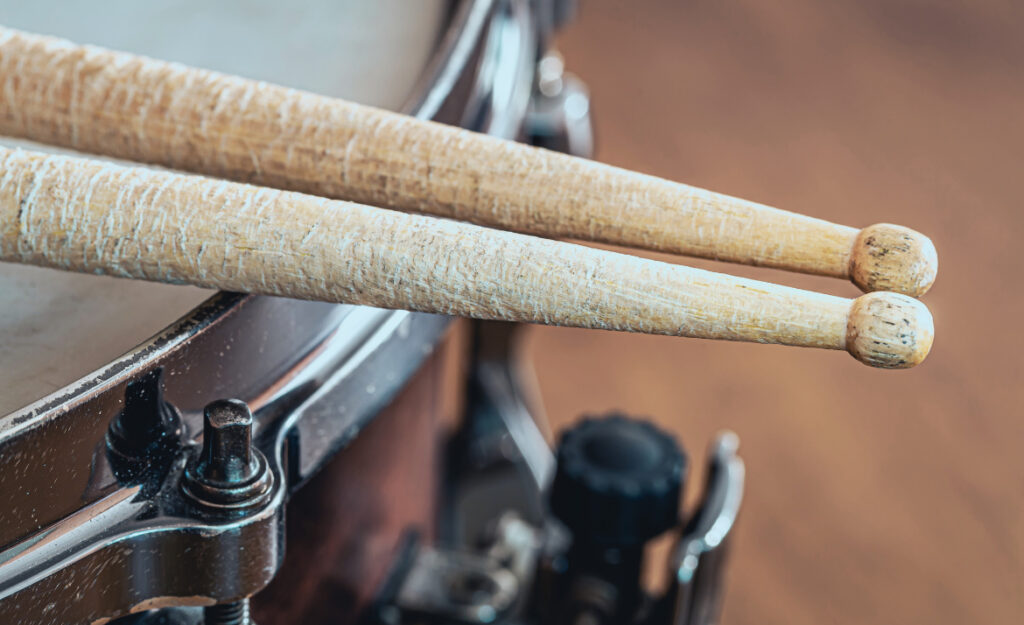
Storage Tweaks Prevent Avoidable Wear and Tear
Placing clean drumsticks in proper storage keeps them straight, smooth, and game-ready. Explore proven container choices, step-by-step storage scripts, and why certain habits work better.
Proper storage turns five minutes into six months of peace-of-mind—no more warped or dusty sticks when it matters.
Simple Storage: What Actually Works
Open stick bags let air circulate, preventing trapped moisture. Stand drumsticks upright in a closed tube or case only when they’re completely dry. These habits keep sticks from warping, which can quickly ruin a favorite pair.
- Place clean drumsticks tip-up in a breathable holder at home. This keeps sticks off dirty surfaces and lets them air-dry between gigs or sessions.
- Rotate sticks in your stick bag after each practice. This distributes usage evenly and prevents any pair from wearing out due to friction in the same spot.
- Separate damaged sticks from fresh pairs as soon as you notice dents or splinters. Immediate sorting prevents accidental use and reduces risk of grip irritation or hand injuries.
- Avoid leaving drumsticks in hot cars or direct sunlight after a show. Heat warps wood and makes both tips and shafts more likely to crack.
- Check stick bags frequently for moisture or debris. Empty crumbs or wipe out spilled liquids promptly to keep all drum gear clean and fresh.
When you build these habits, your next rehearsal always starts with unwarped, responsive sticks, while reducing unplanned expenses on replacements.
Supplement with Care: Do Not Overlook Bag Cleanliness
Wipe down the interior of your stick bag monthly with a damp cloth. Let it dry fully to avoid mildew. This prevents unseen dirt from clinging to clean drumsticks and negates your careful cleaning efforts.
- Invert the bag over a trash can to remove loose debris such as wood chips or dust. This ensures your clean drumsticks stay free of grit.
- Use a handheld vacuum to remove crumbs or deep-seated dust along seams and zippers. It preserves the fresh feel inside your bag.
- Open zippers and pockets fully to check for hidden moisture. Blot wet spots and let the bag air out in a dry place before returning sticks.
- Add a small, natural moisture absorber to your stick bag if you live in a humid area. This keeps wooden sticks from softening or swelling between sessions.
- Consider using odor-absorbing sachets to avoid musty odors transferring to drumsticks, especially after sweaty summer gigs.
By consistently maintaining stick bags, you’ll notice all your clean drumsticks stay fresh even after months of heavy use.
Treating Sticks with Oils and Finishes Extends Lifespan
Occasional oiling or finishing prolongs the life of clean drumsticks—especially wooden models. This prevents cracking and offers a grip customized to your hands.
Simple oils and waxes add a layer of protection, reducing drying or premature splintering that can occur in harsh climates or heavy drumming cycles.
Using Wood Oils Thoughtfully
Apply light coats of pure linseed or tung oil using a lint-free cloth. This step moisturizes clean drumsticks, sealing out humidity fluctuations. Let the oil soak for several hours, then gently buff off excess before using.
Reapply oil every few months based on your environment and playing intensity. Watch for subtle darkening—this is normal—and listen for a slightly muffled click from sticks, indicating moisture resistance is working.
Choose unscented, food-safe oils without additives. These keep the grip safe for sweaty hands and preserve natural stick feel, as opposed to overly glossy or sticky finishes.
Adding Wax for Enhanced Grip
Naturally derived stick waxes can be gently buffed into the grip area of clean drumsticks. Rub the wax in, let it settle, and wipe lightly. This helps hold chalk or powder if you use it.
Too much wax feels slippery or tacky; use a small amount and test playing for 10 minutes to see if the balance suits your preference and drumming intensity.
Compare waxed sticks with unwaxed ones: listen for any difference in squeaks or snags while practicing, then choose the grip texture that keeps your hands relaxed.
Handling and Rotation: Reduce One-Sided Wear on Sticks
Consistent handling and regular stick rotation minimize flat spots, even for heavy hitters. Making this second nature preserves your clean drumsticks’ balance and overall feel from one session to the next.
Slight stick rotation between sets—even mid-song—ensures each drumstick wears evenly, improving both control and resilience.
Adopt Rotation Habits during Solos and Practice
After a fill or energetic solo, spin each stick in your hand before resetting your grip—this mimics natural movement, reducing concentrated impact and helping sticks last weeks longer.
While practicing rudiments, swap sticks between left and right hands every few minutes. This exposes both ends and sides to sunlight, sweat, and surface contact, distributing wear instead of letting any single spot deteriorate quickly.
Pay attention to subtle grip changes during different song sections, using it as a cue to intentionally rotate sticks—taking advantage of downtime to boost longevity in real-world gig scenarios.
Use Markings for Rotation Consistency
Add a small, removable mark (such as a dot of colored tape) near the butt end of each stick. Rotate the marking quarterly (like on tires) to ensure even wear across the full circumference.
At each practice break, check which side of the marking was down and move it 90 degrees. This visual reminder makes stick health checks quick and effective, without interrupting workflow.
This system works well in dimly lit venues and on tour, so your clean drumsticks always hit the right balance between durability and feel, no matter the session’s length or style.
Identifying When to Repair or Retire Drumsticks
Knowing exactly when to repair clean drumsticks or replace them keeps your playing safe and consistent. Use this checklist to spot signs of trouble and act before damage escalates.
Visible splinters, severe taper cracks, or deeply chipped tips mean it’s time to retire that pair. Repairs solve only minor issues, such as small rough patches or light edge chipping.
Quick-Repair Scripts for Minor Issues
If you notice a small splinter, sand the affected area with extra-fine sandpaper. Wipe away dust and test grip comfort during a single lick—a fresh, smooth surface tells you it’s ready for play again.
Use a dab of wood glue for shallow cracks away from striking surfaces. Hold the area until set—usually a few minutes—then let it dry overnight before using in a rehearsal setting.
Reserve “repaired” pairs for backup use, not for major gigs or recordings. This reduces risk if a stick does fail unexpectedly, while extending its service-life mid-practice.
Conclusion: Championing Clean Drumsticks for Every Drummer
Making clean drumsticks a habit pays off with better grip, more reliable tone, and a longer stick lifespan—saving both time and money for drummers at any skill level.
Every detail, from storage tweaks to spot-cleaning after practice, drives enjoyable, uninterrupted sessions. Personalizing care routines demonstrates respect for the craft and for fellow players.
Consistency in these actions means your drumsticks stay responsive, balanced, and ready for the next creative challenge—no need for guesswork or rushed last-minute replacements.