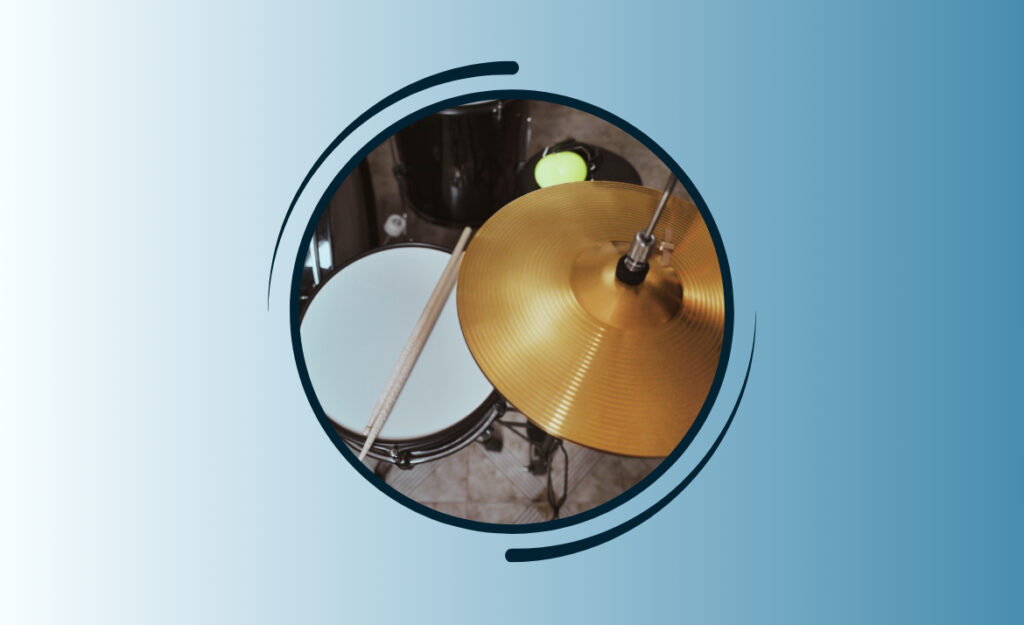
Every drummer knows the feeling—a sluggish pedal that won’t keep up, sapping your kick’s energy no matter how hard you play. A clean drum pedals routine can bring snap and punch back, transforming every beat.
When you prioritize maintenance in your setup, reliable, lightning-fast response becomes the norm. Clean drum pedals can mean the difference between a muddy groove and a mix-piercing thump that makes heads move.
Ready to tighten up your kick and enjoy that crisp rebound again? Let’s explore exactly how to restore your pedals’ power and unlock your kit’s real potential with a few simple upgrades.
Pinpointing Hidden Issues: Clear Out the Problems First
The first step to rejuvenating your pedal is finding what’s slowing it down. Squeaks, sluggish returns, and sticky footboards all have a root cause—and it’s usually old grime or buildup. Cleaning is a direct route to better performance.
Whether it’s a single or double pedal, accumulated debris changes how your foot interacts with the mechanism. Removing that gunk lets springs do their job and gives your footboard back its snap—turning a lazy pedal into a lively one.
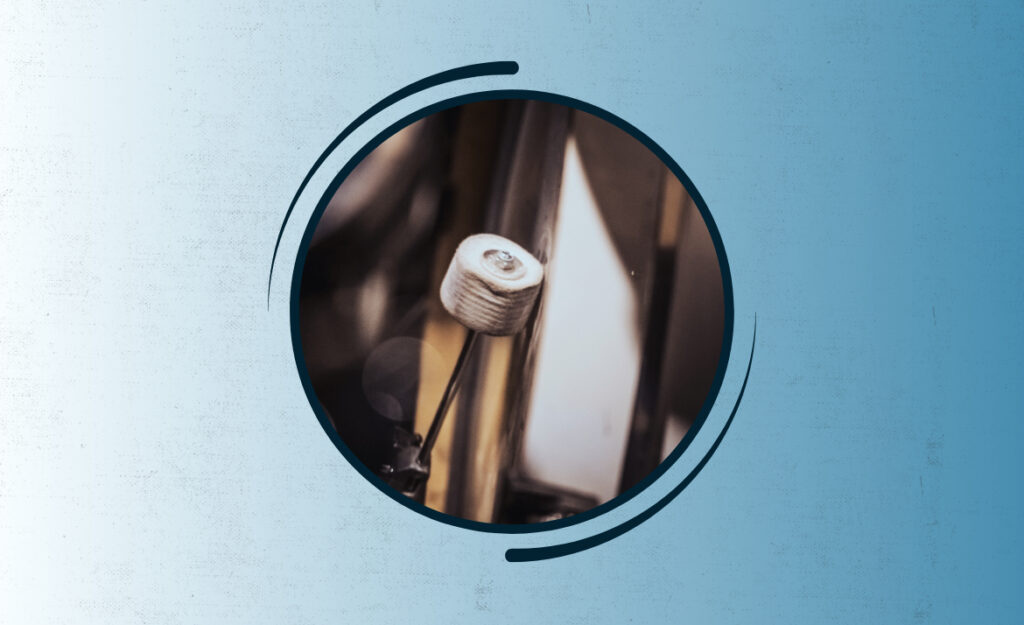
Recognizing Mechanical Friction in Your Pedal
A great way to spot friction is to slowly move the footboard without a beater. If it sticks or doesn’t return smoothly, debris or dried grease could be to blame. This cue tells you to inspect joints next.
Wobbling the connecting rod on double pedals can reveal hidden binding inside the linkage. Notice minor resistance or any faint grinding sound. Take that as your sign to focus cleaning there before adjusting tension.
After playing for an hour, looseness or uneven motion means the mechanical friction is stealing energy. Immediate cleaning makes every movement efficient, so you’ll notice more power with less effort.
Zeroing In on Unstable Pedal Feel
If your beater rebounds differently each time, check under the footboard and at the hinge. Dirt here changes your muscle memory, leading to unpredictable performance. Removing grime in these spots resets pedal feel.
A drummer noticing unexpected pedal noises between songs should look underneath for threads or washers jammed with fibers. Careful cleaning here restores true action without mystery sounds. It’s a fast boost for focus.
When your bandmate says, “Your pedal sounds stuck,” treat that feedback as your cue for deeper cleaning, especially at pivot points. Most come back to life after a few targeted wipes and lubricating pivots.
| Problem Area | Symptom Noticed | Quick Fix | What to Do Next |
|---|---|---|---|
| Hinge/Footboard | Sticky or uneven rebound | Clean thoroughly with cotton swab | Check with foot pressure after cleaning |
| Beater Shaft | Noisy “clicks” or slow response | Remove, wipe, and re-seat | Test single strikes with hand |
| Spring Assembly | Squeaky or lopsided return | Spray light lubricant, wipe excess | Adjust tension if needed |
| Connecting Rod (Double Pedal) | Laggy left pedal, loose connection | Disassemble and clean joints | Ensure tight fit when reattaching |
| Surface Contact Area | Slippery or dirty feel | Use a damp cloth, dry completely | Play a groove to check feel |
Optimizing the Clean Drum Pedals Process: Supplies and Safe Steps
Using reliable tools and supplies ensures your clean drum pedals routine makes things better, not worse. Smart choices prevent chemical or residue damage, so your hardware lasts longer.
Misusing household cleaners leaves streaks or—worse—corrodes metal. Always opt for drum-specific lubricants and non-abrasive cloths to preserve that responsive factory finish on your pedal’s moving parts.
Essential Kit Preparation
Keep everything you’ll need within arm’s reach: soft brushes for dust, cotton swabs for pivots, microfiber towels for metal, and isopropyl alcohol for heavy crud. You’ll avoid extra mess and streamline every cleanup session.
- Soft brushes remove dust before it scratches surfaces; always brush gently but thoroughly across seams and threads for full coverage.
- Microfiber towels lift grime from metal parts without leaving fibers or streaks—perfect for a gleaming pedal after cleaning.
- Cotton swabs reach tight hinges and under footboards, erasing stubborn grime and restoring natural motion during practice.
- Isopropyl alcohol (70% or up) cleans off sticky grime and disinfects, but it’s gentle enough not to damage painted or anodized finishes.
- Drum hardware lubricant keeps pivots smooth and silent, returning your pedal to its most efficient state and prolonging component life.
Taking these supplies out each time, instead of improvising, removes unnecessary risk and ensures you won’t skip key areas in your clean drum pedals checklist.
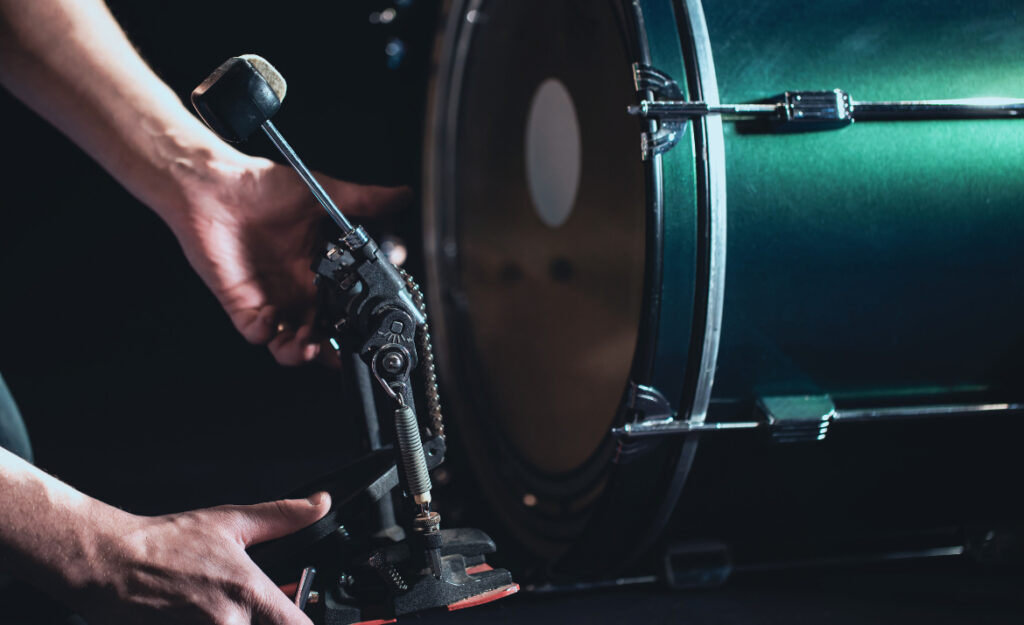
Step-By-Step Cleaning Routine
Start with removal of the beater and footboard for clear access. Clean these parts separately for deeper, more thorough grime removal and to prevent hidden buildup at seams.
- Detach all removable pieces, using your phone to snap a quick photo for reassembly reference. Quick photography helps replicable setup every time.
- Wipe visible dirt from each part before tackling pivots or springs. Prevents grimy residue transfer as you move from area to area.
- Clean the spring with a towel moistened with isopropyl alcohol, drying immediately afterward; this removes sticky buildup and brightens metal finish.
- Scrub the pedal hinge and pivot with a cotton swab. Rotate the pedal gently, checking for lingering friction spots as you go.
- Finish by adding a small drop of drum hardware lubricant to moving areas only—never springs—then test bounce and response using tap rhythms on your practice pad.
Following this precise sequence prevents missed steps and makes your next clean drum pedals job more efficient. Each practice session then feels fresher and livelier underfoot.
Streamlining Troubleshooting with Real-World Practice Techniques
When you’re rehearsing or gigging, clear troubleshooting heuristics help you stay on top of pedal speed. Learning to spot minor drags helps you stay focused and responsive on every downbeat.
Try these drills to immediately catch and solve sticking or slow return mid-song; they blend action-based observation with mini-maintenance, so clean drum pedals routines become muscle memory.
Micro-Maintenance on the Fly
Practicing single-stroke rolls while barefoot draws attention to where the pedal sticks under your heel. Use this tactile feedback to identify areas that need immediate cleaning or lubrication once rehearsal ends.
Switching between heel-down and heel-up techniques reveals tension discrepancies. Feel tighter resistance or hear extra squeak? That pinpoints spring or hinge friction—perfect for targeted cleaning at break time.
After a double stroke at high volume, pause and listen for mechanical noises—creaking or thumping points to buildup in linkages or shaft. Addressing these cues boosts your next take’s punch and dynamic range.
Applying Performance Feedback Loops
Keep a practice log where you jot down pedal “feel notes” at the start and end of sessions. Words like “sticky,” “sluggish,” or “responsive” let you track patterns and catch issues early.
If your bandmate mentions kick inconsistency—perhaps “Your beater’s lagging a bit”—mark down the exact song section, so you can replicate the issue during cleaning and isolate the part needing work.
During warmup, if your left foot cuts out while running doubles, check rod connectors and spring attachments immediately. Testing those sites right after feedback often resolves problems without guesswork.
Design Tweaks That Supplement Clean Drum Pedals Workflow
Practical hardware upgrades multiply the benefits of your clean drum pedals process. Small component changes offer mechanical advantages, extending your pedal’s power beyond meticulous cleaning alone.
Focus on parts that interface directly with your foot; grip-enhancing surfaces and modernized bearings boost both speed and articulatory control on every strike, taking your kick performance up a notch while relieving fatigue.
Pairing Upgraded Bearings with Cleaned Mechanisms
Swapping standard bushings for high-precision ball bearings sheds friction even after a thorough cleaning. Bearings allow for fast, nearly effortless pedal travel and reactive rebound that helps with intricate patterns or progressive fills.
Bearings also make a noticeable difference in double pedal setups, where lag on the left foot can undermine groove accuracy. Install them after your next cleaning and compare by playing fast 16th notes—noticeably less sticking and more consistent articulation.
Document installation steps: Capture short video clips while swapping components, so you can repeat the process perfectly after future clean drum pedals routines.
Customizing Surfaces and Spring Settings
Add grip tape or a textured pad to footboards for enhanced feel during brisk passages. This everyday hack immediately restores tactile control lost to sweat or polishing.
Experiment with tighter or looser spring tension after deep cleaning. Mark preferred settings with a line drawn using painter’s tape for fast, repeatable results as conditions change gig to gig.
Teach a friend or bandmate to mirror your cleaning-adjustment routine. Swapping tips on settings and pedal feel keeps both of you consistently optimized and reduces downtime before jams or shows.
Building a Future-Proof Maintenance Calendar
Setting regular reminders means you’ll rarely face surprise pedal issues. Even busy players benefit from creating a maintenance cadence that avoids last-minute mishaps before practice or shows.
Sync reminders for clean drum pedals maintenance alongside string changes or head replacements. You’ll associate pedal upkeep with familiar kit routines, ensuring total reliability as you progress.

Sample Maintenance Calendar Breakdown
Break tasks down by week, month, and season for hassle-free care. Weekly, check pedal tension and feel after warmup. Once a month, fully clean hardware and lubricate. Every three months, inspect and replace worn parts.
Example: On gig weeks, add an extra spot-check practice after each show. Say, “Tonight, I’ll wipe down my pedal as soon as I case my cymbals.” This habit keeps kit performance locked in all tour.
Record service or part swaps on a sticky note inside your kick drum case, plus dates. Inspection logs cut future stress—and make it easier for others to troubleshoot if you split gear at shared spaces.
Conclusion: Empower Every Beat with Consistent Clean Drum Pedals Care
Over time, regular attention to pedal cleanliness pays dividends with higher energy, consistent rebound, and fewer distractions. Each session feels like playing on a brand-new kit, boosting motivation.
By investing mere minutes into a clean drum pedals ritual, you add reliability and spirit to every rehearsal and gig. This simple upgrade preserves your unique groove and lets creative ideas flow.
The next time your kick feels sluggish, dive into this workflow knowing a quick tune-up may be all you need. Your drumming—and your band—will thank you.