Nailing that special drum sound takes more than just playing hard. Many drummers work for years before they truly improve drum sound quality, shaping tones that grab listeners immediately.
Every step in your process, from tuning to playing technique, influences your kit’s clarity and presence. The small choices you make each session stack up, changing how your recordings and gigs are received.
This article dives into tested strategies, practical daily habits, and detailed examples. Stick around to discover methods proven to enhance every aspect of your drumming sound, whether in the studio or on stage.

Tuning Consistency Shapes Every Beat
Dialing in your drum tuning with the same method each time creates recognizable, professional drum tones. This habit directly improves drum sound quality for every player.
Two kits played in the same space can sound miles apart because their heads aren’t tuned identically or have different tensions and seating. Tuning is the first link for a consistent, punchy sound.
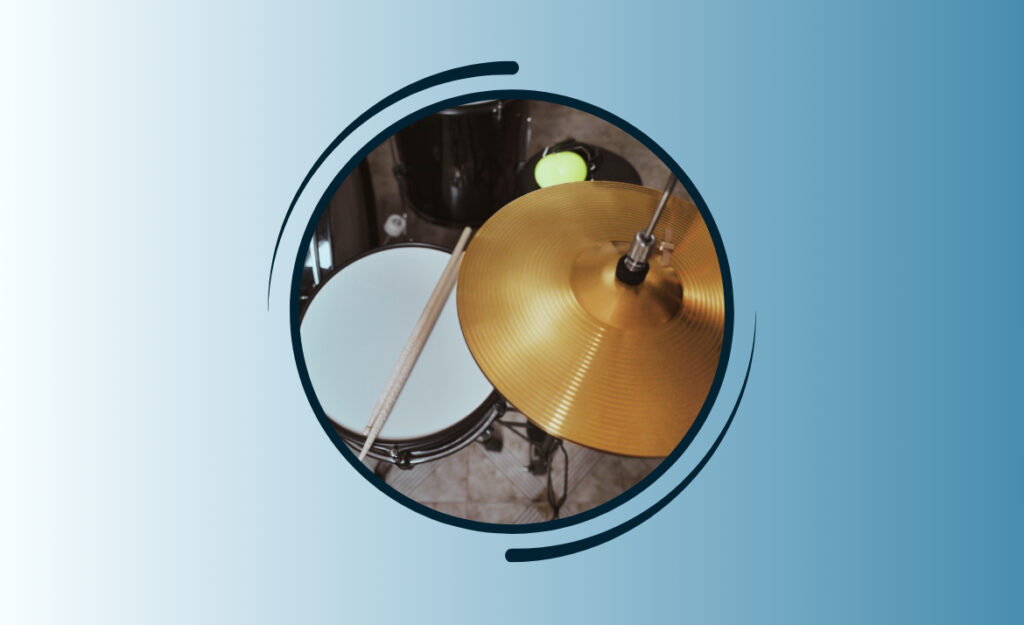
Use a Visual Tuning Pattern for Even Results
Instead of guessing at head tension, tighten lugs in a star-shaped pattern, working across the drum for even pressure. This prevents warping and helps the head seat properly.
For example, if you tighten the top right lug, follow by tightening the bottom left, then top left, then bottom right, always jumping diagonally. Repeat until the drum is evenly tuned.
After tuning visually, tap around each lug’s edge with a drumstick and listen. Adjust any lugs that sound higher or lower than the others until pitches match as closely as possible around the head.
Apply Low-Volume Tuning Checks at Each Session
Before a rehearsal or recording, gently tap drums with low velocity to check for pitch consistency. This reveals subtle detuning that normal play might not show. Correct any outliers before you start.
Use your phone’s voice recorder, speaking aloud which drum you’re testing and the result. Playback highlights pitches you might miss in the room, helping keep reference for the next session.
End each session by checking tension with your fingers at each lug. If any have loosened, retighten lightly. You’ll notice tighter sound and less unwanted resonance session to session.
| Kit Part | What to Check | Observable Cue | Do Next |
|---|---|---|---|
| Snare | Tension lugs evenly | Consistent pitch around head | Tap and adjust per lug until even |
| Toms | Batter and resonant heads | No unwanted buzzing | Balance both heads, star-pattern |
| Bass Drum | Pillow placement inside | Controlled boom, short decay | Adjust muffling and pedal pressure |
| Cymbals | Loose stands, cracks | Minimal rattle, ring without buzz | Tighten felts, swap cracked cymbals |
| Pedals | Spring tension | Consistent action, no squeak | Oil moving parts, adjust springs |
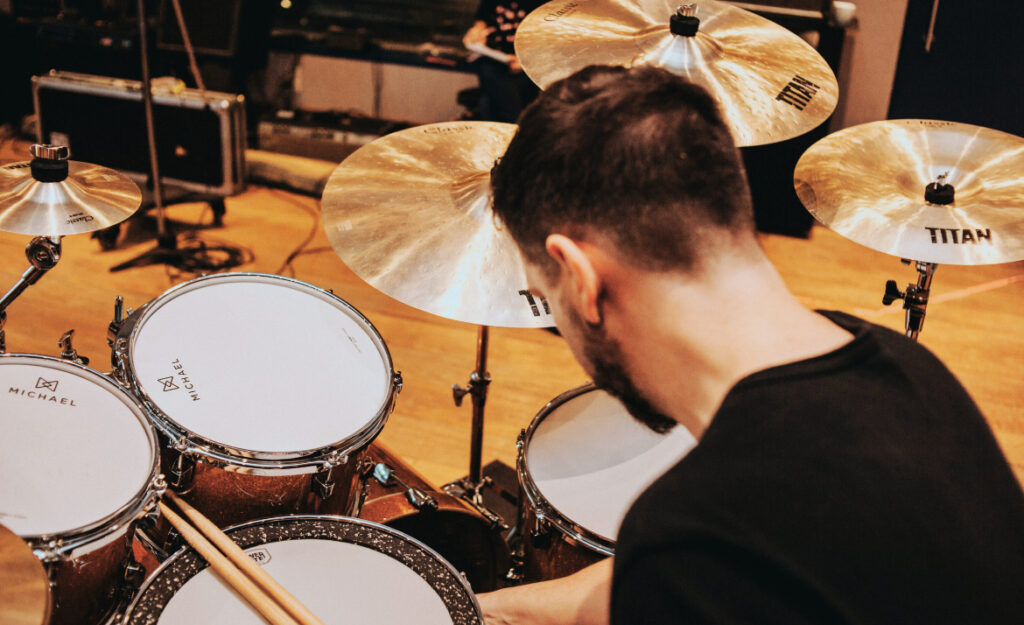
Stick Selection and Playing Surface Change Your Tone
Switching drumsticks alters attack, articulation, and overall kit brightness. This is an immediate way to improve drum sound quality for any song or setting.
Where your stick strikes—center, edge, or rim—drastically changes the sound signature of each drum and cymbal, letting you create texture or cut frequencies fast.
Experiment with New Stick Materials and Sizes
Choose a thinner stick for gentle playing where you want resonance, or go heavier and thicker to bring out big, upfront sounds in rock settings.
- Test nylon tips for brighter cymbal sounds and durability, or wood tips for warmth.
- Pick shorter sticks for speed and control during fast fills; longer sticks for extra reach.
- Try carbon fiber sticks for heavy hitters seeking long lifespan.
- Use rods or bundled sticks when you need quieter, brush-like textures for acoustic gigs or small rooms.
- Have a backup pair ready to avoid surprises mid-set that break your sound flow.
Playing one week exclusively with jazz sticks and switching to marching sticks the next makes a difference you can hear. Record both for comparison.
Optimize Stick Angle and Surface for Desired Attack
Change where and how your stick hits to pull out intended sounds. For deep boom, strike firmly at the drum’s center. For more overtone, hit closer to the edge.
- Use glancing blows for ghost notes that emphasize groove instead of dominating it.
- Switch to rimshots for cutting through a full band—listen as the snare slices the mix cleanly.
- Percussive tip—rotate your grip slightly to increase bounce for swifter rolls.
- On cymbals, try striking the bell rather than the bow to highlight high overtones instantly.
- Record yourself and note which positions deliver the clarity or darkness you want.
Consistently using these changes locks in a signature sound, aiding you when bands request a precise style or tone.
Microphone Placement and Room Factors Transform Recordings
Placing microphones with discipline and listening carefully can instantly improve drum sound quality in both live and studio situations.
Pre-session setup walks (listening for reflections, buzz, or excessive reverb) save time and headaches when tracks need clarity or impact for clients.
Find the Sweet Spot for Each Drum
Position a snare mic two inches above the head, angled just off the rim—not directly over the center—to capture snap without too much ring. This “shoulder” placement delivers punch and body.
For toms, aim close mics toward the playing area at a slight angle to capture tone and reject bleed. Back the mic off if resonance muddies the sound, or move closer for attack.
With kick, place the microphone partway inside, near the beater for attack, or just outside the port for a natural boom. Experiment with small changes and record a sample before final tracking.
Control Room Reflections for Cleaner Recordings
Hang curtains or portable absorbers around kit edges to soften harsh high-frequency bounce. Rugs beneath the set cut cymbal splash and keep the kick from sounding hollow in hard rooms.
Scout your recording space—clap at various spots and listen. If you hear strong, fluttery echoes above 2 kHz, set up baffles or move the kit to break symmetry in the room.
Capture a short phrase with each room alteration. Play back on studio monitors or headphones to decide which position best matches your ideal sound.
Heads, Dampening, and Maintenance Affect Every Hit
Replacing drumheads and routine cleaning do more to improve drum sound quality than any one-time tweak, giving you consistent attack and resonance.
A schedule for swapping heads and checking dampening ensures you’re not surprised by dull, lifeless tones when recording or performing live.
Schedule Regular Drumhead Changes
For gigging drummers, change batter heads every few months or sooner if dents appear. Non-gigging, home players should swap heads every six months to prevent fatigue and overtone build-up.
Use coated heads for more warmth and focused attack, or clear heads when you want longer sustain and snap. Note your preference for reference when ordering new sets.
Make it a habit to log last change dates in your phone or a notepad that you check weekly, syncing with rehearsal schedules and session bookings.
- Tap heads gently before shows; replace any that sound flat or papery rather than round and melodic.
- Choose ring-control accessories or gel pads to tame unwanted high-frequency ring quickly.
- Keep a jar of rubbing alcohol nearby—wipe old stick marks and fingerprints off heads before each gig for clear resonance.
- Finger-press pinch dampeners to tune the overtone emphasis on any drum, from dry funk to booming arena rock.
- Store spare heads in a climate-controlled space (not garages) to prevent warping and brittle edges.
Listening Critically and Leveraging References Stay Key
Setting aside time to A/B your drum sound against top-tier reference tracks allows you to identify gaps, sharpen your ear, and improve drum sound quality song by song.
Drag a favorite album into your DAW. Solo the drums and compare your kit’s character—attack, space, presence—against these industry benchmarks every week.
Mark Progress by Recording and Reviewing Sessions
Start each session by recording a basic groove at the beginning and end. Play these back next day, listening for punch, definition, and note spacing, not just tempo.
Note if your snare rolls stand out or blend in. If tom fills lack clarity, re-examine mic angle or dampening. Use color-coded session notes to track what worked and what needs an adjustment next time.
Share clips with a trusted fellow drummer. Ask, “Does this tom sound clear on your system, or does it wash out?” Incorporate that feedback with the next practice session.
Reference Multiple Drum Styles for Versatility
Each week, spend thirty minutes dissecting the sounds of jazz, metal, funk, and pop recordings. Focus on kick articulation, cymbal brightness, and room reverb.
Try layering your grooves over these commercial tracks. Record, listen, then tweak your approach—whether with stick angle, tuning, or head type—until your kit sits naturally in each genre.
Create a playlist of go-to references with notes. Review before sessions for a reliable tone goalpost, especially before challenging gigs or new song genres.
Sticking to Routine: The Daily Drum Care Checklist
Daily routines turn guesswork into pro-level, consistent results. Improving drum sound quality becomes second nature with a short, repeatable checklist before playing.
Follow a sequence at each rehearsal or gig, so you never forget a step—no matter how rushed your day. The order matters in building a sound foundation.
| Step | Action | Purpose | What to Listen For |
|---|---|---|---|
| 1 | Wipe heads and cymbals | Remove debris for clear response | No muted or dead hits |
| 2 | Check lug tension | Prevent detuning mid-set | Even tone on every hit |
| 3 | Inspect pedal movement | Smooth response, avoid sticking | Consistent kick/snare action |
| 4 | Arrange stands and cables | Prevent rattles and cable noise | No unwanted sounds in recording |
| 5 | Cymbal stacking | Achieve desired attack | Bright or dark tone as intended |
Building Your Signature Drum Sound Session by Session
Consistency comes from stacking habits over time. By targeting just one sound detail at each rehearsal, you build a unique voice drummers and producers recognize instantly.
For example, fixing a slightly boomy tom on Monday, addressing snare overtones Tuesday, and refining kick muffling Thursday keeps improvements bite-sized and sustainable. Over months, these tweaks add up to major change.
Session Logs Connect Actions to Sound Changes
After rehearsal, write three things that changed your kit’s sound for better or worse. Maybe swapping a crash for a ride improved blends, or moving a hi-hat raised clarity.
Label each variable and result. This helps spot which habits lead to great results and which didn’t, taking guessing out of the next session.
Over time, review your notes to repeat successes and avoid mistakes, building a repeatable formula for reliability in sessions and on stage.
Solicit Honest Feedback at Weekly Intervals
Each week, have bandmates or producers describe your kit’s strengths and weaknesses. Ask them to focus on adjectives like warm, boxy, sharp, or muddy.
Record comments at the end of each session and revisit after a month. Are there themes, such as “snare pops nicely,” or “kick doesn’t cut through”?
Prioritize the most recurring notes with action steps. For example: “Raise snare tuning by a half turn for more definition next session.” Adjust until feedback is consistently positive.
Long-Term Growth: Keep Improving and Enjoy the Results
All the little daily and weekly actions build up to exceptional musical results over time. Tracking each change makes improving drum sound quality feel natural and achievable.
By focusing on repeatable habits, you increase control over your sound, turning your drum kit into a true reflection of your style and intention.
Stay curious and listen critically to every session. Treat improvement as something enjoyable, with small wins each day adding up to major confidence—on stage, in the studio, or on social media.