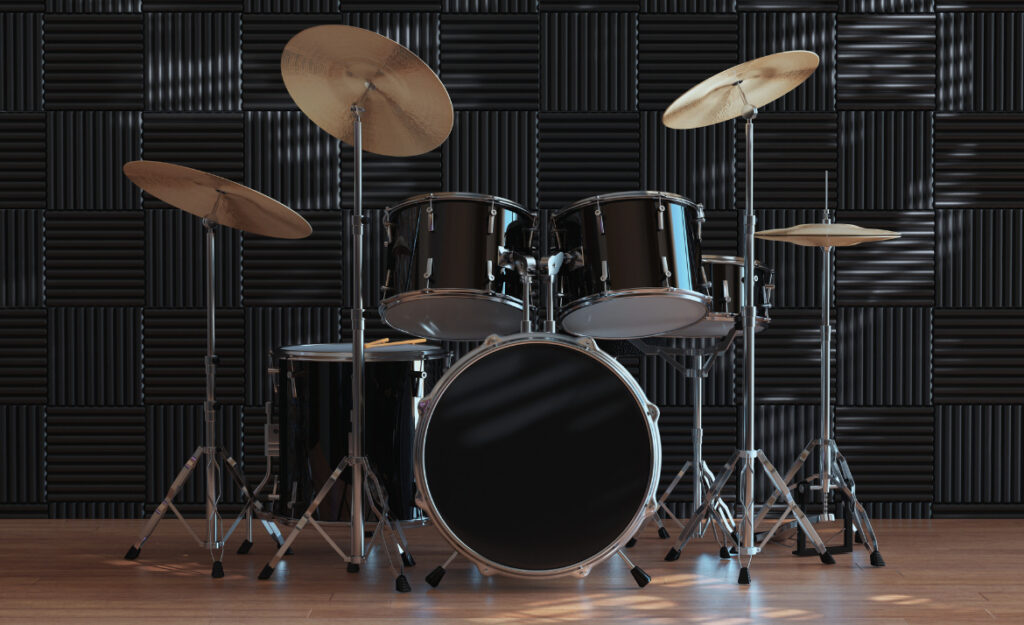
The steady groove of a drummer holds any live band together, but adding technology to the mix brings new precision and excitement. Many drummers are seeking the optimal backing tracks setup to provide more sonic depth for live performances.
Juggling backing tracks, click tracks, and cues can feel chaotic if systems aren’t in place. When the technology is locked in, though, it puts the drummer in the driver’s seat for a seamless show—every cue and dynamic locked to the beat.
This guide cuts through jargon and offers clear steps to help you build a professional-ready backing tracks setup for your stage situation. Discover key options, pro-tested workflows, and details that keep audiences—and band mates—locked in from the first hit to the end of the encore.
Choosing the Right Playback Gear: Streamlined Solutions for Drummers
A reliable backing tracks setup on stage calls for the right tools from the start. Selecting gear that matches your comfort and needs is an investment in every show’s success.
Focus on efficiency and fail-safety. Compact players and rugged interfaces mean less time troubleshooting, more time drumming. Consider which devices you’ll trigger with: laptop, tablet, dedicated hardware, or a combo?
Laptop and Software Rigs for Deep Control
Using a laptop with DAW software like Ableton Live provides endless flexibility for mapping cues, automating effects, and controlling tempo. Drummers can trigger sections, fade songs, or mute tracks.
Mapping MIDI controllers to laptops creates a tactile experience. You can assign pads or pedals to fire off tracks or even jump to specific song sections. This reduces the stress of reaching for your laptop mid-set.
Keep connections direct and sturdy. Use short, high-quality USB and audio cables, and test for hiss or glitches before the night. Always disable notifications, system sounds, and unnecessary apps for crash-free shows.
Tablet-Based Solutions: Tap-Ready Portability
Apps like BackTrax or SoundCue on iPads put touchscreen convenience front and center. Drummers can tap cues or build setlists, minimizing setup footprint—great for fly-dates or tight stages.
Consider well-padded mounts and stands to keep tablets at eye level. A simple Bluetooth pedal can handle stopping or advancing tracks hands-free, adding control without clutter.
Charge devices fully before each show and engage Do Not Disturb mode. Bring a spare charging cable as insurance against low battery surprises mid-set.
Standalone Hardware Players: Plug-and-Play Simplicity
Dedicated standalone players, such as Roland SPD-SX or Cymatic LP-16, provide tactile reliability. These units load tracks from USB sticks or SD cards, with buttons or pads to start and stop songs.
Mount machines close to your throne. Velcro, clamps, or sturdy shelves prevent accidental falls or cable snags, especially during bombastic moments.
Before shows, check firmware versions and run a quick tap-through of the night’s setlist to catch corrupted files or track order mishaps.
| Playback Device | Main Benefit | Main Drawback | Best For |
|---|---|---|---|
| Laptop + DAW | Full flexibility, automations | More fragile, can crash | Advanced, static setups |
| Tablet + App | Simple interface, portable | Limited routing, less nuance | Quick setups, beginner-friendly |
| Standalone Player | No computer needed, robust | Minimal editing, rigid layout | Live reliability, touring |
| MIDI pad/Controller | Tactile triggers, fast changes | Needs paired device | Quick hands-free access |
| Multi-track Mixer | Mix backing + main outputs | Bulkier, pricier | Pro-level sound, routing |
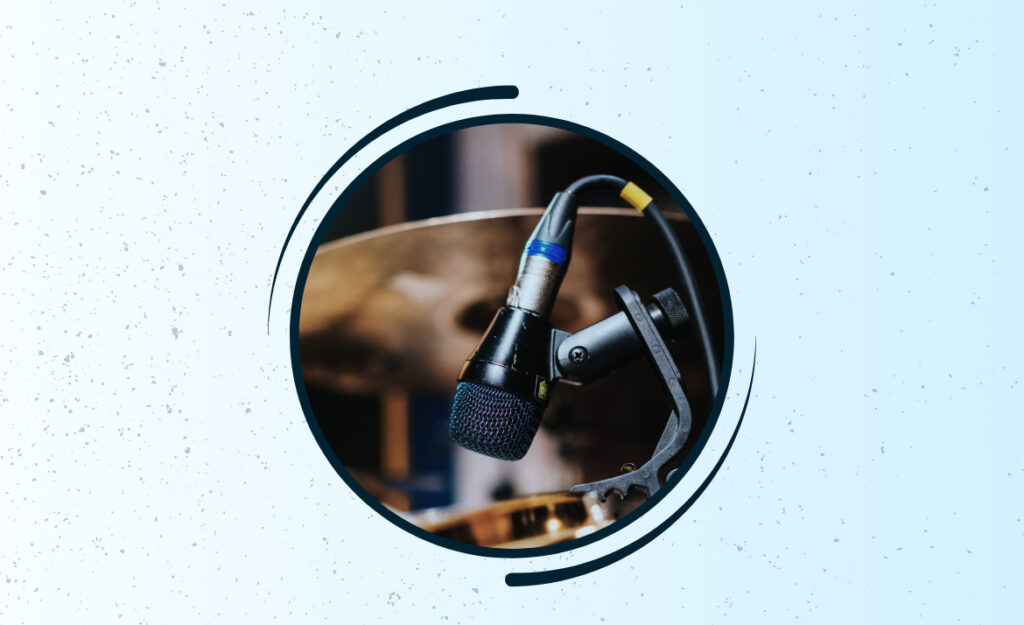
Building Robust Clicks, Cues, and Audio Routes: Avoiding Channel Chaos
Separating the click, cues, and playback ensures each part reaches the right person—without confusion. Proper routing is a hallmark of any reliable backing tracks setup for drummers.
Configuring audio outputs per track or group allows your monitor engineer precise control. Prioritize cables and outputs that are clearly labeled and distinct in color or texture.
Building Your Basic Routing Map
Start with a simple 3-output rule: one for main mix, one for click, one for cues. Mark cables at both ends; drummers say, “hand me blue for click” to the stage tech.
- Assign click tracks to an output only you hear for tight timing
- Route guide cues to the band for song sections or transitions
- Keep all backing music clear of click—never bleed them together
- Check output levels during soundcheck for balance and interference
- Pack a Y splitter or small mixer for custom on-the-fly headphone mixes
If you want to experiment with cues, start subtly—add basic “chorus,” “bridge,” or “ending” callouts first. The extra guidance quickly builds group confidence.
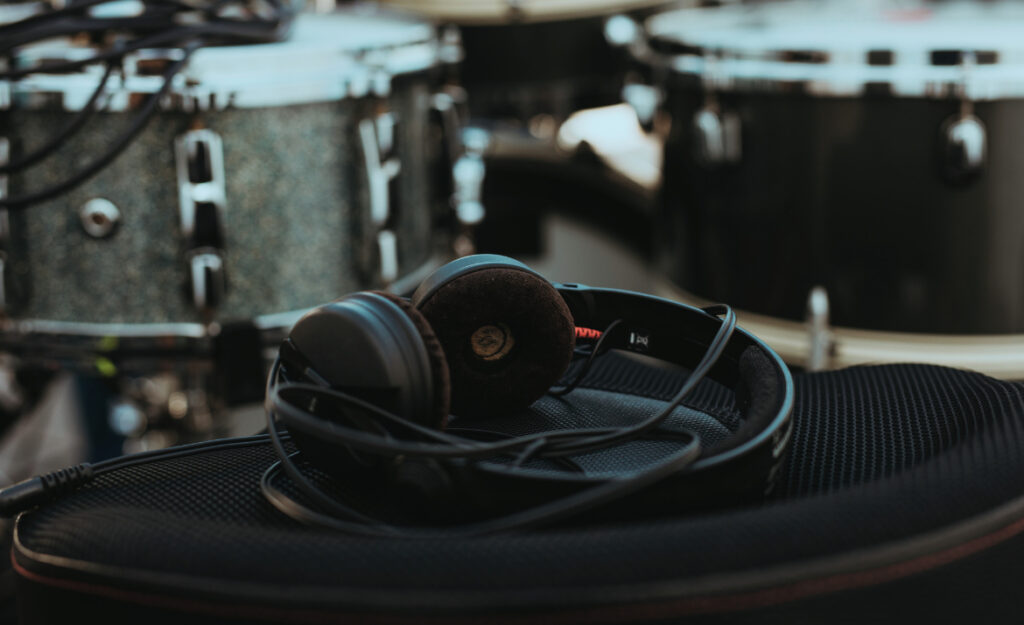
Setting Up Monitor Mixes
Give your monitor signal as much care as the audience feed. Specify, “More click in the right ear, cues quieter,” to your monitor tech.
- Choose in-ear monitors or quality closed headphones for sound isolation
- Split mixes if bandmates also need clicks—test in rehearsal, not just live
- Keep your cable runs short and coiled to reduce tangles and signal loss
- Request talkback mics or foot switches for live communication
- Dial in volume on your device before entering the stage for ear safety
Making fine adjustments to your in-ear mix can be the difference between a confident groove and feeling lost in the noise. Each tweak builds shared trust on stage.
Labeling, Organization, and Redundancy: Step-by-Step Reliability
Every element in your backing tracks setup benefits from labeling and backups. One unlabeled cable or missing USB stick can turn a set stressful right before you hit.
Consistent file naming and device labeling helps under pressure. Keeping a detailed, up-to-date setlist—in paper and digital format—prevents last-minute confusion if devices swap mid-show.
Color Coding and File Management
Use colored tape or cable sleeves to identify outputs: red for main, blue for click, green for cues. Store tracks by band, set order, or gig date in separate folders.
Stick clear song title and track number labels onto devices. Practice saying, “Next is file four—‘By The Lake’” out loud to make transitions fast for your crew.
If you ever need to rewire on stage, knowing what’s what by color and label keeps your stress level down. Always run a quick full setlist test the day before a gig.
Redundancy Strategies for Live Setups
Bring a backup playback device—tablet, USB stick, or extra laptop. Keep identical files and setlists on both, labeled for quick swapping if a failure occurs.
Always pack spare cables for audio and power. Put them in a marked pouch in your stick bag. Don’t bury your emergency tools deep in general band gear.
Use a power strip with surge protection for all your gear. One blown fuse shouldn’t silence your whole backing tracks setup. Tape the power switch down so it can’t bump off.
Syncing with Bandmates and Lighting: Real Stage Integration
Integrating your backing tracks setup into the wider band arrangement amplifies musical punch. Every member feels in sync when cues are clear and sections unfold on time, with possibilities for synced lighting or effects.
Alignment is more than playing to a click. You can use MIDI or timecode sync to automate guitar effects or cue lighting, enhancing the show’s spectacle without extra rehearsal headaches.
Communication Scripts for Rehearsal Flow
Say, “We’ll start on my count. Verse drop, watch for the red light at bar 8,” to get everyone ready. Use the same countdowns and visual cues every time.
Point to the bass player for stops, or tap your sticks for restarts. Matching rehearsal scripts to show cues builds muscle memory for smooth live transitions.
If a cue or light miss occurs, calmly reset: “Let’s take that section from bar 12.” Short, consistent rehearsal directions limit errors and keep spirits high.
Integrating Lighting and FX: Step-by-Step Triggers
Connect your laptop or hardware device to the lighting desk with MIDI out. Assign a MIDI note to each song cue: verse, chorus, bridge.
Instruct the lighting tech: “Watch for MIDI 41 for the drop.” Practice this handoff at rehearsal with full stage wash so everyone can anticipate each transition live.
For simple systems, assign a footswitch to cue the next light scene. Always label footswitch pedals and run a live practice loop before doors open.
Fast Soundcheck and Troubleshooting: Getting Show-Ready Without Delay
Your backing tracks setup shines when it powers on and is live-ready in minutes. Fast troubleshooting means moments of panic become quick resets, leaving more time for musical tweaks.
Have a mental checklist for cabling, device power, song order, and monitor levels. Run a 30-second track to verify all routes, then ask the engineer, “Anything clipping?”
- Test every output by playing a unique cue or click to each channel
- Confirm headphones and in-ear monitors have signal at safe volume
- Keep a phone handy with reference tracks for last-second verification
- Have a list of go-to test phrases: “Track four, please.” “Bridge cue at zero three.”
- If anything fails, swap to backup device without skipping a beat
Use clear, repeatable scripts at soundcheck. When you say, “Drums ready, click is clean, all tracks firing,” your crew knows to move on to the next item quickly.
Making Files Stage-Ready: Formatting, Testing, and Volume Balancing
Preparing tracks for the stage goes beyond exporting song stems. Optimized files prevent stress and confusion when you’re in performance mode, locking your backing tracks setup into performance-ready precision.
Standardize format (44.1 kHz WAV or high-quality MP3) unless your hardware or software demands otherwise. Name files with track numbers and clear titles—“01_Intro_V2,” for instance—so you don’t confuse versions under stage lights.
Testing Levels and Dynamics
Play each file through your playback device and headphones before show day. Check that backing vocals, effects, and cues sit beneath the live drum mix, not mask your kick groove.
Trim dead air at the start and end of tracks for precise timing. Run a dry mix through rehearsal once; ask the band if any cues jump out or tracks need re-balancing.
Keep all master track outputs slight below live amp levels to avoid accidental distortion on PA systems. Mark trouble tracks and revisit their mix before stage night.
Maintaining Manageable File Libraries
Clean up legacy versions after every cycle of setlist changes. Archive old files with date and gig in a clearly named backup folder—never delete until you’re home after the show.
Create a template session for each show. Load tracks in media players and set cue points if needed. Verify transitions between tracks go seamlessly so energy stays high throughout the set.
Include a ‘panic track’—a drum pad or silent file—for emergencies. If anything glitches, trigger this to keep things rolling until the issue is isolated and resolved.
Seamless Live Flow and Adapting on the Fly: Keeping The Show Moving
A truly effective backing tracks setup lets you adapt to setlist changes and live surprises. You gain the freedom to skip, loop, or lengthen sections without derailing momentum.
Arrange your playlist for consistent access. Place transitional tracks, like stick clicks or one-bar loops, nearby for quick recovery if you miss a cue.
- Practice jumping between tracks or sections with a foot pedal or pad
- Label ‘emergency stop’ or ‘repeat’ triggers in bold for fast access
- Assign a helper to cue live triggers if your hands are limited
- Rehearse “hold” gestures—raise drumsticks and eye-contact to the band
- Communicate changes: “Skip to outro after bridge” keeps everyone on the same page
If you need to jump two tracks ahead, say, “Cut verse two. Chorus now!” into your talkback or with a clear hand sign. Speed keeps the vibe as much as sound does.
Wrapping Up: Consistent, Confident Shows With a Backing Tracks Setup
Smart preparation ensures your backing tracks setup supports your playing, not the other way around. Each upgrade—from cable planning to file management—lines you up for consistent results and minimal stress on stage.
The details matter. Dialing in your workflow builds muscle memory, letting you focus on groove and chemistry rather than tech hiccups or signal drops when audiences are watching.
Investing in a solid system today adds flexibility, creativity, and leadership to your role as a drummer. Build routines you trust and let your performance do the talking when the lights come up.