Staying on top of drum care can be as simple as using the right methods to clean drumheads, using everyday items. Smudges, dust, and stick marks accumulate long before most realize, dulling both the appearance and clarity of your sound.
The condition of your drumheads affects not just looks but also tone, making regular maintenance a quiet secret of skilled drummers. A neglected head can deaden your snare snap or muddy your toms, limiting your creative voice on the kit.
This guide will walk you through safe, effective techniques to clean drumheads, using only items commonly found at home. Each section offers concrete actions, practical checklists, and professional tips learned from practice rooms and gig stages alike.
Get Results Fast: Setting Up Your Cleaning Space
Setting a cleaning space saves time and ensures you won’t damage your drums or hardware. A flat surface, room to set parts aside, and lighting make all the difference for spotting grime.
Lay a large towel or an old blanket down as a base. This keeps the drum in place and cushions against accidental nicks during cleaning. A table or counter at waist height is best to reduce back strain.
Removing Heads Without Hassle
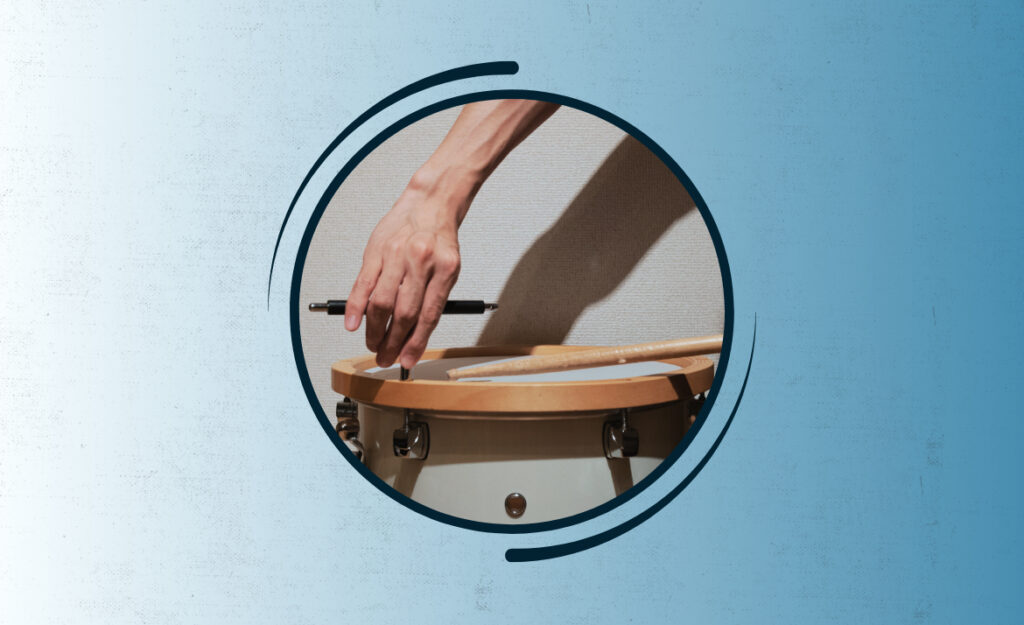
Loosen the tension rods gradually, moving in a star-shaped pattern around the drum. This technique protects the hoop from warping and keeps the tension even for later reassembly.
Lift the hoop and set it gently beside your work area. Remove the drumhead, inspecting it from different angles for sticky spots or pitted areas that need extra attention.
If your drumhead has deep stick marks or grit stuck on, resist the urge to scrape it. Soften it gently with a damp microfiber cloth instead to avoid leaving scratches.
Wiping Down Hardware While You’re There
Since you’re dismantling the drum anyway, use this as a chance to wipe down the hoop and tension rods. Paper towels dampened with a little mild dish soap will lift grease without corroding metal.
Check for caked-on residue along the edges or seating area. Where needed, use an old toothbrush to work gunk loose, making circular motions with a light touch.
After cleaning, dry everything thoroughly. Even a little leftover moisture can encourage rust, especially if your drums live in a humid or unventilated room.
| Item | Purpose | Pros | What to Do Next |
|---|---|---|---|
| Microfiber cloth | Wiping dust, fingerprints | Gentle, non-abrasive, reusable | Use dry for light cleaning; damp for stickier areas |
| Warm water | Loosening grime | Safe for mylar heads, available everywhere | Lightly dampen your cloth but avoid soaking |
| Mild dish soap | Cutting grease or sticky marks | No residue if well diluted | Mix a drop in a cup of water, apply sparingly |
| Old toothbrush | Detailed scrubbing at edges | Gets into crevices, lifts stubborn dirt | Make tiny circles to target buildup, rinse after |
| Soft towel | Protecting and resting drums | Cushions during handling, absorbs moisture | Place under drum, pat dry before reassembly |
Gather Tools You Already Own for Effortless Drumhead Cleaning
Most needed supplies to clean drumheads hide in plain sight at home. The right items streamline the process and reduce the risk of scraping or scratching your heads.
Instead of running to the store, gather soft microfiber cloths, a bit of mild dish soap, and a gentle brush or toothbrush. Save specialty cleaners—they can sometimes leave a film or reduce head resonance.
Clean Drum Pedals for Speed and Power: Step-by-Step
Discover practical steps to clean drum pedals and restore speed and power to your drumming.Checking Everyday Alternatives
Try using an old cotton t-shirt in place of a microfiber cloth for light dusting. The smooth weave traps dust without harming the film, giving you a reliable backup if your favorite cloth is in the wash.
- Use a clean, damp microfiber cloth for everyday touch-ups; it lifts waxy fingerprints and stray dust gently.
- Mix a drop of mild dish soap in a cup of water; swirl, then use only the foam, not the liquid, for cleaning tougher stick marks.
- Work a toothbrush into tension hoop grooves and around lugs; circular motions dislodge embedded grime without scuffing metal parts.
- An old T-shirt tackles dry buffing chores quickly; fold and wipe in even, straight lines to avoid new swirl marks on clear heads.
- For extreme grime, alternate with a barely damp cloth and a quick dry wipe to prevent water from soaking through the head.
The right cleaning order reduces smears and makes sure each step does its job. Use dry methods before liquids for the most control.
Avoiding Common Cleaning Mistakes
Skip anything abrasive: kitchen scrubbers, gritty sponges, rough paper towels, or rubbing alcohol. Harsh products thin the drumhead film, causing premature wear or tuning issues.
- Don’t press down too hard with any tool; clean with gentle, circular strokes to prevent denting or distorting the head shape.
- Never soak the drumhead in water; instead, use a lightly damp cloth to spot clean, followed by a gentle dry with lint-free towel.
- Avoid glass cleaners or household sprays, since ammonia and solvents can weaken plastic film adhesives and dull surface coating.
- Check every rag or towel for grit before using; a single grain trapped in a cloth can leave visible scratches across a coated head.
- Double-check that your tools don’t smell like bleach or fragrances, which could linger and alter your drum room’s air quality.
Adopt a ‘less is more’ approach with products. Err on the side of caution each time you clean drumheads to preserve their tone and longevity.
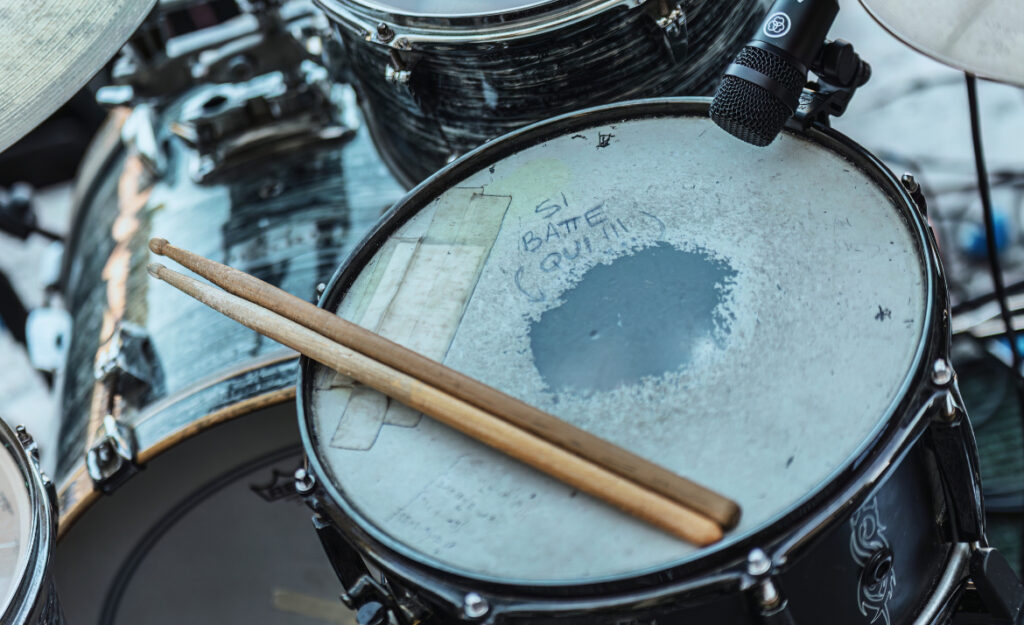
Erase Stick Marks and Smudges With Simple Home Techniques
Targeted cleaning removes unsightly stick marks and sticky residue while maintaining your drum’s original tone. Addressing these marks as soon as you spot them keeps buildup from becoming permanent.
For light stick dust, a single damp wipe can make a clear or coated head look almost new. Smudges require a little patience and the right home remedy.
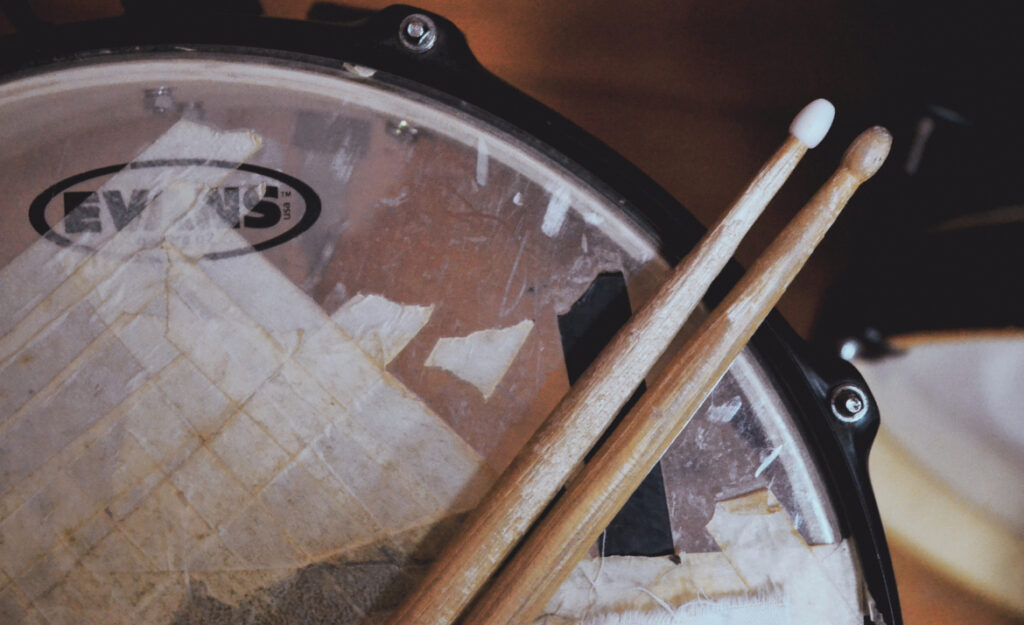
Removing Marks With Microfiber Cloth: Step-by-Step
Dampen one corner of the cloth—never soak it. Wipe in circular motions over visible marks, then switch to a clean, dry corner to buff the surface back to its original sheen.
Persistent stick marks or sweaty fingerprints may need a second round. If so, let the drumhead air dry for a minute, then go over the area again lightly for best results.
Use the same technique for both clear and coated heads. If you see coating flake off, lighten your touch immediately and switch to a softer dry wipe instead.
Dealing With Heavier Residue
If sweat or spilled drinks have left a sticky film, add a drop of dish soap to your damp cloth. Work the soapy foam just on the affected area, not the entire drumhead.
After gently scrubbing, wipe away all soap with a fresh damp section of the cloth, then buff dry thoroughly. Never allow soapy water to drip inside the shell to avoid moisture damage.
For lingering residue at the drumhead’s edge, use a toothbrush with a drop of soapy water. Gently work the bristles into the groove, then blot excess liquid with a towel.
Protect Drumhead Tone and Playability With Smart Maintenance
Routine cleaning protects both tone and feel. Drumheads coated in grime lose their responsiveness and character, so keeping heads clean can restore articulation and bring back lost expressiveness.
Think of maintenance like dusting a piano’s keys: regular, gentle care prevents buildup and keeps your instrument ready at a moment’s notice for practice or performance.
Frequency and Timing: Making It Routine
Wipe your drumheads after every rehearsal or gig. A quick once-over after playing removes skin oils and minute grains of dust that build up even when drums look clean at first glance.
Use a two-minute routine: unfold a microfiber cloth, dry-wipe all heads, then spot-check with a damp cloth for any new marks. This habit removes debris before it has a chance to absorb into the film.
Making cleaning part of your breakdown process after each session protects both the sound and appearance of your entire kit, not just your prize snare.
Storage and Environment: Tone-Saving Habits
Keep drums out of damp basements or sun-blasted attics. Both extremes break down the drumhead material faster, which even perfect cleaning can’t undo. Store in a dry, stable space for best results.
If storing drums long-term, wipe heads, lay a clean towel between stacked drums, and crack the case open for airflow. Clean drumheads before storing to prevent sticky surprises when you open the case again.
Keep a small pack of wipes in your gig bag. When drumming at someone else’s house or a club, you’ll be ready to keep your heads spot-free on the go.
When to Replace, Not Clean
If a drumhead feels thin, brittle, or starts to dent permanently, no amount of cleaning will save its tone. Replacing it can instantly revive your sound and feel.
Heads with cracked or missing coating let through dust that can’t be removed. Swap these out for new to avoid unintended buzzes or dead zones in your next performance.
A freshly installed head is easier to keep clean—restart your routine from day one. Jot down the head’s install date inside the shell for easy reference.
Wrap-Up: Caring for Your Drumheads Pays Off
Consistent, gentle maintenance saves you from frequent head replacements and extends the instrument’s musical life. Every routine wipe, smart tool choice, and mindful habit adds up to a better-sounding kit.
A clean drumhead reflects attention to detail—your tone stays crisp and your kit looks ready for any stage or studio. Players who care for their gear enjoy a smoother, more inspiring playing experience.
Invest a few minutes after each session and see the reward in your drum’s sound and response. Make smart cleaning second nature, and your kit will serve you on every downbeat for years.