Sitting behind a drum kit, it’s easy to think flawless sound is just a hit away. Yet, practicing reveals common drum problems like buzzing snares or loose hardware, which sneak up on players at just the wrong moment. Addressing these issues early means you get back to playing more music, not just adjusting gear.
Staying aware of those problems turns routine practice into a smoother, more enjoyable experience and helps you nail that song during rehearsal or a gig. Whether you play live, record at home, or jam solo, fast fixes keep your focus where it belongs: the groove.
Throughout this guide, you’ll find practical solutions designed by experienced drummers for common drum problems. Explore new methods, get quick fixes, and develop habits that minimize frustration—your drumming will thank you.
Eliminating Annoying Drum Buzz on the Snare and Toms
Quickly silencing unwanted buzzing transforms a muddy snare into a sharp, punchy drum. The fastest way to improvement is diagnosing the buzzing source and addressing it directly.
Sympathetic vibrations or rattling snares make rolls and backbeats sound messy. Usually, buzz is caused by loose snare wires, poorly seated heads, nearby toms, or neighboring hardware issues, all fixable with targeted tweaks.
Pinpointing the Buzz and Taking Action
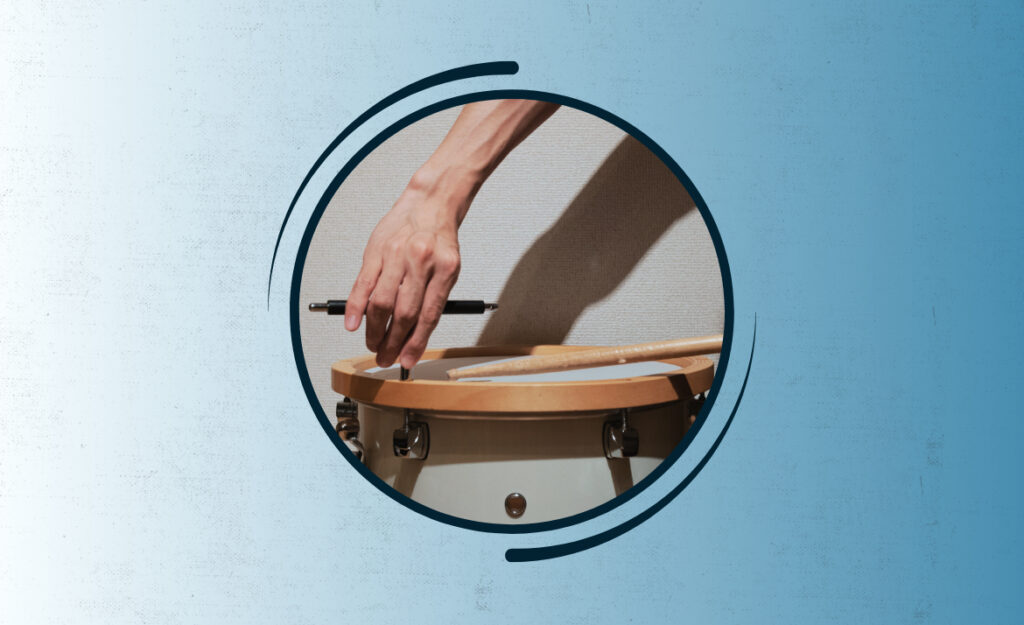
Lightly tap around the shell edge with a stick while pressing the drumhead gently to find points with more rattle. Every drum or hardware piece vibrating when it shouldn’t gives up its location with extra noise.
If the snare wires are the culprit, flip the drum over and check tightness. If they appear loose, turn the adjustment knob clockwise. If the buzz stops, you’ve hit the problem spot.
If you hear extra buzz with other nearby drums played, try muffling the offending tom with a single Moongel pad or piece of gaffer tape—that often absorbs excess resonance enough to clean up your snare’s sound immediately.
Resetting Snare Wires for a Crisp Attack
Loosen the snare wires fully, then adjust them while striking soft rimshots. Tighten gradually until the buzz fades, but the drum stays responsive.
If wires still rattle, they may be stretched, bent, or not flush with the head. Replace them with a new set that seats evenly across the bottom head, ensuring a clear, crisp snap every stroke.
After replacing wires, tune your resonant head evenly. Tighten each lug a quarter turn at a time, checking tone and buzz by lightly tapping until you hear a focused snare response with minimal overtones.
Securing Loose Lugs and Hardware
Start by pressing each lug with your fingertip while tapping the head. If you feel or hear movement, tighten each with a drum key. Listen for improvement after each adjustment.
Apply a tiny bit of blue threadlocker to stubborn lugs before tightening. This prevents lugs from slipping loose during extended play and holds the drumhead tension consistent—especially important for studio sessions or longer gigs.
Finally, wipe hardware threads clean to keep debris away. Dirt and grime increase the odds of future slippage and buzzing. Keeping things clean and dry after shows goes a long way toward fixing common drum problems.
| Issue | Quick Fix | Tool Needed | Next Step |
|---|---|---|---|
| Snare buzz from snare wires | Tighten snare strainer knob | Fingers, drum key | Check wires for even seating |
| Buzzing tom from loose lugs | Tighten lugs with drum key | Drum key | Re-tune head and check resonance |
| Hardware rattling | Check memory locks, tighten bolts | Drum key, Phillips screwdriver | Re-seat stands on firm surface |
| Sympathetic buzz from adjacent drums | Apply tape/Moongel | Gaffer tape, Moongel | Test each drum individually |
| Loose snare wires | Replace wires if stretched | Pliers, new wires | Re-calibrate after install |
Tuning Drums for Consistent Sound in Live Settings
Setting up drums for reliable, consistent sound keeps every performance on track. Even basic tuning allows the instrument to project clearly—key in band or solo settings.
By using a repeatable process for tuning, you ensure each drum fits its musical role. Re-tuning before rehearsals means you’re not distracted by uneven tones or out-of-tune heads while playing.

Tighten Drum Hardware for Confident, Slip-Free Performances
Learn reliable routines to tighten drum hardware for secure, steady drum performances at band practice gigs or recordings.Center the Head and Tune Evenly Across Lugs
The first step is making sure the drumhead sits flat and centered on the shell. Uneven tension causes dead spots or warbles across the drum’s range, so gently press and rotate the head as you install it.
- Tighten each lug in a star pattern for consistent tension, starting at opposite sides and moving around the drum until each is finger-tight.
- Once all lugs are finger-tight, use a drum key to turn each lug a quarter turn at a time, always moving in your star pattern.
- Tap two inches from each lug and listen for differences. If one spot sounds lower or looser, bring it up to match the highest point.
- If needed, use small turns and retest. The aim is an even pitch all the way around, creating a singing, consistent tone even before fine adjustments.
- When done, lightly press the center of the head to stretch and settle it, then fine-tune again. This locks tuning in and gives predictably great tone during heavier play.
Consistent tuning across the kit makes live soundchecks fast and stress-free. Communicate directly by sounding each drum three times before making changes—a trick pros use often for fixing common drum problems.
Check and Maintain Drum Tuning Throughout Your Set
Your drums shift as you play: heads stretch, lugs may loosen, and heat from stage lights affects tension. Monitor your kit between songs for any pitch drift and make quick adjustments as needed.
- Listen for dull or ‘off’ tones. Address immediately using your drum key to tweak the suspect lugs without disrupting the flow of the set.
- Before your next set, give each drum a quick run-through, tapping and rebalancing as needed. This habit limits surprises on stage and ensures the band’s sound stays tight.
- Bring a spare drum key to each gig—tape it inside your stick bag for emergencies. This one step saves countless headaches over a drumming career.
- If heads go slack quickly, swap them for new ones. Frequent tuning that doesn’t stick usually means the head is past its prime.
- Keep a reference note in mind for each drum: sing or hum your snare’s ideal sound as you tune. This mental anchor keeps your kit consistently in your chosen tuning zone.
Tuning reliability comes down to building a checklist and using it before, during, and after each show. Developing this routine tightens up your performances and builds confidence for every musical setting.
Simplifying Cymbal Maintenance to Remove Harsh Overtones
Cleaning and maintenance routines for cymbals eliminate harsh overtones and preserve musicality. Care that targets fingerprints, grime, and subtle cracks extends their lifespan—making high-quality sound a daily reward for steady attention.
Cymbal Placement for Cleaner Tone
Mount your cymbals at a slight angle to reduce stick marks and prevent edge cracks. An angled placement also clears up some harshness, letting wash and shimmer cut through mixes without abrasive overtones.
Use felts above and below the cymbal at every stand mount. Skipping this step exposes the metal to vibrations that amplify odd harmonics and risk damaging the center hole, which directly affects tone quality.
If you spot deep fingerprints or discoloration, clean the cymbal using a manufacturer-approved polish and a soft, clean cloth. Wipe in a circular motion along lathe grooves; avoid harsh scrubbing which dulls sound over time.
Quick Wash: Handling Minor Cymbal Dullness
A fast soap-and-water wash revives shine. Mix a drop of gentle dish soap in warm water, dip your cloth, and wipe the cymbal lightly, removing debris without altering tone.
Towel-dry immediately, then air-dry fully before replacing the cymbal. Keeping moisture away from stands and felts prevents corrosion and sticky buildup that can deaden the cymbal’s response as you play.
If the cymbal still feels greasy or sticky after washing, repeat with less soap and more rinsing. Persistent greasiness means it’s time for a purpose-made cymbal cleaner—most issues clear up in just one application.
Resolving Pedal Problems Before They Derail Your Groove
Addressing bass drum pedal problems before playing keeps energy on track. Unresponsive pedals or inconsistent beater action disrupt your timekeeping and make fast patterns almost impossible.
Start by confirming the pedal clamps securely to the hoop. A wobbly pedal is harder to play and can even damage your drum over time.
Daily Pedal Checks for Smooth Operation
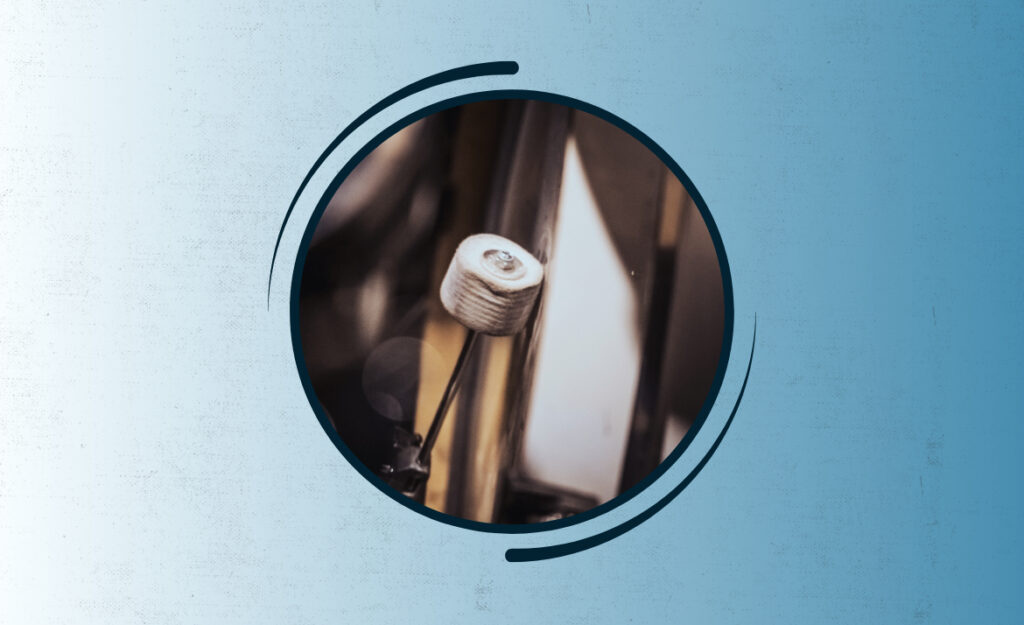
Before playing, test the pedal’s action with your foot—watch for jerky motion or sticking. Lube moving parts every month using a tiny amount of multipurpose grease applied with an old toothbrush.
For squeaky springs, remove them and coat lightly with Vaseline or a manufacturer’s spring lubricant. Wipe excess before reinstalling. Springs last longer and feel smoother with this regular attention.
Check beater angles so they strike the drum dead-center. A quick visual check after tightening ensures powerful, balanced response and consistent sound with every footstroke.
When to Replace Pedal Parts
Inspect felts and beaters every season. When felt turns hard or starts to crumble, swap for a replacement using a drum key and Philips screwdriver. Crisp, clean impact follows right away.
If the pedal is hard to adjust, check for stripped threads or cracked cams. Replace faulty parts with brand-approved spares, available at most drum shops and online. Keep a spare spring in your stick bag for emergencies.
Cracked footboards or loose rivets mean it’s time for professional repair or upgrade. Even slight footboard flex makes pedal feel inconsistent and can mess with groove, so deal with these issues before rehearsals or shows.
Upgrading Heads for Reliable Tone and Feel
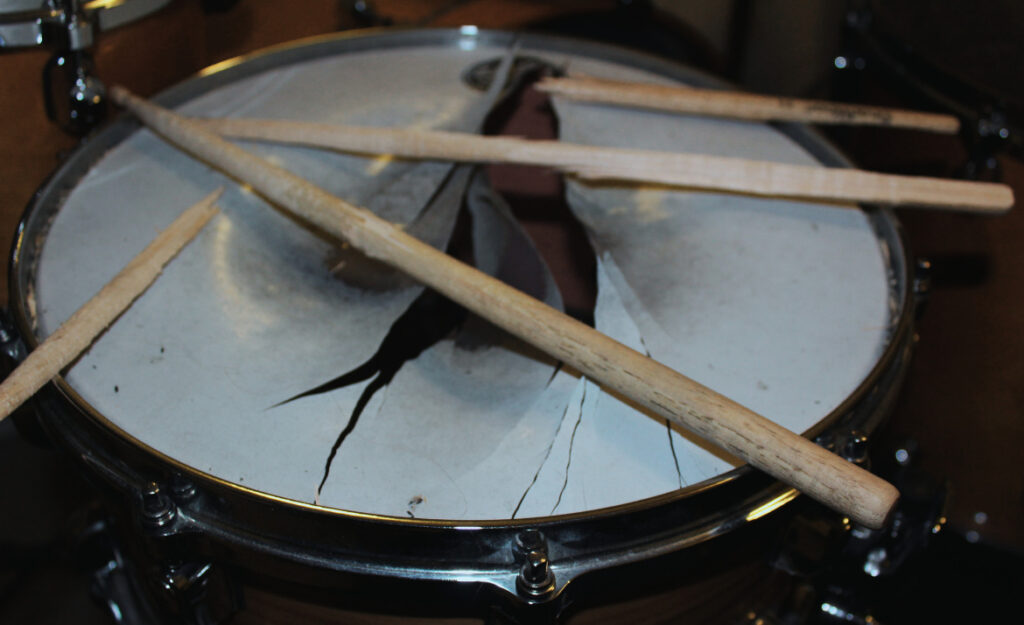
A fresh set of heads guarantees another level of tone and responsiveness. Upgrade when heads lose rebound, look dented, or struggle to hold tune—players notice the improvement from the first hit.
Changing drumheads feels like putting new shoes on tired feet: suddenly, comfort and control return, and every stroke feels precise again. Most common drum problems start to fade fast once heads are refreshed.
Sequential Head Replacement with Quick Tuning
Take off only one head at a time, cleaning the bearing edge before installing a new one. Lay the new head flat and finger-tighten lugs all around—drums sound better when the head seats evenly on a clean shell.
Tighten each lug in a star pattern and tap for pitch evenness. When each hit from lug to lug sounds similar, bring all lugs up by quarter turns and check for focused attack and resonance. If uneven, loosen and repeat.
Dial in your desired tone by adjusting batter (top) and resonant (bottom) heads. A slightly tighter bottom head gives snare drums sharp attack, and tuning tom reso heads up helps them sing in studio settings.
Keeping Heads In Tune Between Sessions
Wipe down heads after every session with a microfiber cloth to absorb sweat and dust; this keeps them crisp and focused and it’s an easy fix for common drum problems.
If heads lose tune quickly, mark the culprit lug with a wax pencil and check it regularly. Consider a drop of threadlocker for persistent lugs, but never overtighten—preserve shell and lug integrity by staying just tight enough.
Heads last longer when rotated a quarter turn each change. This exposes different head areas to stick impact, extending tone and life. Replace when stick dents, surface stretch, or uneven tone becomes noticeable despite regular care.
Resetting Stands and Mounts for Maximum Durability
Re-securing stands and mounts guarantees safety and preserves expensive gear. A loose stand means stray motion, distracting play, and even damage to shells or cymbals, especially in energetic settings.
Prioritize stands that support heavier cymbals or ride drums since they’re more likely to slip or wobble under pressure. Quick fixes save gear and time mid-set.

Three-Point Base Check for Stand Stability
Stand on a solid surface, then check all three legs: if any wobble, fully collapse then reset the spreader before extending. This basic tripod principle keeps stands grounded during fast-paced drumming.
Test all wingnuts and memory locks. If they feel loose, tighten with a drum key or appropriate wrench. Memory locks positioned flush with the height collar keep hardware reset for every session without guesswork.
Wipe stands regularly to keep threads smooth and free from debris. This habit ensures adjustment knobs hold tight, especially for rotating booms often repositioned for different setups or quick style changes.
- Reset stand heights by marking favorite positions with tape—reduces setup confusion.
- Check rubber feet: replace if cracked or missing to avoid floor scratches.
- Test cymbal arm tightness every time you transport gear; loose arms make cymbals spin unexpectedly.
- Add a drop of machine oil to moving parts monthly to extend hardware life.
- Secure excess cable or mic cord to stands with VELCRO to avoid accidental tripping in shared practice spaces.
Repeated checks mean you play with confidence and avoid gear mishaps. Reliable hardware cuts down on distractions and maximizes focus on performance, helping you fix common drum problems.
Fine-Tuning Drum Placement for Comfort and Speed
Placing drums ergonomically lets you execute fills faster and with less fatigue. Every inch of adjustment affects wrist, arm, and leg movement—so optimizing layout boosts technical ability instantly.
Borrow tricks from veteran drummers: sit at your kit and strike each drum without extending elbows fully. The best position allows for reach but keeps shoulders low and relaxed.
Micro-Adjust to Minimize Stretching and Maximize Rebound
Move hi-hats close enough that you can cross your left hand over with the stick tip lining up just past the snare center. This cut-downs wrist strain and speeds up transitions between hats and snare.
Angle toms slightly—steep enough for sticks to rebound naturally but shallow enough that you never hit head edges. Mark tom clamp positions with tape for perfect recall at the next gig.
Adjust bass drum orientation so your pedal foot rests naturally: knee bent at less than ninety degrees and heel barely off the pedal when relaxed. This eliminates leg fatigue even during intense double-kick runs.
Re-envisioning Drum Care for Peak Reliability and Sound
Every fix, tweak, or habit described here directly improves confidence and kit response. Fewer distractions equal more rhythmic creativity and reliable sound, every single night you play.
Common drum problems won’t disrupt your playing once you integrate diagnoses and solutions into daily routine. Systematic attention to drums, cymbals, hardware, and pedal action leads to tighter, more enjoyable sessions—recorded or live.
The path to lasting, reliable gear and focused playing comes from blending quick fixes with ongoing care. Adopt these tips and treat each maintenance step as a gateway to mastery, not just a chore post-practice.