The right shimmer in your cymbals isn’t just about cleaning. Those warm, bright overtones keep a groove alive, and every drummer has felt the sting of a dead, tarnished cymbal. Embedded within your practice routine, even a little cymbal maintenance preserves that essential sound.
Keeping cymbals at their best matters whether they’re high-end hand-hammered models or the starter set you use for jam sessions. A neglected cymbal loses more than its shine—it dulls the nuance of your playing and can lead to expensive replacements.
This article offers approachable, practical tricks for fresh cymbal maintenance and real-life scenarios, so you can stretch the life and sound of your cherished gear. Read on for techniques, checklists, and habits that make a difference at every level.

Routine Cleaning Methods That Work Every Time
Consistent cleaning routines give cymbals a predictable shimmer that always stands out onstage. You don’t need elaborate kits—just reliable, safe steps to follow after each practice or gig for lasting results.
Think of basic cleaning like brushing your teeth: a quick, gentle process after every use that keeps buildup at bay. These habits become second nature and prevent grime from becoming an issue in the first place.
Choosing the Right Cleaning Materials
Look for lint-free microfiber cloths and avoid anything with abrasive edges. Drummers sometimes grab a household sponge, but stick with fabrics that won’t scratch your cymbal’s lathed or brilliant finish.
An all-natural, pH-balanced cymbal cleaner is safe for brass, bronze, or even aluminum models. Remember, harsh chemicals can strip protective coatings and affect your sound, so check ingredients listed on the label each time.
For an everyday approach, a spritz of distilled water on your cloth works for quick wipe-downs. Don’t spray directly on the cymbal, as excess moisture can seep into mounting holes or felt pads.
Establishing a Cleaning Sequence
Set your cymbal on a soft towel, logo side up, before you start. Work lightly in concentric circles from the bell outward, matching the grooves made by the manufacturer.
Avoid scrubbing in random directions. This keeps fingerprints and stick marks from spreading or digging into the finish. Take your time with tough spots near the bell or edge—patience pays off in the long run.
Once finished, flip and repeat for the underside. A final dry buff with a clean, separate cloth will remove any remaining moisture, helping to prevent water spots or residue.
| Cleaner Type | Safe Surfaces | Application Method | Best For |
|---|---|---|---|
| Natural pH-balanced spray | Bronze/Brass/Aluminum | Microfiber cloth | Regular wipe-downs |
| Water + mild soap | All finishes | Light damp cloth | Removing fingerprints |
| Commercial polish | Brilliant finish | Soft cloth, circular | Deep cleaning (monthly) |
| Lemon juice solution | Uncoated brass only | Q-tip or cotton pad | Spot cleaning tarnish |
| Plain distilled water | Any cymbal | Spray and dry | Daily care |
Storage and Handling Habits That Prevent Wear
Careful storage and handling make a huge difference, especially if you gig or rehearse outside your home. Adopting a storage system protects cymbal surfaces from accidental knocks and long-term corrosion.
Drummers sometimes stack everything or stuff cymbals in generic bags. Instead, set up routines that cushion each cymbal and limit exposure to dust, moisture, and bumps.
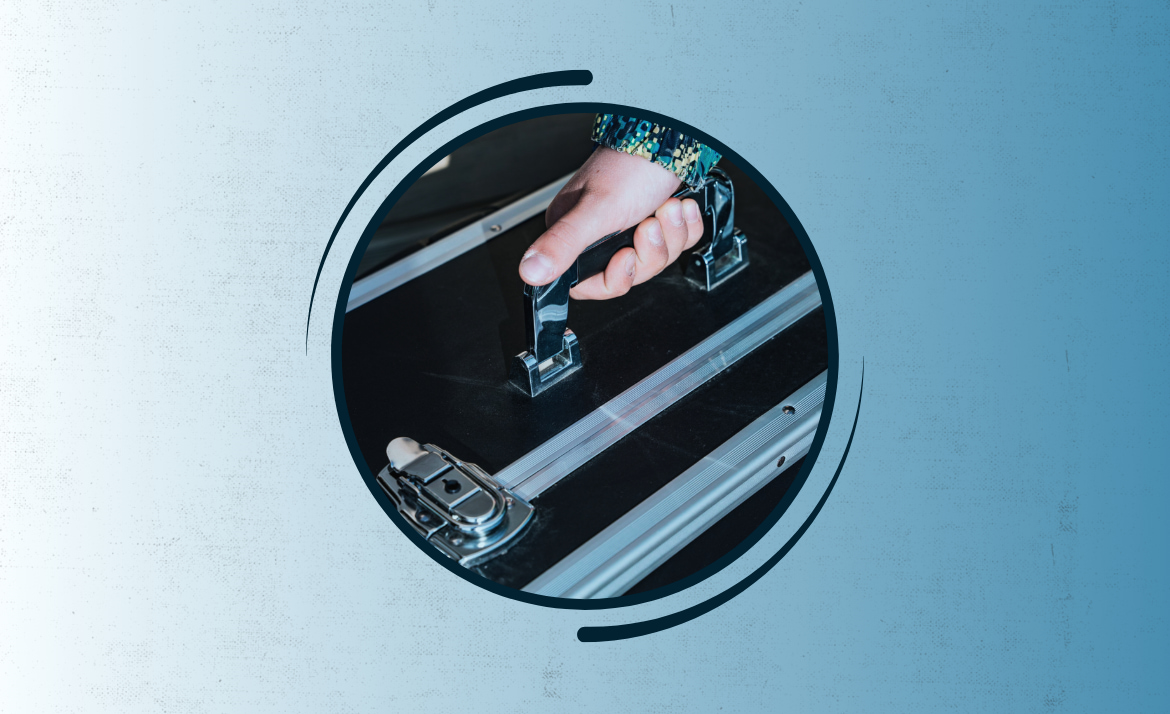
Cymbals Cases: The Drummer’s Guide to Stress-Free Transport
Explore practical routines and expert tricks to cymbals cases for stress-free drum travel.Packing Strategies for Consistent Protection
Dedicated padded cymbal bags or hard cases are designed to absorb shock during transport. Always insert cymbals with soft dividers or sleeves to avoid metal-on-metal contact.
- Store each cymbal in a separate compartment. This avoids scratching the finish or bending edges and keeps them from rubbing during travel.
- Keep felt washers between cymbals if they must share a compartment. Washers are cheap yet minimize metal contact and reduce edge chips.
- Always separate top and bottom hi-hats with a clean barrier. Placing them flush can warp edges and degrade shimmer, so a thin cloth or felt pad works best.
- Don’t overload cases with sticks or hardware. Extra weight causes dings, so pack lighter and leave bulky stands in their own bag.
- When stacking at practice, set cymbals on a flat, soft surface, bell-side down. This helps maintain their shape and overall response.
Avoiding knocks means you’ll see fewer keyholes, cracks, or inconsistent sizzle. Secure your cymbals with these steps after every session and before heading home.
Humidity and Temperature Considerations
Store cymbals in a dry, temperate space. Avoid garages or car trunks, where temperature swings can warp metal or foster corrosion overnight. Consistency in storage creates consistency in sound.
- Check humidity with a simple gauge. If your space falls above 60%, add a small dehumidifier nearby to protect your investment from moisture.
- Keep cymbals away from windows and HVAC vents. Sudden temperature changes create hairline cracks, especially along fine lathing.
- Avoid leaving cymbal bags directly on concrete floors. Raised shelves or a small rug buffer the metal from condensation, which can stealthily dull your shimmer.
- Limit direct sun exposure in storage—sunlight accelerates tarnish and strains the alloys, especially in brilliant or raw finishes.
- Create a regular storage check. Walk through your area, feeling for temperature shifts and spotting any early signs of corrosion with a flashlight.
By turning these simple checks into habits, you keep cymbals ready for rehearsal, recording, or last-minute gigs with minimal prep.
Realistic Polishing Habits for Maximum Shine
Adopt a practical approach to polishing by planning monthly refreshes rather than waiting for grime to become obvious. Polishing protects not just looks, but the signature clarity every drummer values.
Polishing does more than look good: it loosens stuck-on debris, smooths out tiny imperfections, and extends the distinctive shimmer beyond what routine cleaning can achieve.
Choosing a Polishing Schedule
Monthly polishing works for most setups. Mark your calendar—drummers say, “I spend 20 minutes keeping them bright, not hours fixing the damage later.” Stick to this and your cymbals outshine others on the gig.
Adjust frequency based on your environment. If you play smoky clubs or outdoor shows, bi-weekly sessions give better protection, especially if you see fingerprints build quickly after each show.
Notice a tacky, sticky feel after a session? That means a polish is overdue. Schedule touch-ups every couple of weeks for studio or heavy gig routines.
Safe Polishing Techniques
Always use non-abrasive polish, starting with a small, hidden test spot under the bell. If no discoloration follows, proceed in tight circles following the cymbal’s grooves.
Use a clean, dedicated cloth for each type of cleaner. Mixing cloths risks chemical interactions, leading to dull patches that ruin consistent shimmer. Never use polish designed for other metals—stick to cymbal-specific brands.
Buff gently until no residue remains. For tough marks, let the polish sit for a minute, then wipe again. This step revives shine without stripping away any protective outer layers.
Hands-Off Tactics That Extend Cymbal Life
Limiting direct hand contact helps prevent premature wear, fingerprints, and oil buildup that dull shimmer. By implementing hands-off strategies, you reduce the number of deep cleans or polishes needed each month.
Replacing bad habits with good ones keeps your cymbals naturally clean. Adopt these actionable tips to extend their life, improve performance, and simplify cymbal maintenance for years to come.
Using Gloves or Cloths During Setup
Many professionals handle cymbals with light cotton gloves, even during quick setups. This keeps body oils off the metal, which cause tarnishing and sticky spots that regular wipes can’t always remove.
If gloves feel awkward, wrap your hand in a folded microfiber cloth when positioning or adjusting. This offers the same protection with a little more flexibility, especially onstage between songs or during high-pressure gear changes.
Make it a ritual before every show: “I set up with gloves, so I never wipe my prints for hours after.” Habits like this pay off with lasting, consistent sound.
Minimizing Contact During Tear-down
Remove cymbals from stands by gripping only the edge, avoiding the playing surface. Lay each one on a cloth rather than stacking against bare metal. This reduces smudges and keeps polish intact longer.
Hand sweat is acidic and remains even after quick washes. Treat your hands before teardown with a rinse and dry, lessening risks of oils transferring from skin to cymbal.
Assign a specific person to handle cymbals during gigs—bandmates know, “He’s got the clean hands!” Share the routine to speed up pack-downs and avoid last-minute mistakes.
Early Intervention for Nicks, Cracks, and Dings
Spotting tiny dings and minuscule cracks early lets you address them before they ruin cymbal structure or character. Regular inspection during cymbal maintenance is the surest way to avoid catastrophic failures mid-song.
Situational awareness—looking over each cymbal after load-in or rehearsal—uncovers small problems. These short inspections take just minutes and prevent much larger costs or lost shows later on.
Repair versus Replace: Smart Decisions
For hairline cracks at the edge, light filing with a jeweler’s file prevents them spreading. Say, “I catch tiny cracks before they can run.” Do this sparingly and always sand smooth to preserve tone.
Edge nicks from stands or careless handling need attention. Round them out rather than leaving sharp corners; sharp cracks grow with every strike. Always re-inspect after filing to confirm the integrity of the area.
At the bell, small deformations sometimes occur from improper mounting. Straighten delicately with a soft mallet or have a tech handle repairs for rare, valuable cymbals rather than risking further damage.
Creating a Damage-Prevention Checklist
Use this checklist every month:
- Inspect all edges for rough spots or cracks. Smooth with a file if you catch something minor; consult a pro for major issues.
- Check mounting holes for roundness and look for spiderweb cracks. Unround holes lead to keyholing and eventual separation.
- Survey logos and coatings for peeling or fading. This helps you gauge whether cleaning or storage methods are working or need to change.
- Test the resonance—play a soft stroke and listen for buzzing, odd overtones, or sudden decay, which signal hidden cracks.
- Photograph cymbals each quarter and compare pictures, spot subtle changes, and share findings with other drummers for troubleshooting tips.
Address issues fast to avoid lost gigs or degraded sound quality, making these quick checks part of every serious drummer’s habit list.
Routine Cymbal Maintenance for Every Skill Level
Anyone can build simple, protective routines that support shimmer and longevity, regardless of gear cost or experience. Adapt these processes to your lifestyle for steady, predictable results over time.
Push yourself to create consistent maintenance windows—right after rehearsal, before packing up, or during weekly downtime. The sooner you act, the less time grime has to settle or damage to compound.

Customizing Maintenance by Usage
If you play multiple venues, keep a travel kit with microfiber cloths, gloves, and pH-balanced cleaner inside your gig bag. Label it “cymbal first aid”—drummers always need backup supplies in the real world.
Practice room setups stay cleaner with a wall-mounted rack and covers on each cymbal. Add a “last to clean, first to play” habit so you start every session with the most-used cymbal at its best.
For younger drummers or beginners, set up a simple “clean after every session” rule and use a chart—visual cues help build the habit. Stick to these routines and even old, budget cymbals will keep a healthy shimmer.
What to Remember for Crisp, Lasting Cymbal Shimmer
Frequent, gentle cleaning and protective handling pay off with a reliable shimmer that makes every playing style shine. Small actions compound over time, making cymbal maintenance a natural extension of musicianship.
Every serious drummer deserves the bright, expressive sound of well-cared cymbals. Ongoing attention to cleaning, polishing, and damage prevention is how drummers preserve their investment without hassle.
Try a new habit this month: add a few minutes to your regular routine for inspections or touch-ups. Soon, shimmer and clarity become your signature sound—on every stage, in any style.