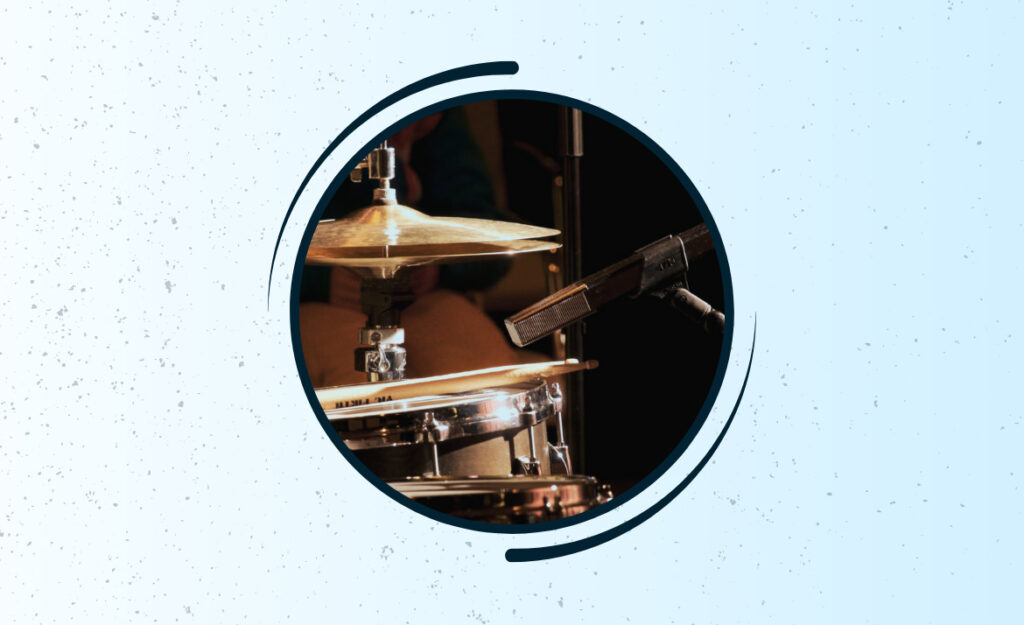
If you’ve ever spent hours cleaning up drum tracks, you know the pain of bleed ruining the perfect take. Getting cymbal microphone placement just right changes that game instantly.
Making so many adjustments while chasing studio-quality sound can feel overwhelming, even before you hit record. Cymbal mic bleed isn’t some minor inconvenience — it shapes the groove of your whole mix.
This guide dives deep into practical, repeatable cymbal microphone placement strategies that boost clarity and keep your session creative and smooth. Let’s demystify every detail and unlock the power of smart mic choices.
Getting Consistent Overhead Balance Every Take
Clients love repeatable, balanced recordings. Define your overhead approach early: will this session lean bright and present, or do you need smooth, natural cymbals blending with tight toms? A plan gets results.
Start with overheads spaced evenly from the snare, measured with a tape or drumstick for symmetry. This step lets cymbals shine while snare and toms feel locked and centered in your stereo field.
Boundaries and Room Influence in Overhead Placement
Walls and ceilings change your overhead mic sound far more than you expect. Positioning a mic too close to a ceiling bounces high-frequencies right back, creating harshness and more bleed.
Avoid corner and wall reflections by keeping overheads centralized in the room. If you’re in a tighter space, experiment with absorbent panels or heavy curtains between kit and wall.
If a drummer sits within four feet of a hard surface, try moving the kit or using gobos to block side reflections. Notice the resulting clarity before moving to smaller details.
Spaced Pair Versus XY for Clarity and Bleed Control
The spaced (A-B) technique enhances width but picks up more of the room, which can worsen bleed from adjacent cymbals or toms. Use this for lush, open sounds.
An XY pair gives great mono compatibility and can limit some bleed, making it ideal in challenging rooms — just angle them above the snare, pointing outward slightly for best results.
For busy drummers or aggressive playing, XY often wins on separation and punch. Always compare the image and bleed on headphones before settling on a configuration.
| Mic Pairing Type | Bleed Level | Best Use Case | Actionable Adjustment |
|---|---|---|---|
| Spaced Pair (A-B) | High | Big rooms, wide image | Pull back from cymbals, mind phase |
| XY Stereo | Moderate | Live rooms, mono checks | Center above snare, angle out |
| ORTF | Medium | Natural spread, minimal phase | Pole 110°, 17cm spacing |
| Glyn Johns | Low | Rock drums, minimal setup | Snare-axis mic, second overhead right |
| Mono Overhead | Lowest | Dense mixes, classic sound | Place over snare/highest cymbal |
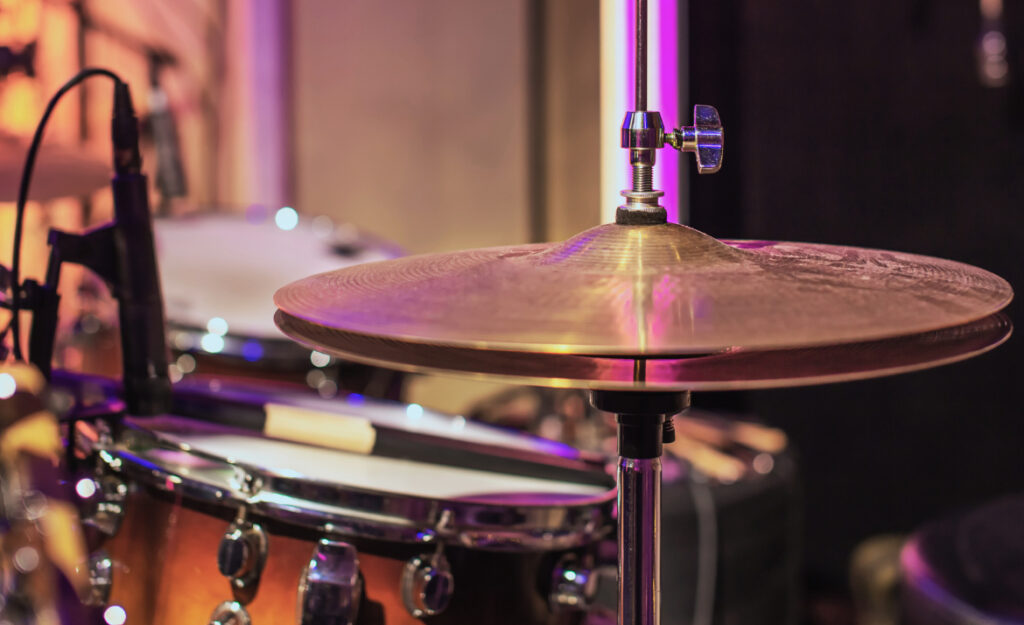
Taming Bleed at the Source: Cymbal Height and Player Technique
Before you move a single mic, ask the drummer to set up their cymbals at a moderate height, not too close to the toms or snare. This gives immediate separation.
Demonstrate to the drummer how playing with less force on cymbals reduces excess energy in the overheads. Reinforcing this with a short soundcheck phrase anchors the idea physically.
Small Changes That Shift Tonal Balance
Even an inch of height added to a crash stand can change how direct the sound appears to a microphone. Try this: raise the right crash slightly, then re-listen through your overhead mics.
- Lift the hi-hats two inches higher: Generally results in less snare bleed into their mic, and brings clarity to hi-hat articulation in slower or jazz patterns.
- Angle rides away from snare: Reduces direct line-of-sight for the microphone, pulling more stick definition and less ‘wash’ from the snare hits.
- Swap thinner crashes for thicker ones: Lowers overall bleed by making the cymbal pitch stand out from the rest of the kit, especially beneficial in dense arrangements.
- Encourage less aggressive playing: Every decibel the drummer drops pays off in reduced mic spill that’s easier to mix and process downstream.
- Limit cymbal stacking: Multiple cymbals close together excite a larger area of the overhead field, increasing overall bleed across both close and distant mics.
Addressing these physical tweaks lets mics do their job better. Always listen after adjusting placement or gear, not before, so you hear true changes.
Physical Solutions That Don’t Involve Editing
Try placing felt dampeners on particularly washy cymbals. The result in your overheads is immediate—the extra high-frequency shimmer pulls back, letting snare and toms breathe simultaneously.
- Position ride cymbals further from floor toms: Creates a clearer image, avoids masking the low end, especially useful in metal or fusion kit setups.
- Palm-mute large crashes between takes: Stops ongoing resonance and reduces ‘tail’ bleed into room and close mics, crucial for cleaner edits.
- Stick with medium cymbals for recording: These balance projection and control, keeping their bleed in line with snare or tom microphones.
- Encourage quieter stick tips and stronger stroke for drums: Shifts the balance so cymbal energy doesn’t overwhelm intended drum articulation in any mic.
- Limit stands and extra hardware near snare zone: Additional metal vibrations can excite more frequencies into overheads and complicate bleed control during mixing.
Focus on these on-the-fly fixes at rehearsals—they make for relaxed drummers and reliably smooth cymbal microphone placement outcomes every time.
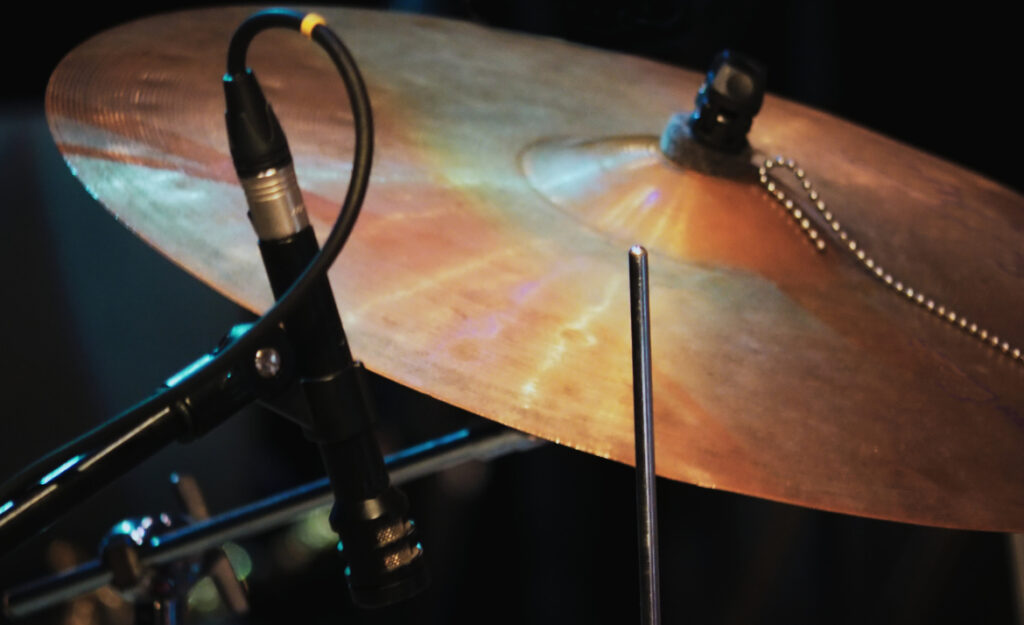
Tightening Up Sound With Spot Mics and Minimalist Setups
If you crave precision, supplement overheads with close spot mics on cymbals you want most present in the mix. Place small-diaphragm condensers 4–8 inches above the bow or edge, angled away from snares.
This setup works best when each spot mic is treated as a coloration tool: blend it in lightly for sparkle, never as the main cymbal sound source.
Angle and Distance Logic for Small-Diaphragm Mics
Point your microphone’s diaphragm downward, not directly towards the drummer’s face. This pick-up pattern isolates cymbal vibrations but rejects low-mid frequencies radiating from toms or snare below.
Start with the mic pointed between the bell and edge, then adjust angle for desired attack or shimmer. Ask, “Which frequency do you want forward: stick or sustain?” and tune angle accordingly.
Distance changes both clarity and level. Moving a spot mic from four to eight inches above a crash smooths out stick noise and keeps accidental drum hits from dominating the channel.
Using Small Mix Moves — Not Big Faders — When Bleed Remains
If your mix still sounds splashy, try high-pass filtering spot mics aggressively (200 Hz or higher). Watch for phase cancellations: solo the spot, then blend it under overheads until only desired shimmer comes through.
Rather than muting spot channels when not in use, automate them to fade just as cymbal performance begins, catching only the crucial articulation or crescendo.
For live situations, gate the spot mics using fast attack/release settings, so only intentional hits open them. This brings clarity even when stage volume and player dynamics fluctuate continuously.
Optimizing Phase Alignment When Multi-Miking Drums
Aligning phase between overheads, close drum mics, and spot cymbal mics sharpens every hit, reducing muddiness and bleed. This single task makes mixes easier to build and more musical to listen to.
Start by recording a test groove, then flip the polarity (phase) on your overheads, snare, or spot mics one at a time. Listen for jaw-dropping punch or sudden hollowness—that’s your ear guiding choice.
Visual and Timing Checks Any Engineer Can Try in Seconds
Zoom in on waveforms. Lining up snare transients from overhead and close mics helps lock in the center image. If wave peaks point the same way, your phase is likely aligned right.
Tweak one mic’s distance, even by half an inch, if you find that certain kit elements lose heft or clarity. Use a tape measure to maintain symmetry across the kit.
If phase issues persist, switch mic types or polar patterns. Sometimes a cardioid replaces an omni, or a ribbon tames harshness while maintaining focus.
Listening in Mono: The Fastest Sanity Check for Bleed
Collapse the mix to mono and listen on basic headphones or monitors. Bleed jumps out harshly when mics are out of phase, sounding hollow or thin—fix at this stage before continuing.
Apply these quick mono listens at several points through tracking, especially after moving any mics or hardware. Even a slight movement can throw cymbal microphone placement off balance.
Modern DAWs often have a mono button or plugin for instant checks. Trust your ears, not visual meters or assumptions from earlier sessions.
Improving Bleed Rejection Using Mic Polar Patterns and Types
Choosing the right microphone type for each cymbal can radically shape your bleed profile. A hypercardioid mic focuses tightly, rejecting more off-axis energy than a typical cardioid.
For ride cymbals beside toms, point a supercardioid mic directly at the bell. Tilt it away from the snare. You’ll notice less low-end rumble bleeding up from the rest of the kit.
Placement Strategies for Ribbon and Dynamic Mics
Ribbon mics capture smoothness but pick up from both front and rear. Place them above crashes, but check back lobe isn’t aimed at a bright wall or glass window, or the result gets wild.
Dynamic mics, when used creatively, can provide isolation on splashes or stacks: angle the grill just past the cymbal edge, no closer than four inches but offset from direct stick hit path.
To stop excessive bleed, ask the drummer to pause, clap at their seat, and listen back. If it sounds hollow or boomy, re-angle or add absorption on nearby hard surfaces.
Polar Pattern Gameplan for Real-World Drum Rooms
Omni mics spread sound in all directions—good for lush rooms, dangerous for tiny ones. Use only when room sound flatters cymbal tone and distance from walls is at least 6-8 feet.
Bass traps behind large cymbal stands, or foam tucked near the rear of mics, let you push gain higher before bleed overwhelms the most sensitive channels. Try both in tricky home studios.
Keep condenser mics switched to tightest pickup pattern available. This step eliminates some side bleed and can limit ringing from snare wires during heavy gig sessions or dense arrangements.
Choosing the Right Positions for a Natural Drum Sound
The ultimate goal of every cymbal microphone placement session is to create coherence—every drum and cymbal clear, centered, and musical, not separated or artificially boxed in.
Establish a reference: play a favorite drum mix, listen, then position your overheads and spots to mimic the stereo spread and balance of that pro track. This keeps your aim realistic.
Comparing Mic Placement Choices and Their Effects
| Placement Approach | Resulting Bleed | Stereo Image | Practical Tip |
|---|---|---|---|
| Close Overheads Above Snare | Lower but focused | Tight, controlled | Use for punchy drum mixes |
| Wide Overheads Near Cymbals | Higher, bright bleed | Expansive, airy | Lower faders if splashy |
| Mono Overhead Over Mid Kit | Even bleed | Classic, cohesive | Combine with room mic for width |
| Spot Mic Above Rides/Crashes | Minimal, targeted | Pinpoint image | Blend in gently for presence |
| Room Mic at Distant Wall | High, organic | Naturally blended | Compress for drama, monitor phase |
Compare these approaches before committing. Take photos of your setups each session. You’ll build a personal guidebook for consistent, creative cymbal microphone placement blend every time.
Key Steps to Maintain Isolation From Tracking to Mixing
Clean isolation at the source guarantees smoother mixing. Set up gates and precise EQ cuts with confidence only when the original recording has clear, well-placed cymbal mic signals.
Once you get drums to sit in the mix naturally, cymbals should not jump out with extra volume or unpleasant resonance. Adjust compression and brightness to taste, not as compulsory fixes for bleed.
- Set high-pass filters at 200 Hz+ on cymbal spot mics: This step instantly removes unnecessary drum resonance, leaving cymbal sheen intact for later processing.
- Apply light gating to overheads for busy sections: Keeps mix dynamics steady without abrupt cymbal cuts; set fast attack and medium release for musical transparency.
- Automate cymbal spot mic faders instead of just muting: Leaves room for natural decay, prevents jarring sound changes on transitions between song sections.
- Use parallel compression only after phase-checking groups: Avoids amplifying any accidental bleed or phase cancellation already present in cymbal mic channels.
- Test reference mixes across headphones and small speakers: Identifies hidden bleed issues that might go unnoticed in studio monitors, saving time in final mastering steps.
Once tracking is done, move through these post-production checks in order. Good cymbal microphone placement locks in clarity at every step, from live session to finished mix.
When to Experiment and When to Stick With the Basics
If you want consistent results every session, don’t chase the wildest new placement idea. Save experiments for rehearsals or personal projects, not critical tracking days.
Rely on templates or previous setups for similar genres and players. If something stands out as murky or ringy, make a one-mic change—for instance, pulling a ride spot back or angling an overhead slightly.
Testing Variations With the Drummer’s Feedback Involved
Run through a quick routine after warm-up: record a groove, play it back, and ask, “Does each cymbal sound natural and clear to you?” Use the drummer’s own sense of balance to guide tweaks.
If the drummer frowns or leans in while listening, probe further: “Which cymbal sounds off?” Adjust and track again. Drummers trust their reference mixes; honor their feedback for lasting results.
Continue these check-and-adjust loops until everyone’s relaxed and nodding in agreement. Document the final positions and note challenges for future sessions—it saves hours of guesswork next time.
Core Takeaways for Effortless Cymbal Bleed Management
Every technique here points to one truth: great cymbal microphone placement is the difference between a tiring mix and a session that flows. Your ears and planning matter more than any single piece of gear.
The time spent balancing cymbal height, adjusting positions, and checking phase brings repeatable results that impress both drummers and producers. Bleed becomes manageable — not a dealbreaker.
Apply these tactics, experiment intelligently, and keep refining your setups. You’ll unlock mixes where cymbals lift, not mask, the groove and every track builds toward a radio-ready sound.