There’s something satisfying about a pristine drum kit, from shining lugs to snappy snare stands. Even a practiced drummer knows drum hardware care keeps every groove smooth and every gig stress free.
Neglected hardware isn’t just a cosmetic nuisance—it directly impacts your sound, reliability, and investment. Over time, rust and squeaks will creep into stands, pedals, and brackets, making small issues into real obstacles.
Let’s explore proven ways you can safeguard your gear against corrosion and noise, picking up practical habits for years of trouble-free practice and performance. Dive in for expert guidance on keeping your drum hardware spotless and silent.
Build a Consistent Cleaning Routine that Protects Every Drum Part
A thorough cleaning habit prevents buildup before it starts, locking in value and performance. Drummers who regularly wipe down gear rarely battle rust or squeaks.
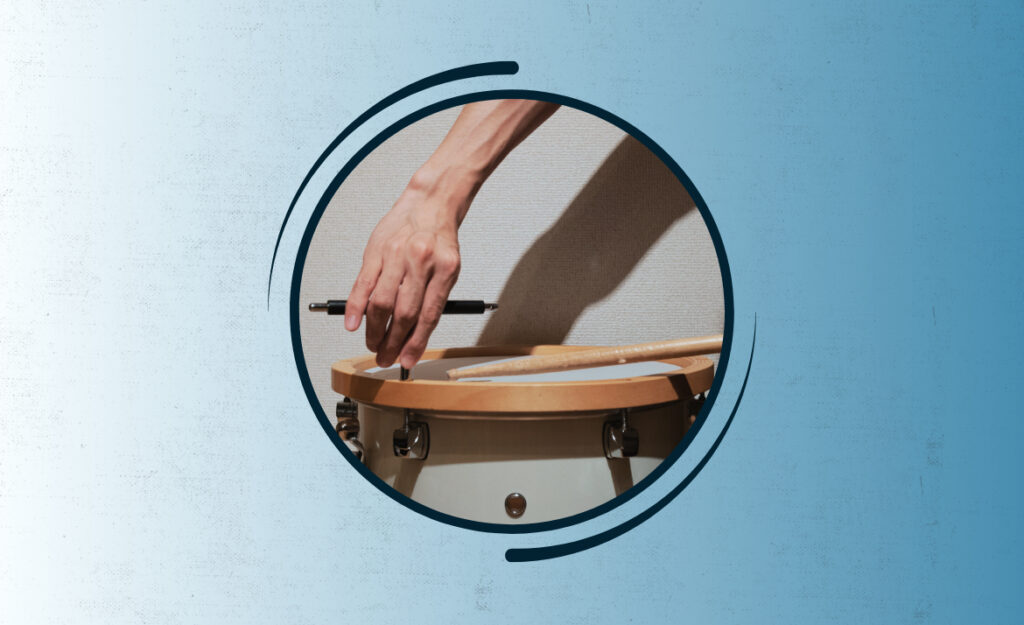
Use a soft microfiber cloth after every session. This removes sweat, dust, and fingerprints that speed up corrosion. Dry hardware performs best and lasts longer.
Choose Cleaners that Won’t Harm Metal or Finish
Skip harsh household cleaners—some can strip plating or leave a sticky residue. Drum-specific polishes are made for chrome and nickel hardware, preventing future rust and safe on all finishes.
If you’re mixing your own solution, mild dish soap and warm water work well. Dip the cloth (not the hardware) and avoid soaking parts. Rinse and dry thoroughly right after.
Avoiding sprays directly on hardware shields drum shells and bearing edges from overspray. Dampen the cloth, not the part, to control application and keep your drums safe.
Get Into Tight Spots with Brushes and Picks
Even tiny crevices like wingnuts and pedal hinges collect grime. Use a soft-bristle toothbrush for these areas, moving gently so as not to scratch or chip plating.
For stuck-on debris, a wooden toothpick or plastic scraper gently loosens grime without scraping the metal. Avoid anything sharper than a business card edge if you need to pry.
Cleaning inside threads or around knurled rings, work in small circles and use steady but light pressure. This helps keep hardware turning smoothly year after year.
| Cleaning Tool | Best For | Avoid On | When to Use |
|---|---|---|---|
| Microfiber Cloth | General Wiping | N/A | After Every Session |
| Soft Toothbrush | Crevices & Threads | Delicate Finishes | Weekly or After Gigs |
| Plastic Scraper | Stubborn Debris | Plated Surfaces | As Needed |
| Drum Polish | Chrome Cleaning | Wooden Shells | Monthly |
| Compressed Air | Removable Dust | Open Bearings | Monthly or Before Storage |
Lubricate for Silence: Apply the Right Products, the Right Way
Quiet, responsive drum hardware starts with proper lubrication—never guesswork. Regular attention guarantees your tension rods, pedals, and stands stay squeak-free and easy to adjust.
Use a lightweight machine oil on moving metal components where friction is high. Use sparingly; excess attracts dust and creates sticky buildup that’s hard to clean later.

Drum Maintenance Tips That Truly Boost Drum Kit Longevity
Proven drum maintenance tips for drummers seeking better sound and longer drum kit life.Target Friction Points During Every Tune-Up
Pinpoint noisy areas by moving parts under tension, like hi-hat clutches and snare strainers. Listen closely as you rotate or press, applying oil only to hinges or joints that resist movement.
- Apply one drop of oil to pedal springs, pumping gently to distribute and quiet squeaks.
- Treat hi-hat stand rods with a drop at both upper and lower ends for smooth up-and-down action.
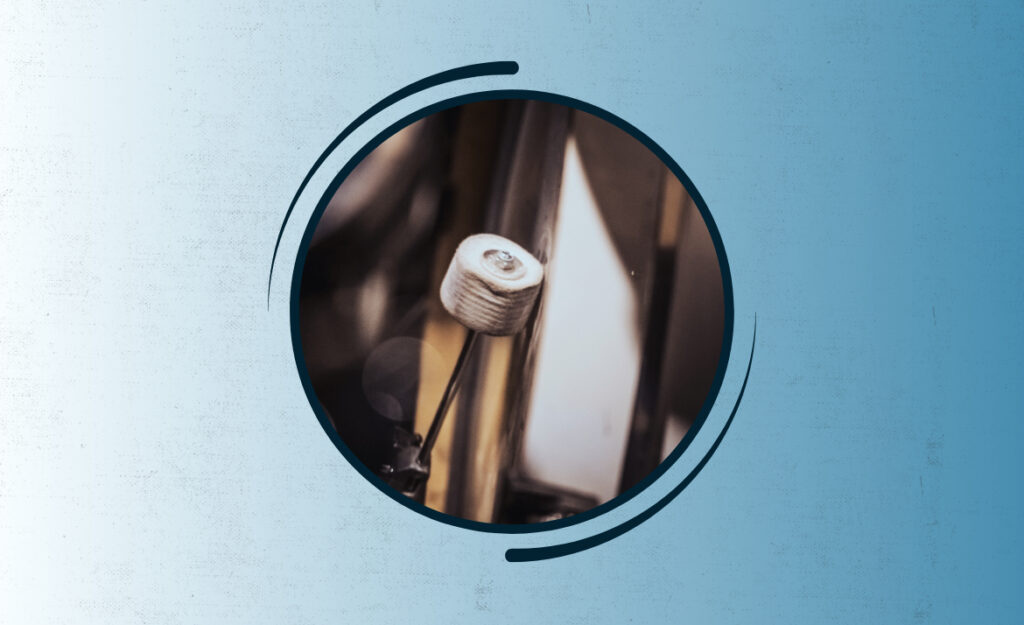
- Lube wing screw threads so they spin freely by hand—slow threads indicate hidden corrosion.
- Wipe away old grease, old oil attracts dust and gums up threads over time.
- Check memory locks and brackets for motion; clean, re-lube, and test before reassembling your kit.
This simple approach maintains consistency kit-wide. Don’t add oil to bearings or non-metal bushings; these need dry cleaning, not wet lubrication. Keep all rags for hardware only—never use a drumhead-cleaning rag on oily parts.
Create a Lubrication Tracker: Record Dates and Types Used
Tracking when you lubricate each hardware part prevents over-oiling and neglect. Make a quick table in your phone or notebook noting when you last treated pedals or stands and what product you used.
- Write down tension rod lubrication dates, as uneven rod friction can affect tuning.
- Log pedal chain lubrication to fix squeaks before they return mid-show.
- Mark hi-hat stand service dates so performance stays constant week to week.
- List which brand and oil type you use for quick reference later.
- Note trouble spots—if you revisit a fixing area, check for misalignment instead of relubricating.
By sticking to your list, you spot patterns of wear or recurring problems. This saves time and sidesteps last-minute gig stress.
Store Smart: Keep Hardware Safe from Moisture and Accidents
Safe storage shields drum hardware from surprise rust and damage. Adopt habits that make packing up as easy and dependable as setting up.
Treat every piece—even those used infrequently—with the same care as your favorite snare drum. Heavy-duty cases and zippered hardware bags protect metal from moisture and accidental impacts.
Build a Packing Checklist that Works Every Time
A brief checklist ensures you don’t miss easy steps that stop damage. For example: “Wipe down all contact points, fold stands fully, place tension rods in labeled bags.”
Packing becomes muscle memory after a few gigs. You’ll prevent lost parts and ensure that each setup runs smoothly.
Make a habit of airing out bags at home. Exposing the lining to open air after a long drive helps avoid trapped moisture, especially after outdoor events or humid rehearsals.
Choose Storage Locations Away from Temperature Swings
Leaving hardware in car trunks or garages means subjecting it to dew and sudden chills. Instead, use an interior closet or dry basement shelf for gear that waits between gigs.
This single change extends hardware life dramatically. Analogous to keeping a bike indoors, avoiding moisture-laden storage pays off after a few rainy seasons.
If you must store in a car or shed, stash silica packets in hardware bags. These small moisture absorbers cut down on rust during short stints away from home.
Spot Early Warning Signs: Address Corrosion and Noise Before Disaster Strikes
Watching for subtle signs lets you fix issues early and avoid mushrooming repair bills later. The first visible spot of rust or new squeak is always easier to handle than a total breakdown.
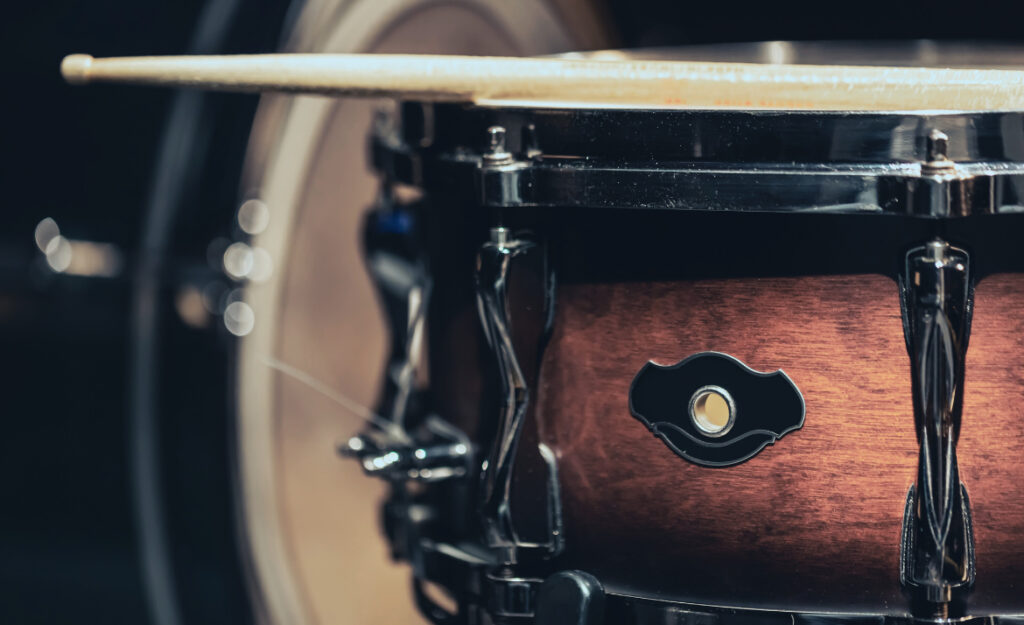
Develop a routine for inspecting drums at every setup, targeting common trouble spots: threads, moving joints, hidden edges around mounting brackets and pedal hinges.

Check for Rust: Surface, Thread, and Internal
Surface rust appears as orange or brown flecks on chrome or nickel. Gently scrape a spot with a fingernail; if it comes off, polish soon to prevent spreading.
Thread rust slows down tuning rods or stand hardware. The first feeling that a rod is ‘sticky’ means there’s corrosion inside. Work oil into these threads and wipe away debris.
Internal rust inside pipes and brackets is harder to spot but can be found by feel—sudden resistance or crunchiness in stands signals attention is needed immediately.
Listen for Squeaks: Pinpoint and Silence Them
After each assembly, spin your pedals and work your hi-hat stand. Closed snare strainers and open-close actions should move freely, without slow return or creaking sounds.
If a squeak returns after oiling, try loosening and retightening hardware. Out-of-alignment or bent parts can cause persistent noise that lubrication alone won’t cure.
Keep a troubleshooting notebook—date, noise location, and what fixed it. These mini-logs make future diagnosis quick, and you’ll spot patterns unique to your kit.
Replace and Upgrade: Proactive Swaps Improve Lifespan and Performance
Swapping parts before failure preserves both sound and playability. Rather than waiting for a broken spring or cracked bracket, replace high-wear items on a regular schedule.
Start with spots that get the most use—kick pedal springs, hi-hat felts, stand sleeves. Upgraded hardware boosts reliability and may reduce maintenance needs overall.
Prioritize Replacement Based on Usage Patterns
If you play rock gigs each week, pedal springs and chains see far more action than drum lugs. Assess their feel and replace when tension or swing changes affect performance.
For gigging drummers who spot corrosion inside cymbal sleeves, swap both sleeve and felt. This saves cymbals from keyholing damage, preserving your biggest investments.
Document replacement intervals for fast recall later: “Kick pedal—new spring every year; hi-hat clutch—swap felt every six months.” Consistency saves you from hassle mid-show.
Upgrade Weak Links with Professional Grade Parts
Identify the hardware that fails twice as quickly as others. For example, swap lightweight stand legs for double-braced options if you tour, giving long-lasting support for heavy rides.
Invest in stainless steel rods for humid venues—these resist rust far better than basic steel, making them ideal for summer outdoor gigs or coastal climates where sweat and salt hang in the air.
Keep a spare set of tension rods, hi-hat felts, and drum keys in your case. This proactive approach saves you from panic when small parts vanish or break on the road.