There’s a moment in every gig where the connection between the drums and the audience defines the show. For small venues, drum kit miking makes that moment possible without overpowering the room or losing the groove’s clarity.
Small room acoustics can challenge every drummer and sound tech. With the right drum kit miking, you’ll provide punch and detail, help vocalists stay in the mix, and prevent muddy band sound on stage.
Exploring these refined, real-world drum kit miking techniques will boost your confidence, improve live mixes, and turn every small venue show into an energetic, rewarding experience for musicians and audiences.
Choosing Reliable Microphone Types Ensures Consistent Drum Sound
Consistent drum sound at small shows depends on selecting the right microphones for each kit part. Using matched gear takes the guesswork out of setup and mixing, letting you focus on performance.
Dynamic microphones work best for snare and toms thanks to their durability and focused pickup patterns. Condenser mics offer crisp cymbal and overhead capture but require careful placement and isolation.
Matching Mics to Kit Elements Preserves Each Drum’s Character
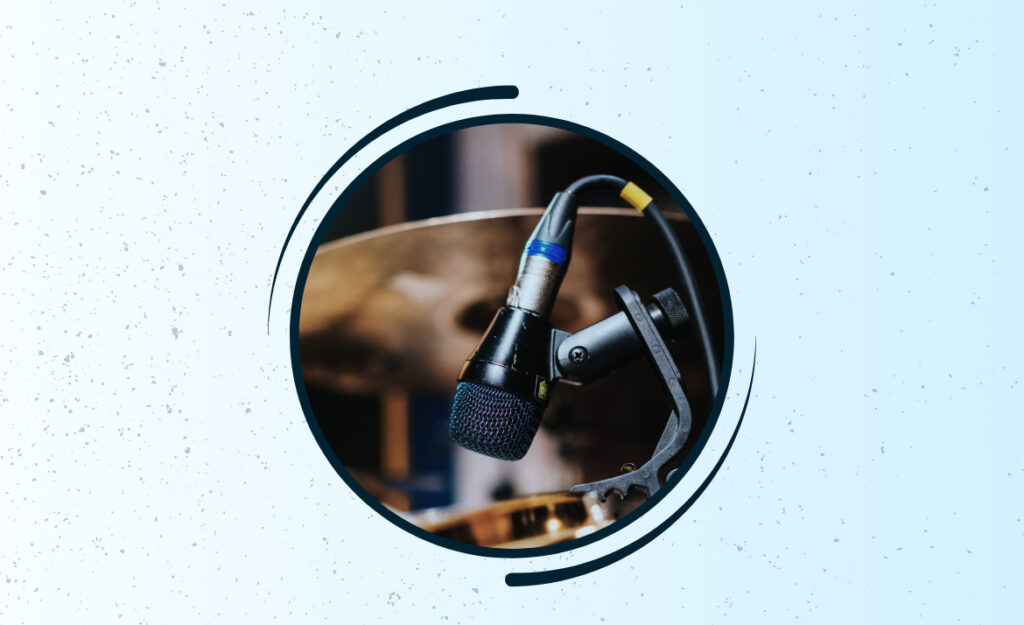
Snare hits can sound lifeless or harsh without suitable dynamic mics. Try an SM57 or Audix i5 directly above the rim, aiming at the center for punch.
For toms, use clip-on dynamics like the Sennheiser e604. Suspending condensers such as the Rode M5 above the kit allows cymbals to shimmer without picking up unwanted snare bleed.
Always match the mic’s rejection pattern to the layout. Hypercardioid or supercardioid patterns isolate the drum from nearby amps or crowd noise with impressive results.
Using Analogies: Microphone Selection as Picking the Right Tool
Think of microphone selection as choosing between a hammer and screwdriver. Both are essential, but not interchangeable. Dynamic mics handle brute force, while condensers deliver nuance you can hear in delicate cymbal patterns.
This tool analogy cements that using the right microphone means less EQ, fewer headaches, and more musical impact from each drum hit.
It’s like turning the right screw first try—minimal force, perfect fit.
| Mic Type | Best Drum Use | Pros | Takeaway |
|---|---|---|---|
| Dynamic | Snare, Toms | Rugged, focused sound | Use for clarity with loud drums near amps |
| Condenser | Overheads, Hi-Hat | Crisp, detailed capture | Position for cymbal presence without bleed |
| Boundary/PZM | Kick, Whole Kit (ambient) | Natural room blend | Place on floor for added depth |
| Ribbon | Room/Ambience | Warmth, smooth highs | Use far from drums, low stage volume required |
| Clip-On | Rack/Floor Toms | Quick setup, stays in place | Great for fast changeovers |
Building a Reliable Mic Placement Routine Avoids Stage Surprises
Routine mic placement for drum kit miking eliminates feedback and awkward last-minute adjustments during load-in. Starting with a checklist sets clear expectations and gives every show a steady foundation.
Small stages mean limited movement. Spend a minute planning your mic stand locations, cable paths, and the kit’s footprint before a single stand goes up. This results in more room for players and fewer cable snags.
Mapping a Mini-Checklist to Prepare Your Drum Kit Space
Check your available mics, stands, and cable lengths before unpacking. Confirm power for condenser mics (phantom) and preplan what the sound tech needs—like DI boxes and extra clips.
- Lay out the drum kit first. This determines mic placement and prevents tripping over cables during the scramble before soundcheck.
- Set up all mic stands and cables before mounting mics. Test each cable’s connection to the mixing board for reliable signal flow.
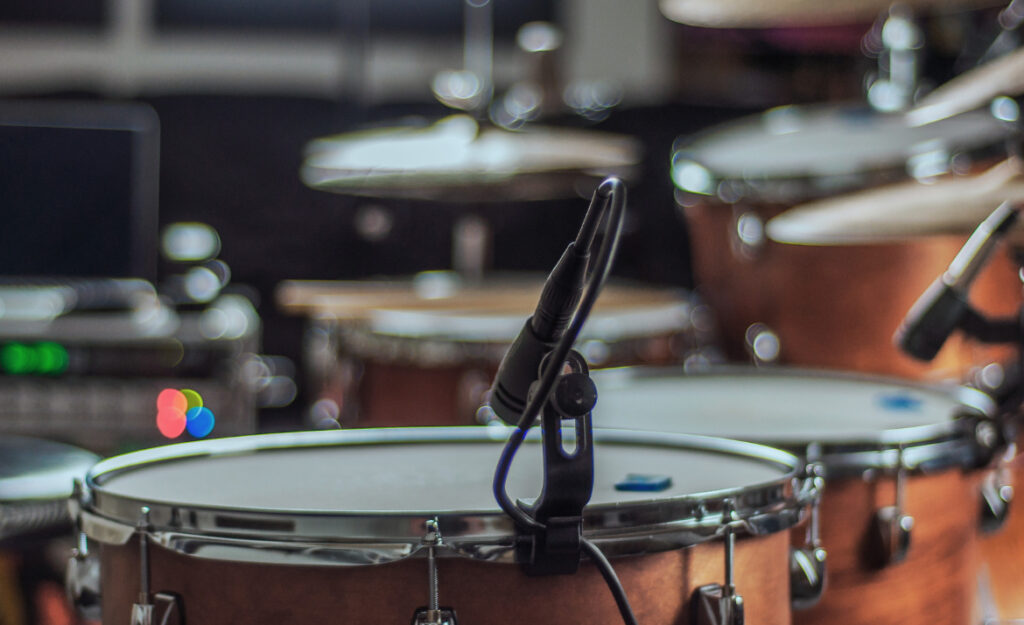
- Clip tom or snare mics firmly to rims to avoid slippage. Ensure that stands don’t block player movement or cymbal extension.
- Angle each mic slightly off-axis from direct drum hits. This preserves the natural sound while reducing stick “pop” and harsh transients.
- Label your cables and stands for quick teardown and fast troubleshooting. Repeat each step for every show until it becomes muscle memory.
Plan these steps before guests fill the room—every saved minute equals less risk of onstage problems mid-set.
Real-World Scenario: Dialogue for the Sound Tech
You’ll notice techs coordinate by saying, “Kick in, check. Snare top, check. Hats ready, check.” Running through this process builds anticipation and ensures nothing’s missed before you warm up.
- Communicate position changes (“Moving ride mic left to clear rack tom”) for clear teamwork in noisy or crowded venues.
- Verbally label each mic out loud (“This is for hi-hat!”) as it’s placed, so the mixer remembers channel assignments when the pressure’s on.
- Check input levels immediately. A tech calling “Keep playing snare” while adjusting gain means fast results.
- Describe exactly what you’re hearing in your monitors. Phrases like “kick is boomy, snare’s thin” help direct EQ changes on the spot.
- Thank techs for each adjustment. Quick gratitude speeds up the whole rehearsal and creates positivity before the doors open.
Planning and communicating using these actions lets the entire crew anticipate and solve problems quickly, making soundcheck smoother for everyone.
Fine-Tuning Kick and Snare for Punch Without Overload
Dialing in punchy kick and snare sound ensures that drum kit miking translates aggressive playing without overwhelming the mix. Start with the kick mic halfway inside the drum, aimed slightly off-center from the beater.
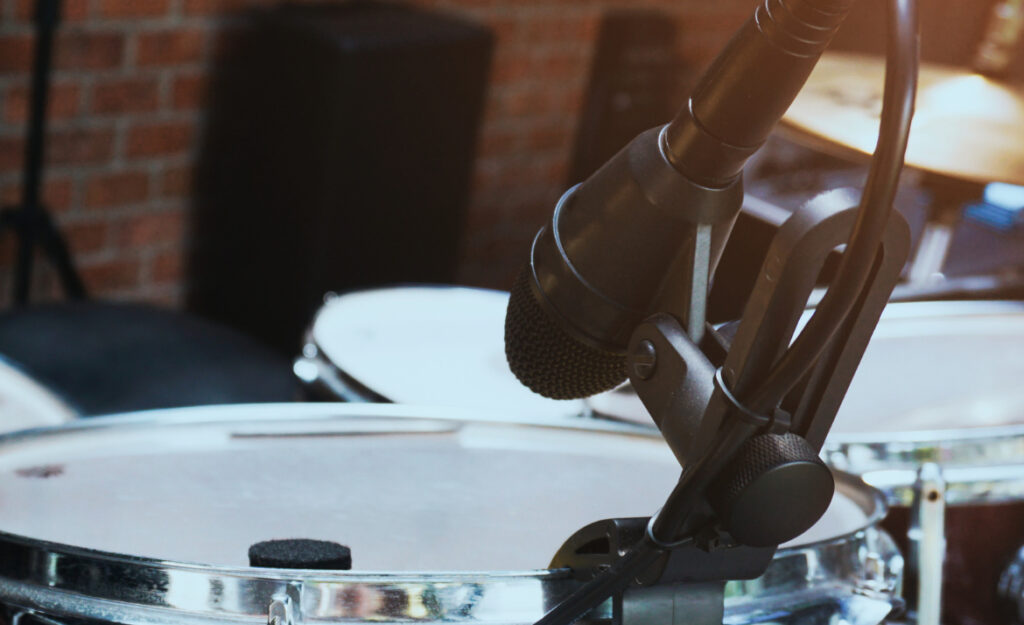
Move the snare mic as close to the rim as the player’s style allows. A gentle tilt toward the drum’s center picks up both stick attack and body, reducing sizzle from hats and ghost notes.
Minimizing Bleed in Shared Spaces
Position the snare mic at least two inches from the hi-hat edge to filter out metallic bleed. Lower the hats a touch if possible or place a towel underneath the cymbal stand foot to dampen spill.
On kick drum, using a pillow inside the shell absorbs some stage volume and lets the microphone hear the actual beater click instead of boom.
Avoid placing kick drum microphones directly facing monitors or walls, as this can add excess low-frequency noise to the PA and muddy your stage sound.
Small Room Mix Tweaks for Instant Improvement
Ask the engineer for quick, targeted tweaks: “Kick sounds boxy—can we notch out mids at 400Hz?” or “Snare is too crispy at 10kHz, can you roll that back?”
Soundchecking with the band in full volume, not just drums alone, provides the real sound of how everything will blend during the show.
Take mental notes or voice memos during each set, marking which mic moves created noticeable improvements for next time.
Controlling Cymbal Wash and Shaping Overhead Presence
Managing cymbal wash in clubs protects the rest of the band’s frequencies from being drowned out. Hang overheads at just above head height, spaced evenly from the snare’s center for balance.
Aim each overhead mic slightly inward, forming a subtle triangle with the snare. This zone-captures the hi-hat, ride, and crashes while avoiding excess snap from the toms.
Micro-Placement to Shape Overhead Tone
If cymbals sound harsh, lower the overheads or tilt them outward—think of angling a flashlight to reduce glare, which softens upper frequencies.
Try moving the right-side overhead closer to the floor tom zone to emphasize ride clarity or balancing softer, jazz-oriented setups by bringing both mics closer together above the snare.
Attenuate harshness with a slight EQ cut at 8kHz if high-end cymbal spill becomes aggressive in the PA.
Reality Check: Audience Perspective
Walk to the center of the room and listen to how cymbals sit in the main mix. Is the hi-hat overpowering? Return to the mic and re-angle to match what the crowd hears.
Check the mix at various venue points—stage edge, front row, back wall—for a realistic expectation of what the audience hears, adjusting as needed between songs if needed.
Remember, small adjustments in mic angle can yield dramatic changes. Snap a quick photo of overhead positions for fast setup recall at future gigs.
Adapting Drum Kit Miking to Band and Genre Needs
Tailor drum kit miking for each band’s sound, not just your own preferences. Hard rockers usually want more toms, while jazz players favor cleaner ride and snare detail.
Consult with the group, asking for “Any kit piece you want boosted or kept tighter?” Adapt quickly—maybe you drop the floor tom mic for folky acoustic nights or add a bottom snare mic for funk sets.
Scenario: Funk vs. Singer-Songwriter Setups
Before a funk set, the drummer asks, “Can we get more thump in the toms? I’ll lay back on overheads.” Add a mic just above each tom using clip-ons and drop an extra overhead.
For a quieter singer-songwriter act, the player says, “Let’s keep it mellow—only overheads and kick, no close mics.” Pull back on any spot mics, keep overheads closer together, and roll off low end in the mix.
This adaptive process means writing quick notes or diagrams during rehearsals so each configuration is ready to go before soundcheck.
Genre-Based Troubleshooting and Rapid Solutions
For indie rock, if drum mics sound thin, boost the overheads’ low-mids or double the snare mic. For energetic punk, dial back high EQ on cymbals and ride for clarity without harshness.
Reggae bands want deeper kick and floor tom, so lower their respective mics and apply generous low shelving. Adapt one element at a time for crisp, style-appropriate results.
Every genre tweak should be deliberate—make one change, test it in a live mix, and save the settings for future reference.
Testing Final Mix and On-Stage Balance Before Doors Open
Testing the mix before showtime ensures problems never make it to the audience’s ears. Listen to your kit with the rest of the band playing through stage monitors and front-of-house.
Walk around the room, pausing at the side of the stage and the bar—anywhere audience members might gather. Observe: Does kick thump translate? Snare cut through? Cymbals sizzle but don’t pierce?
Script for Fast Pre-Show Mix Checks
Aim for efficiency: “Kick good here, snare too loud at the bar, hats fine everywhere.” Call adjustments immediately to the sound tech, then sweep back through key venue spots for changes.
Bring the band to half-volume for a quick mix review. Encourage honest, direct feedback: “Vocalist needs more kick, guitarist says hats overpower on his side.” Repeat adjustments as needed.
Finish with one minute of full song playthrough, marking final tweaks. Take two or three notes for reference, and set levels for the first set of the show knowing balance is locked in.
Wrap-Up and Forward-Looking Ideas for Better Drum Sound
This guide just covered actionable drum kit miking steps you can take to elevate every small venue set. Smart mic choices, efficient prep, and context-driven tweaks mean better sound for your whole band.
Invest time experimenting with each tip on real stages. Bring curiosity and teamwork to every show, and treat your drum kit miking as a living process, evolving gig-to-gig as your band and venues change.
Whether you play heavy or soft styles, building these routines ensures you’ll always step up with confidence and deliver a great night’s groove. Share what works and keep the beat going strong, one gig at a time.