Every drummer using digital gear has, at some point, noticed that a fill didn’t hit exactly when expected. Subtle digital delays can turn sharp grooves into muddy confusion, making latency troubleshooting a necessary skill.
For live performers and studio creators alike, even a few milliseconds of lag between stick and sound break the connection between motion and music. Timely intervention keeps your rhythm crisp and performance locked in.
This guide dives deep—without tech jargon—into practical steps and real-life scenarios for drummers. You’ll find actionable advice, all focused on helping you spot, understand, and solve latency issues so you can keep grooves tight, not tangled.
Building a Reliable Setup: Eliminating the Obvious Causes of Delay
Before tweaking settings, drummers see quick wins by checking cables, connections, and hardware first. A solid foundation reduces troubleshooting later, especially during high-pressure moments.
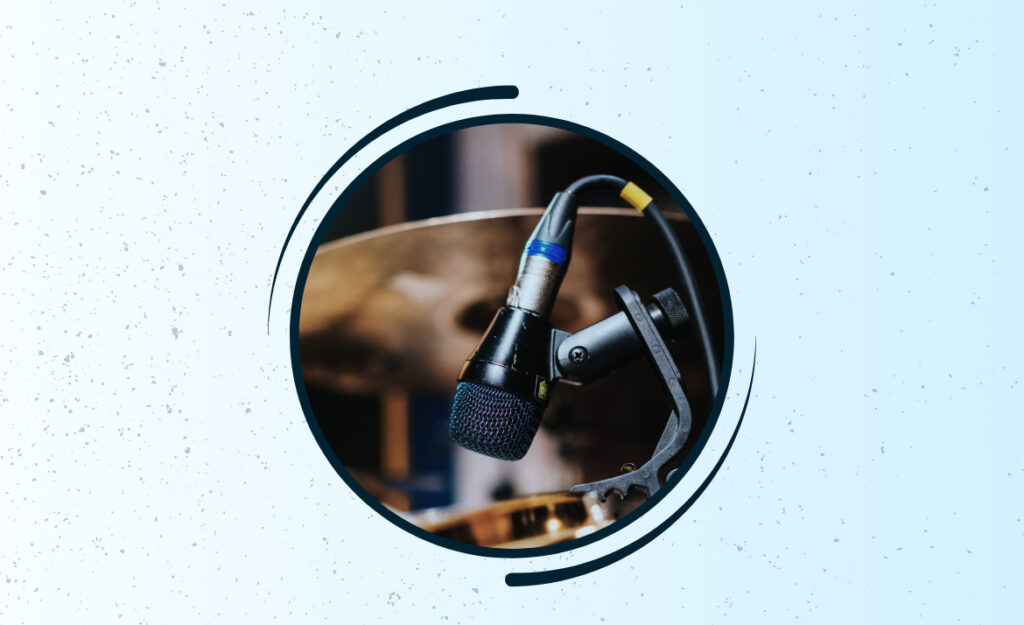
Poor cords or loose jacks can sneak intermittent latency into your set. Close physical inspection and a short checklist go a long way toward spotting potential risks, keeping the signal chain healthy and responsive.
Quick-Check Routine for Studio and Stage
Before playing, drummers take a minute to reseat cables, power-cycle gear, and tap on jacks. This tactile process uncovers hidden connection faults, especially after transportation or cold storage, where humidity disrupts electronics.
If a digital drum pad feels sluggish, try unplugging and reconnecting signal cables—sometimes a simple re-seat instantly resolves erratic latency.
Adopt the habit of running this check before rehearsals or performances—consistent routines prevent headaches during high-stakes gigs.
Determining Faulty vs. Functional Cables
Keep a known-good spare cable handy during every setup. Swapping one cable at a time can quickly isolate a latency source. Mark suspect cables with tape and test them in isolation to confirm issues.
Notice that a crackling, delayed trigger stops once you change a cable out? Replace that lead and watch your drum timing line up as it should.
Pin down recurring latency by mapping which positions or pads have trouble, then label your connections so the problem never sneaks up again.
| Potential Issue | Test Method | Expected Result | Immediate Fix |
|---|---|---|---|
| Intermittent latency on snare pad | Swap cable | No latency with spare | Replace original cable |
| Cymbals only trigger late | Test with module’s built-in sounds | Instant sound | Check external devices |
| Pad delays after transport | Check all jacks | Normal after reseating | Secure all plugs |
| Module slow to power up | Test with fresh batteries | Quick startup | Replace batteries/power supply |
| MIDI signal lags in DAW | Direct trigger without DAW | No lag when bypassed | Adjust DAW buffer |
Fine-Tuning Digital Modules: Picking Pad Settings that Respond Instantly
Changing module settings helps drummers match their playing style with gear responsiveness, reducing unexpected delays. This lets your kit feel snappy, regardless of brand or module complexity.
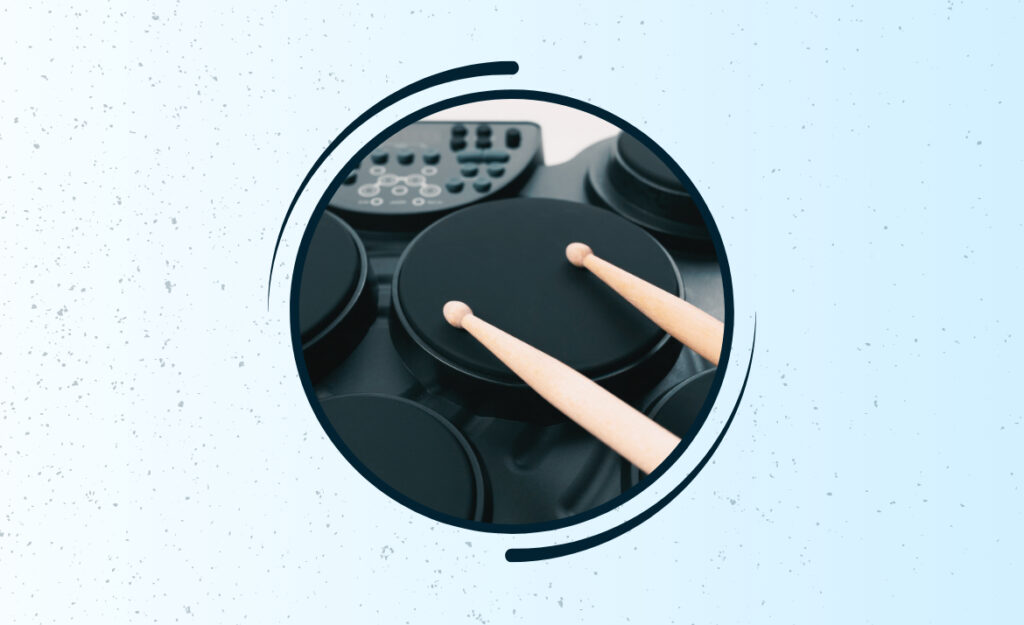
Drum modules provide parameters like sensitivity and scan time. Tuning these ensures tight trigger response and a natural feel for stick input.
Adjusting Pad Sensitivity for Immediate Playback
Pad sensitivity tells digital modules how quickly to react to hits. Raising it too much can create false triggers, while setting too low adds latency. The sweet spot is where soft strokes trigger sounds, but not hand movements above the pad.
- Start by hitting the pad with both light and hard strokes. Adjust sensitivity upward until soft hits trigger sound, but not air movements nearby.
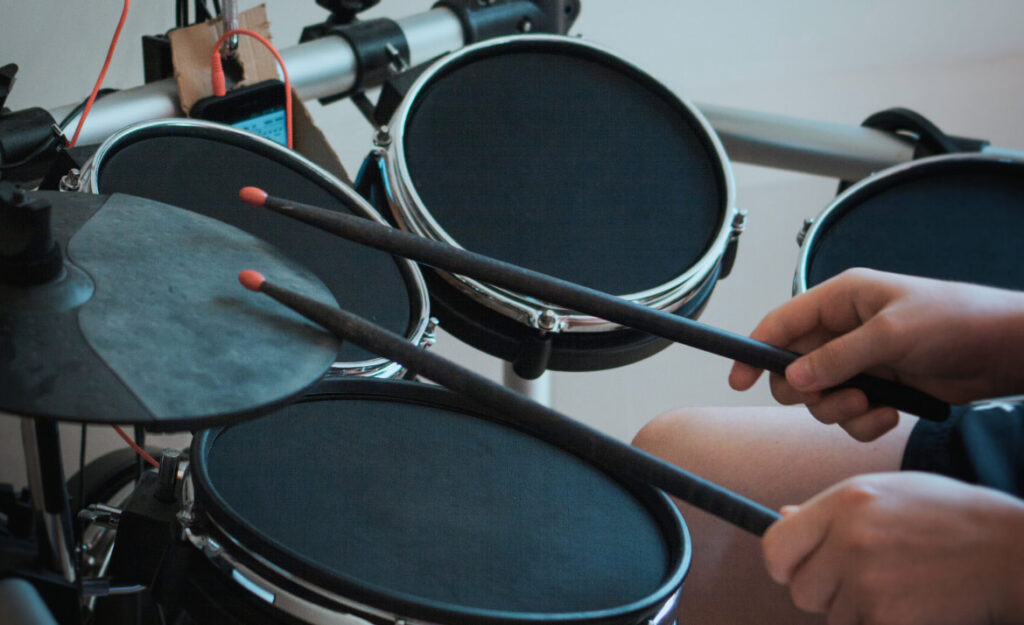
- Set the scan time as short as possible without introducing double triggers. Test by tapping with drumsticks at different attacks—find the setting where latency drops away.
- Double-check both rim and head inputs separately. Sometimes only rim or head triggers are delayed, and each has its own setting in high-end modules.
- If practicing late at night, consider headphone monitoring. It provides instant feedback for hearing delays and is unaffected by room reflections.
- Make a backup copy of your trigger settings once they’re dialed in. Store these on an SD card or your laptop for quick reload if things feel off during a session.
Even incremental tweaks to module latency settings have a noticeable payoff—your hits line up, your groove sharpens, and suddenly every note sits right in the pocket.
Dynamic Curve and Response Mapping
- Switch to a linear velocity curve for a predictable feel—avoiding sudden jumps in volume or response that can mask latency issues.
- Assign different dynamics to each pad. If your snare feels late but your kick is perfect, set a more aggressive response curve just for the snare drum.
- Log changes you make in a paper notebook or mobile app so you can reverse out of mistakes, maintaining consistency during back-to-back sessions.
- Experiment with alternate scanning modes (single, dual) if your gear supports it. Some drummers discover lower scan times by disabling complex features when not needed.
- Jam to backing tracks. Notice subtle delays in fills or flams? Fine-tune each pad until ghost notes and accents land right where your ears want them.
Dialing in these features pays off with even timing, especially during fast rolls where latency can compound—making your groove effortless.
Optimizing Software, DAW, and Computer Integration for Drumming
Connecting drum modules to computers or DAWs introduces technical latency. Careful software adjustments enable drummers to play without detectable lag.
Reduce audio buffer size to improve trigger speed, but check for glitching noises. The best compromise balances low-latency feel with reliable sound output, avoiding digital pops or dropouts.
Using Dedicated Audio Interfaces
Plug drum modules into audio interfaces built for musicians. This direct route bypasses onboard computer sound cards, which aren’t designed for real-time music.
A drummer working on new tracks plugs a module USB direct into an audio interface, listens via interface headphone out, and avoids latency from computer playback. Adjusting ASIO driver settings further slashes lag, getting latency down to one or two milliseconds.
Using interface direct monitoring lets you play along with backing tracks in your DAW with zero perceptible lag—a huge benefit for keeping timing tight when layering e-drum parts.
Tuning Virtual Instruments inside the Computer
Set the DAW’s audio buffer to its lowest stable setting. Drummers who use virtual drum plugins tweak buffer sizes until they no longer feel a ‘drag’ when hitting pads.
Route MIDI data directly to the plugin. Instead of monitoring through the DAW’s main channel, use a plugin channel for immediacy. Watch for plugin CPU spikes—if your computer stutters, raise the buffer until stability returns.
When switching between DAW projects, recheck latency settings. Each project may load its own buffer or routing, so always confirm with a quick run-through on a new kit.
Recognizing When Latency Hits: Physical and Auditory Cues Every Drummer Should Trust
Spotting latency means trusting both your hands and your ears. Objective signs—like stick rebounds not matching headphone sound—alert you to a digital lag you can immediately address.
Look for visual lags: if the module’s LED flashes after your hit, latency is at play. Similarly, hand fatigue can signal overcompensation for delayed feedback.
Drummer’s Body Language: Tactics for Immediate Feedback
A drummer’s instinctive reaction to digital delay is to ‘lean forward’ or exaggerate playing, trying to anticipate the sound. When you sense extra effort just to lock in, latency has entered your groove.
Ask bandmates if your hits sound late to them—outside perspective reveals what headphones might mask. Record a practice session, then watch video synced with module output.
If your eyes see a hit that happens ahead of what your ears hear, adjust your setup now rather than pushing through discomfort. Official diagnosis: latency troubleshooting required.
Comparing Live Play vs. Recorded Playback
Use a DAW to track a one-bar rhythm, then align the visual MIDI notes with the acoustic ‘click’ of stick strikes. Any consistent delay reveals a gear-based timing issue.
A drummer notices a snare is always visually aligned but sounds late. They nudge the DAW’s MIDI track forward by two milliseconds, matching playback with the feel of live play.
Run this check every session. It’s a habit that guarantees latency troubleshooting stays proactive—never letting digital lag define your drumming comfort.
| Cue Type | Observable Behavior | Takeaway | Next Action |
|---|---|---|---|
| Hand fatigue | Hands tense after short session | Latency may cause overcompensation | Check device buffer settings |
| Audio delay | Hit feel precedes sound | Device/process lag is present | Inspect signal chain |
| Off-sync LED | LED flashes late | Module itself is lagging | Update firmware or reseat cables |
| Band comment | Bandmates say you sound late | Latency audible in mix | Test gear in isolation |
| DAW mismatch | Waveform late vs. video | Digital path problem | Nudge recording timeline/match feel |
Real-World Examples: When Latency Troubleshooting Makes a Difference
A touring drummer packs extra cables after solving an onstage latency issue caused by a damaged snare lead early in a set. He writes, “Spare cables mean one less thing to worry about.”
Studio drummers discover that switching from onboard sound cards to a dedicated audio interface drops detectable latency. They learn to keep buffer sizes steady and monitor sessions with direct headphone outs.
Scenario: Rehearsal Run-through
A local band rehearses for a festival. Their drummer swaps between acoustic and electronic kits, feeling a loss of precision on the digital setup. She rewinds the DAW playback and hears fills dragging compared to the metronome.
The band practices with cable changes and direct interface monitoring. She notes, “After the tweaks, ghost notes fit tight. No more chasing the click.” Action: always run a latency test at rehearsal start.
Every gig now starts with a two-minute cable, module, and buffer check, ensuring tight performance all set.
Scenario: Smooth Studio Workflow
A producer tracks multiple layers of MIDI drums. Initially, elaborate plugins cause major lag. Instead of battling through, he lowers buffer size, disables high-CPU plugins, and routes drums to a dedicated virtual channel.
“Suddenly, every take feels locked in,” he says. Action: simplify your signal chain if notes feel sluggish.
Small setup changes—like direct waveform monitoring—save hours of punch-ins and align every groove in the mix.
Staying Consistent: Routine Checks Keep Timing Tight Every Session
Consistency is the drummer’s ally against latency. Pre-session checklists, labeled cables, and documented settings make troubleshooting quick, even when you’re tired or rushed.
Habits and records minimize guesswork under stress. When problems appear, drummers quickly retrace their steps—solving latency at the source without derailing creative momentum.
- Label all cables with colored tape to speed swap-outs—know exactly what you’re testing when a delay starts appearing.
- Snap a phone photo of your module’s preferred trigger setup and keep it handy for resets between gigs or after firmware updates.
- Use a dedicated bag for audio interface, USB leads, and headphone adaptors—segregate reliable components from spares.
- Update DAW and plugin software monthly, but always reload your trusted buffer and latency presets after an update.
- Keep a session log, marking any gear or setup changes—patterns reveal themselves, and repeated issues earn a targeted fix.
These routine steps ensure latency troubleshooting never interrupts your creative flow; instead, it becomes a seamless part of drumming prep.
Wrapping Up: Every Drummer Can Solve Digital Latency With These Habits
Learning to troubleshoot latency gives drummers creative freedom, no matter the gear. By using routines and clear steps, digital delays turn from mystery to managed variable, keeping your grooves as sharp as your sticks.
Consistent pre-session checks, labeled spares, and documented module tweaks make latency troubleshooting part of reliable drumming—at home, in the studio, or on tour. Over time, frustration fades and confidence grows with each locked-in fill.
Whether jamming, recording, or performing live, equip yourself with these hands-on habits. Your playing will thank you—and your grooves will always line up just right.