Every drummer recognizes the frustration that comes when hardware creaks or simply won’t budge during setup. Learning how and when to lubricate hardware joints keeps the creative flow undisturbed and delivers lasting improvements.
Whether you’re tuning tom arms, tilting a snare stand, or shifting cymbal angles, smooth movement is essential. Reliable drum hardware adjustment isn’t just convenient—it’s necessary to keep your playing comfortable and your kit reliable.
Enthusiasts and gigging drummers alike will discover that this guide doesn’t just cover when to lubricate hardware joints. It also shares expert tips to address common sticking points and customizable care routines for every drum kit.

Reducing Friction Ensures Consistent Kit Adjustments
Smoother movement lets drummers fine-tune positioning during rehearsals, soundchecks, and practice without fighting resistance or risking sudden slips. This section delivers clear, step-by-step results.
Every adjustment a drummer makes should feel precise and consistent. Reducing friction by following a care routine for both basic and specialty drum hardware joints builds trust in your instrument and extends equipment lifespan.
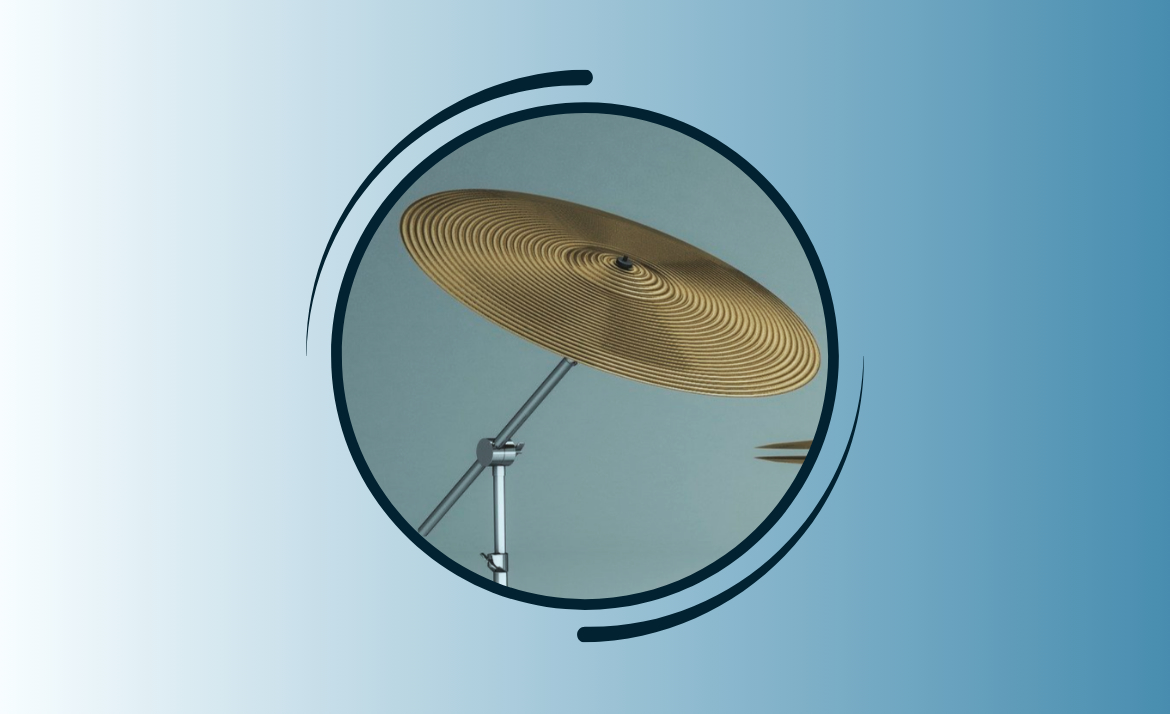
Cymbal Stand Stability: Preventing Lock-Ups
Sean, a jazz drummer, noticed his ride cymbal stand seizing up during solos. He kept a travel-size canister of multipurpose lubricant in his stick bag to address this. His hands-on habit eliminated sudden jerking during quick angle changes.
Likewise, pausing every month to lubricate hardware joints on high-traffic stands prevents metal-on-metal wear, especially on threads and tilter joints that support heavier cymbals.
Copy this: After each gig, rotate every cymbal tilter and apply a drop of lubricant to exposed screws and joints. Wipe excess after working it in, using lint-free cloth.
Snare Basket Mechanism: Keeping Adjustments Fluid
A smooth snare basket caters to quick setup changes between songs or drummers in house bands. When joints seize, even simple rim height tweaks become a battle.
Apply a silicone-based lubricant on movable snare basket arms quarterly. Turn adjustment knobs back and forth several times, allowing the lubricant to distribute fully along internal threads and pivot points.
If a bandmate comments about “sticky snare arms” during rehearsal, handle it right away using your go-to lube. This routine avoids last-minute struggles and supports stress-free performances.
Hi-Hat Pedal Linkage: Smoothing Response
Hi-hat pedals feature linkages and foot plates connected through rods and bolts that attract dust and grime. Keeping them clean yields a much more natural feel.
Remove the rod annually and coat with a non-greasy lubricant, then reassemble and test for bounce and release. This prevents chatter and ensures controlled pedal work on fast passages.
Don’t wait for squeaks. Build a habit: After a rainy load-in, dry off the hi-hat linkage and refresh lubrication if movement isn’t effortless—this keeps response sharp when it matters.
| Hardware Location | Lubricant Type | Recommended Frequency | Key Takeaway |
|---|---|---|---|
| Cymbal Stand Joints | Multipurpose Spray | Monthly | Reduces stiffness in tilters and angles |
| Snare Basket Arms | Silicone-Based Grease | Every 3 Months | Ensures smooth snare height change |
| Hi-Hat Rod Linkage | Non-Greasy Spray | Annually | Keeps pedal motion natural and silent |
| Tom Mounts | White Lithium Grease | Twice Per Year | Prevents friction in ball-and-socket mounts |
| Extension Arms | Teflon-Based Oil | Annually | Prevents sticking and slipping |
Creating a Maintenance Habit That Protects Your Drum Investment
Consistency is the hallmark of a professional. Drummers who lubricate hardware joints as a regular habit protect their equipment from wear and avoid last-minute frustration during setup or breakdown.
This section outlines what a realistic care routine looks like and pinpoints tips for keeping your maintenance on track, even after a string of late gigs or busy weeks.
Polish Cymbals Gently: Keep Their Natural Sound Alive
Keep your cymbals clean and sounding crisp with these proven techniques to polish cymbals without harming their tone.Timing Drum Care Between Gigs
After soundchecks or rehearsals, reserve five minutes to quickly inspect and lubricate hardware joints that felt sluggish. Mark a recurring calendar reminder—”Kit checkup, Sunday evenings”—so nothing slips through the cracks unnoticed.
- Inspect each stand for signs of resistance: Tackling visible grit prevents it from collecting inside threaded sections and causing stickiness later on.
- Apply lubricant to exposed metal joints: This simple act builds muscle memory and shortens setup compared to letting friction grow unchecked.
- Wipe down all friction points: Maintaining dryness prevents corrosion, especially after humid or rainy outdoor gigs.
- Loosen and re-tighten adjustment knobs: Rotating hardware after lubrication pushes the lubricant through, especially on tilters or slotted mechanisms.
- Test for free movement by repositioning arms: This habit helps catch problem areas before a full assembly, making pre-show troubleshooting faster and calmer.
Closing your session with a quick, tactile run-through helps you spot potential issues when you have the time, not when you’re expected on stage.
Avoid Sticky Threads and Jammed Fixings
Over-tightened or neglected drum hardware threads nearly always lead to frustration. Thread locker is rarely needed—gentle cleaning and sensible lubrication maintain secure, workable fastenings every time.
- Clean threads with a toothbrush and isopropyl alcohol: This removes built-up grime before applying lubricant and keeps tightening action light but secure.
- Use minimal lubricant on holding bolts: Excess can attract dirt, so aim for a thin, even coat. Good lubrication brings firm grip with zero sticking.
- Rotate hardware off the kit to check freedom: If a thumb screw struggles when not loaded, it needs cleaning or extra lube, not brute force.
- Keep a zip-lock bag with small syringes or applicators: Fine-tipped lubricant bottles make it easy to reach inside channels without over-spraying.
- Replace any thread showing burrs or flattening: Damaged threads will fight movement no matter what; spares are a time-saving investment.
Think of good lubrication and gentle cleaning as cheap insurance against wasted energy and lost rehearsal time.
Troubleshooting Common Hardware Joint Issues During Practice
Confident drummers address adjustment issues right when they occur, not when they become chronic. This problem-solving approach reclaims practice time and keeps the creative process on track.
When hardware begins to bind or squeak, tackle these issues immediately to prevent the problem from escalating or interrupting grooves during key playing moments.
Diagnosing Cymbal Arm Stiffness Without Disassembly
You’re adjusting a boom arm and it resists or emits a gritty sound. Instead of taking apart the fixture on the spot, test movement in several directions, feeling for uniform resistance.
Spray lubricant into the exposed crevice, then rock the hardware gently. Wipe excess away after several repetitions. If resistance persists, look for bent or misaligned parts before attempting a full teardown.
Repeat this process every few weeks, especially if your setup shifts venue frequently or encounters temperature swings. Proactive attention to friction points delivers smooth changeovers.
Resolving Lock-up on Tom Holder Mechanisms
A tom arm that won’t pivot freely on its mount can ruin fast tuning changes. If turning the mechanism feels sticky, loosen all tension, apply a drop of white lithium grease, and rotate through the range.
Gently retighten and listen for improvements after multiple full rotations. This sequence works especially well for ball-and-socket mounts, which are most prone to binding from dust or dried lubricant.
After resolving the lock-up, build a habit of dusting exposed hardware weekly, and doing a quick lube refresh before big sessions or performances for peak responsiveness.
Choosing the Best Lubricants for Drum Hardware Longevity
Effective lubrication routines depend as much on choosing the right product as diligent application. Each drum kit section calls for different lubricant formulations for safe, lasting performance without attracting excess dust.
This section compares common types, highlights their strengths, and shares clear instructions to match lubricant and hardware for best results.
Comparing Silicone, Teflon, and Lithium Greases
Silicone lubricants stay clear and don’t gum up, making them ideal for snare mechanisms and pedal hinges where smooth glide is critical and residue isn’t wanted.
Teflon-based sprays perform well on exposed extension arms, defending against corrosion and sticking under repeated motion or outdoor use. Lithium grease suits heavy-load parts like tom mounts, offering thick, long-lasting protection.
Match the grease or spray to your specific hardware: if precision is critical, like at pedal pivots, stick with non-oily formulas. For robustness and longevity, particularly under road conditions, choose thicker greases instead.
Troubleshooting Lube Issues With Simple Solutions
If a lubricant causes gummy build-up, remove old layers with isopropyl alcohol and a toothbrush, then reapply just enough of a cleaner product. Excess lube disrupts movement and collects dust.
Avoid mixing different lubricant types. Silicone and grease may react and bind, producing tackiness. Stick with one product per hardware group for dependability and simplicity in future care cycles.
Document this on a sticker discreetly inside your hardware case: “Snare: Silicone. Pedals: Silicone. Toms: White Lithium.” This rule makes reapplication easier after transport or loaning equipment.
Effective Hardware Cleaning: From Dust to Shine Without Wear
Clean hardware holds lubricant better and adjusts with minimal friction. Quick, consistent cleaning routines keep drum kit joints moving flawlessly between sessions and help prevent premature aging or stubborn buildup.
This section outlines a straightforward, repeatable process for cleaning and preparing drum hardware—no special skills required.

Sequential Cleaning for Maximum Longevity
Disassemble hardware only as needed. Use a lint-free cloth to wipe away surface dust, then employ a soft brush or compressed air for tight spots like thread channels.
Follow up with a diluted isopropyl alcohol wipe to dissolve body oils and built-up grime. Surface should air dry before re-lubricating to avoid chemical reactions or excess residue.
Use this analogy: treat your hardware like a bicycle chain. Clean dirt, apply a little lube, check smoothness, repeat. Don’t drown it in oil; less is more with moving parts.
Protective Storage Steps After Cleaning
Wrap cleaned, lubricated hardware in soft cloths before placing in cases. Avoid plastic bags, which trap moisture. Store with all adjustments loosened to minimize tension-related fatigue on parts.
Add a silica gel packet to hardware bins or trays to absorb ambient moisture that slips past case seals—especially useful before long-term storage or summer festival circuits.
Schedule kit-wide cleaning at the change of each season. Tie it to tuning head changes or stick restocks, so kit care naturally fits into your established drumming calendar and workflow.