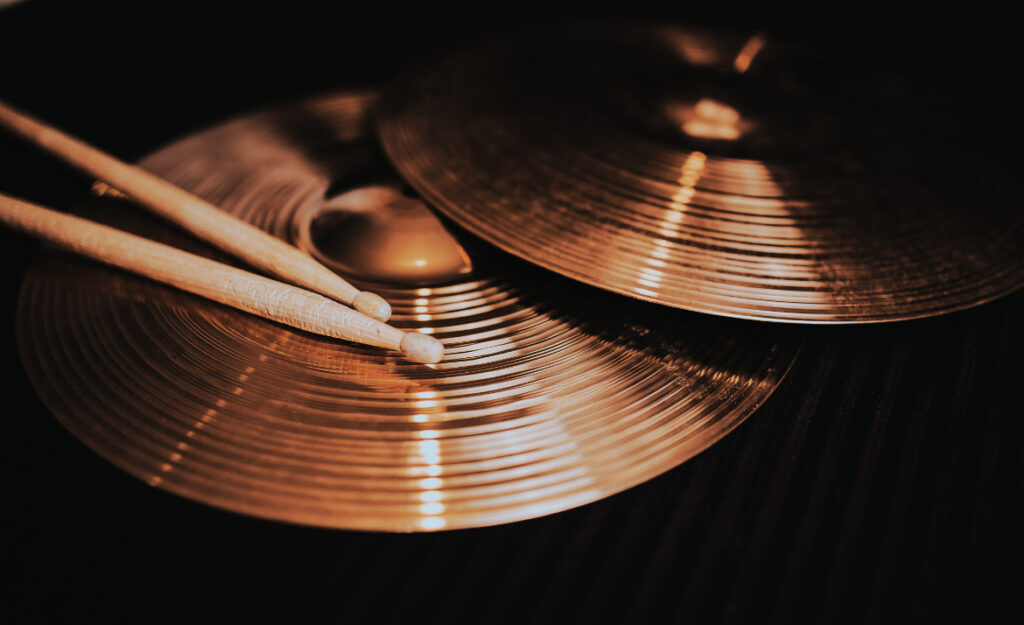
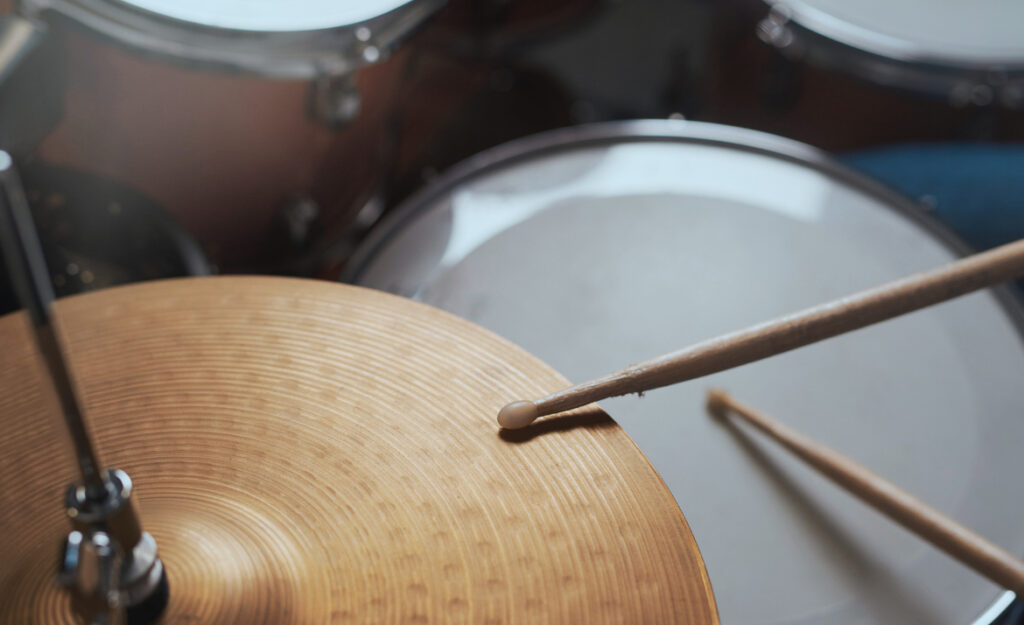
The satisfying shimmer of clean cymbals can elevate any drum kit’s appearance. Still, the way you polish cymbals influences not just their look but their tone. Many drummers want that extra shine without sacrificing the vibrant, unique sound that great cymbals provide.
Meticulous cleaning prevents buildup that dulls both sound and surface. The wrong products or aggressive scrubbing can hamper projection or even make a prized cymbal sound tinny or muted. Treating them right preserves both aesthetics and performance.
If you’ve ever worried about dulling your favorite crash or ride, now’s the time to learn gentle, effective polishing strategies. Explore tips, real examples, and expert habits below to ensure your cymbals sound and look their best.

Inspecting Cymbals Before Cleaning Ensures Targeted Care and Safety
Begin any cleaning session with a thorough inspection. Let your eyes and fingers find finger smudges, stick marks, grime, and any tiny cracks or keyholes. This initial assessment prevents accidental damage and helps you tailor your approach for each cymbal’s needs.
Lay your cymbals flat on a soft towel—like you would a delicate plate. Lightly tap them with your finger; if you hear buzzing or rattling, note any areas of concern. You’ll know where to use a gentle touch.
Avoiding Harsh Chemicals Means Better Tone Retention
Choose your cleaning formula just as carefully as you’d choose a new pair of sticks. Commercial polish might promise a quick shine, but strong acids or abrasives can attack the cymbal’s finish and impact resonance.
Avoid ammonia, bleach, or any powdered cleansers; these corrode the metal’s surface and subtly alter the playable surface. Instead, use products formulated for professional cymbals or stick to mild, pH-balanced soap diluted in water.
Testing cleaners on a hidden edge provides insurance against disaster. If you spot discoloration, switch to another method before working across the entire cymbal’s face.
Choosing Cloths and Brushes Is Like Picking Outfit Accessories
Opt for a soft microfiber cloth—nothing with rough edges or lint. Pre-moisten it, never soak it. Rubbing gently in the direction of any grooves ensures minimal risk of accidental swirling, which can dull both appearance and tone.
For stubborn grime, a soft natural-bristle brush helps loosen dirt and stick marks. Avoid plastic or metal bristles, which easily scratch even tough B20 bronze. Make gentle, circular motions, and never bear down hard on logos.
Dry everything with a separate clean towel to prevent water spots or residue from settling back onto the freshly cleaned surface. Precise, patient handling preserves that signature sonic sparkle.
| Cymbal Type | Common Problem | Recommended Tool | Key Takeaway |
|---|---|---|---|
| Ride | Stick dents | Microfiber & soft brush | Avoid pressure—protect stick marks for tone |
| Crash | Logo fading | Gentle, damp cloth | No scrubbing—wiping only |
| Hi-hat (top) | Fingerprints | Soap solution cloth | Buff lightly, don’t soak |
| China | Crevice grime | Natural bristle brush | Loosen with minimal agitation |
| Splash | Edge nicks | Visual check plus cloth | Handle edges delicately |
Maintaining Consistent Cleaning Habits Protects Cymbal Longevity and Tone
Developing a regular polish routine shields your cymbals from caked-on dirt. A predictable schedule prevents last-minute emergency cleaning that risks aggressive scrubbing. Being methodical means every cleaning session stays quick, efficient, and gentle on your favorite gear.
Always set up your cleaning station before removing any hardware. Working in a controlled area—dry, dust-free, well-lit—gives you better control and helps avoid accidental dings or drops on hard surfaces.

Drum Hardware Care: Prevent Rust and Squeaks for Reliability
Get expert drum hardware care advice to prevent rust and squeaks so you can enjoy flawless performances and extend your gear’s life.Keep a Log to Track What Works Best
Jot down what combination of products and cloths produced the best results. This ongoing record becomes your personal cleaning manual. Over time, you’ll notice small details—like how long water should stay on the grooves or when it’s safe to use a brush.
- Schedule monthly visual checks to spot grime or build-up before it impacts tone, gently removing marks as soon as they appear to prevent lasting residue.
- Remove cymbals from stands every few weeks, cleaning them on a soft towel—this ensures access to crevices and prevents accidental warping from uneven pressure.
- Switch clean cloths regularly during a session, especially when grime builds up, so the cloth never re-deposits gunk onto clean metal areas.
- Store cymbals vertically on padded racks to minimize dust, and cover them with a cloth or case for longer downtimes to prevent environmental debris from settling.
- Snap quick photos of logos or markings before cleaning, allowing easy re-alignment of visuals and consistent placement when returning cymbals to your kit.
This habit-building approach keeps polish cymbals clean and resonant while giving you confidence with each session.
Safe Storage Habits Double the Effect of Thoughtful Cleaning
Storing cymbals upright on padded feet minimizes warping, and multi-cymbal bags reduce scratches between sessions. Wrapping each piece in a soft towel before travel adds extra protection.
- Wipe down cymbals before placing them in bags—removes micromaterial that rubs and scratches during transit, preserving finish and clarity.
- Always separate cymbals with dividers or sleeves in a bag, stopping metal-on-metal contact—you’ll keep those subtle tonal differences intact for years to come.
- Avoid storing in hot or damp places: High humidity or temperature swings cause oxidation faster, reducing that nuanced shimmer and risking permanent stains.
- Label each slot or case pocket—helping you grab the right cymbal without unnecessary handling—so you handle only what you intend to play or clean.
- Transport cymbals flat in padded cases for long trips, especially when stacking more than two; this reduces chips and keeps edges even.
Maintaining controlled environments and thoughtful handling builds a longer life for every cymbal on your rack.
Applying Proper Technique: Real Scenarios for Gentle Polishing
A careful, stepwise approach to cleaning minimizes risk and gives repeatable, great-sounding results. Establish your process by modeling real-life situations—copy the successes of seasoned drummers to polish cymbals with confidence.
The “Shine and Check” routine balances efficiency and safety: You wipe gently, pause to inspect, then continue. This method especially benefits high-end, vintage, or brittle cymbals where every cleaning counts.
Homemade Soap Solutions Offer Control Over Cleanliness
Mixing a few drops of mild, unscented liquid soap into a small bowl of lukewarm water gives you a gentle but effective formula for removing stick debris and fingerprints from most bronze alloys.
Dip a clean microfiber cloth into the mix. Wring it out well, then work in gentle circles along the grain. Avoid splashing water near rivet holes or logo ink, as these areas are more vulnerable to wear and corrosion.
Buff the cymbal dry with a fresh, soft towel the moment you finish a section. Waiting even a few minutes can allow minerals in tap water to leave spots or film over time.
Spot Clean for “Problem Areas” Without Over-Treating Entire Cymbals
If a drummer at rehearsal says, “My ride’s bell is cloudy but the edges are fine,” avoid a full scrub. Instead, lightly dampen a corner of your cleaning cloth and focus on just the trouble spot.
This preserves untouched areas and reduces color or finish changes across the surface. Experienced players frequently use this method after sweaty gigs to maintain signature resonance between deep cleans.
Wipe from the center outwards with smooth, even motions. When done, dry the spot quickly and avoid letting a damp section linger—dry metal keeps its clarity and crispness best.
Protecting Logos and Finish for Professional Appearance and Value
Preserving logos and finish matters to collectors, recording artists, and gigging drummers alike. A pristine logo looks sharp on stage and helps keep resale value strong—even after years of use.
Learn the difference between cleaning for hygiene and cleaning for aesthetics. Sometimes a light dusting is enough, especially if the only goal is to remove visible prints without affecting proprietary coatings or screen-printed details.
Gentle Wipes Shield Logos from Fading or Smearing
Skirt logos entirely when you polish cymbals, or clean lightly with a nearly dry corner of your microfiber cloth. Rubbing directly across inked branding wears off essential markings that help identify model and make.
Avoid circular scrubbing on inked surfaces; instead, use a patting motion. In studio settings, drummers may even tape over logos before cleaning, then peel gently to reveal undisturbed graphics.
Check frequently for signs of ink lift: If any color appears on your cloth, stop immediately and switch to dust-only cleaning for these sections.
Comparing Protective Coatings and Natural Finishes
Modern cymbals sometimes come with protective coatings for extended life. These change the cleaning process—you’ll want to use non-abrasive, pH-neutral soap and avoid polishes meant for bare metal.
Uncoated, “raw” cymbals can be more responsive to a wider range of gentle detergents, but they’re also more vulnerable to oxidation. Test every new cleaner on a small patch, and monitor finish changes over several cleaning cycles.
Choose the lightest effective technique for your cymbal’s finish. This habit ensures the instrument stays both beautiful and musical for years into its gigging life.
Recognizing Signs of Damage and When to Seek Expert Help
Spotting early signs of cracking, warping, or severe pitting ensures your cleaning routine is improving performance, not hiding bigger issues. Always examine edges and bell holes under good light before and after you polish cymbals.
A small crack rarely repairs itself and can worsen with time or cleaning pressure. Mark the spot discreetly or snap a photo for future reference—share it with a drum tech if you’re unsure whether to proceed with cleaning or repair.

Making Minor Repairs Safe for DIY Drummers
Tighten loose keyholes or smooth edge dings with specialized tools only if you’ve studied proper technique. Use soft files for light burrs, but never force a fix—overhandling can lead to permanent damage or further tonal loss.
When cracks spread, halt all cleaning and remove the cymbal from rotation. Continued play or cleaning stresses the weak spot further. Many drummers save cracked cymbals as practice pieces or trade them for art projects.
Seek experienced repair help for issues like warps or bell deformities that impact playability. Technicians can reinforce areas with brass discs, but not every crack can be reliably fixed—replacement may be the only option.
Evaluating Value and Sentiment Vs. Risk
If a cymbal is a cherished keepsake, it’s tempting to store it “just in case.” In these situations, focus on preservation rather than deep cleaning—dust lightly, wrap securely, and keep away from fluctuating environments.
For gigging instruments, decide based on use: If you spot issues after every cleaning, reduce frequency and increase inspection intervals. When time comes for replacement, move damaged pieces off your main kit before gig day.
Always keep careful notes—track the lifespan, note the first signs of wear, and archive photos. These habits help you respond confidently and preserve sound for years to come.
Thoughtful Care Keeps Cymbals Shining and Singing
Consistently using gentle, targeted cleaning keeps both appearance and sound at their peak. The process to polish cymbals is part art, part practical routine—when you listen to both the instrument and your instincts, results follow.
Integrating visual checks, soft cloths, and mild cleaners preserves tonal clarity while protecting signature logos and finishes. These straightforward habits make all the difference for both everyday drummers and serious collectors.
Staying alert to your gear’s needs, and knowing when to consult a pro, contributes to lasting value and unmistakable sound. Give each cymbal attention, and you’ll keep both the shimmer and the brilliance with every performance.


