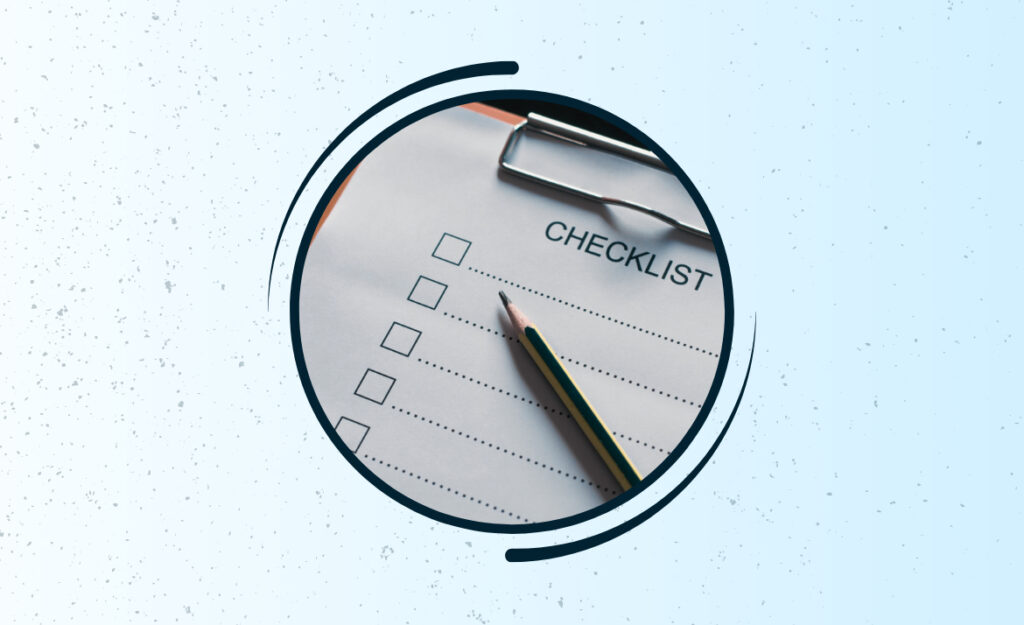
Every drummer knows the energy that builds just before a live performance. That flutter of excitement and nerves comes with responsibility: making sure nothing goes wrong at showtime. That’s where a thorough pre gig checklist—customized to drumming—ensures confidence and consistency every single time.
Drummers face unique challenges compared to other musicians, from hardware quirks to forgotten sticks. Preparation goes well beyond tuning the snare. If you want to lock in reliability and keep the groove tight, every detail during your setup matters.
In this article, you’ll find a step-by-step pre gig checklist designed exclusively for drummers. Each step reflects real-life scenarios, road-tested processes, and the mindset pros use to walk on stage ready for anything.

Assembling and Verifying Your Drum Gear Sets the Show’s Foundation
Walking through your gear selection—item by item—makes those last-minute panics disappear. You’ll know your equipment’s ready, and you’ll avoid surprises that disrupt your set.
Nothing replaces physically confirming each drum, stand, and cymbal. Mentally running through your checklist as you load in helps cement a habit you can trust show after show.
Stick Bag Preparedness Affects Everything from Comfort to Recovery
The right stick bag gives peace of mind before a gig. Filling your bag isn’t just about sticks. Add brushes, mallets, rod bundles, and even practice pads. This means you’re ready for any song request or gear malfunction mid-set.
If a stick splinters during a song, you want a spare at arm’s length. Tape a cheat sheet to your stick bag listing all its contents and positions. That’s a subtle way to internalize your inventory for future gigs.
Sometimes, you’ll encounter a low-lit stage or tight timeline. Practice opening your stick bag and grabbing essentials without looking, so your muscle memory does the work when the lights go down.
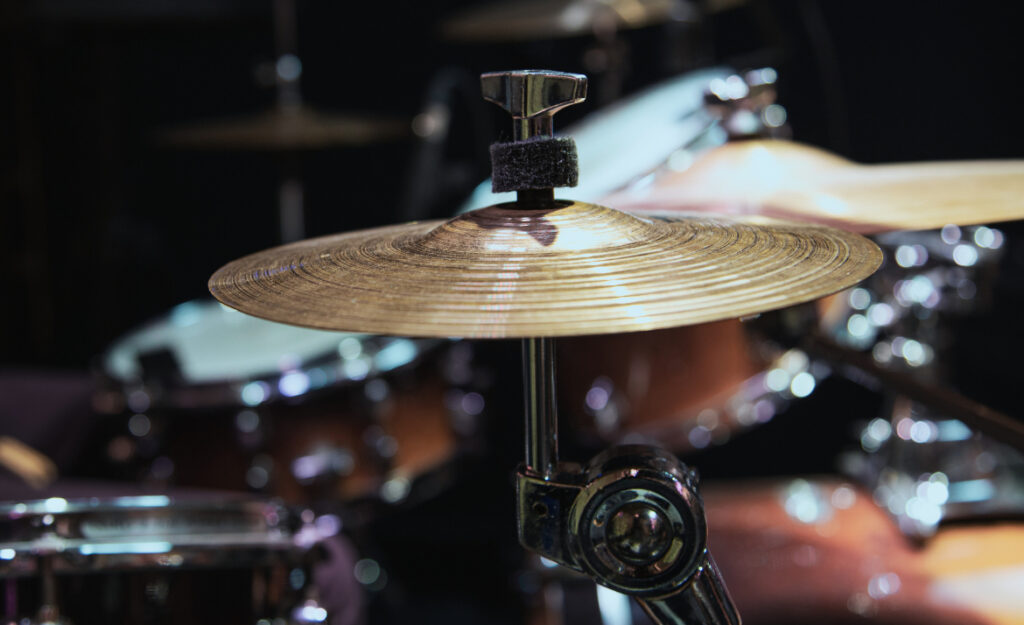
Essential Drum Hardware Checks Prevent Disaster Mid-Performance
Check every wing nut, memory lock, and tension rod for tightness—do it the same way pilots review aircraft switches. Spotting loose hardware early keeps your drum set intact under stage lights, reducing anxiety before hitting the first downbeat.
Get in the habit of lightly twisting and testing mounting brackets before leaving home. If any piece is shaky, add a backup in your hardware bag. This habit mirrors how skilled roadies guarantee artists stay on schedule.
Bring extra felts and sleeves for cymbal stands. They’re small but crucial. In case a nut drops through dark stage slats, a spare in your pocket means you stay cool-headed and professional.
| Component | What to Inspect | Why It Matters | Action to Take Next |
|---|---|---|---|
| Snare Drum | Shell, throw-off, lugs | Core of your sound | Tighten all bolts; prep a backup snare |
| Bass Drum Pedal | Spring tension, beater head | Maintains groove/tempo | Test feel and response on a pad |
| Cymbals | No cracks, secure felts | Consistent tone under pressure | Have a replacement crash handy |
| Throne | Height lock, rubber feet | Comfort and support | Double-check locking mechanisms |
| Hi-Hat Stand | Clutch, pedal spring, rod | Precision and stability | Lubricate moving parts; carry spare clutch |
Packing for the Venue Ensures a Smooth Arrival, Setup, and Performance
Planning what to bring to the venue takes stress out of the equation. Rely on a consistent packing ritual before each show, and you’ll eliminate missed equipment and forgotten essentials.
Use a written or digital pre gig checklist for packing. Cross off items as you load: drums, hardware, cymbals, electronics, and even clothing, so nothing gets overlooked in a rush.
Personal Essentials That Make Load-Ins and Long Gigs Manageable
Experienced drummers pack items for personal comfort—water bottles, sweat towels, snacks, and hearing protection. These small comforts keep you performing at your best, even after a long set or strenuous load-in.
- Pack hearing protection to prevent fatigue and long-term hearing loss—custom or universal plugs are best for stage monitoring.
- Bring a refillable water bottle to prevent dehydration; pre-fill before arrival to save time and avoid venue lines.
- Add a hand towel and extra clothes for drying off post-set or during quick changeovers between bands in humid clubs or outdoor venues.
- Include a small first aid kit with bandages and pain relief; blisters or headaches won’t derail your set if you’ve come prepared.
- Store a healthy snack in your bag, such as nuts or fruit, to maintain energy when food runs late or schedules change unexpectedly.
Run through your personal comfort checklist before every load-in. Over time, you’ll discover which items guarantee a focused, energized set from setup through teardown.
Cables, Tools, and Emergency Backup Items for Technical Reliability
Carry extra cables, adapters, and backup batteries for drum triggers, in-ear monitors, or electronics. One failed connection can cripple your setup if you’re caught unprepared. Including duct tape, multi-tools, and gaffer tape creates a strong safety net for troubleshooting on the fly.
- Always pack at least two spare instrument cables, one for backup and one to lend—colleagues will remember your preparedness.
- Include a dedicated bag for drum keys, hex wrenches, and screwdrivers, so tool-hunting doesn’t distract you during a gear mishap.
- Add spare AAA, AA, and 9V batteries, especially if your rig includes triggers, metronomes, or wireless systems.
- Keep a roll of gaffer tape ready to secure pedalboards, rugs, or cables—this prevents accidents and keeps the stage neat.
- Carry extra tension rods and pedal springs for fast, stress-free repairs between songs or during soundcheck.
Finish your packing ritual with a run-through of emergency supplies. This habit transforms potential disasters into non-events and earns you trust from bandmates and crew.
Soundchecking: Creating Consistency and Building Sound Engineer Confidence
Arrive early and follow a step-by-step soundcheck for drummers. Doing so sets levels, builds trust with the sound engineer, and ensures your drum sound is balanced for every listener in the room. A structured approach pays off with a cleaner mix and smoother first song.
Run through each sound: kick, snare, toms, hi-hat, ride, and every cymbal and auxiliary. Communicate clearly with the sound crew, using direct language like, “More snare in my monitor, please,” or “Let’s drop the overheads a touch.”
Tuning and Muffling for Room Acoustics
Room acoustics shift drastically, even between venues ten miles apart. Bring extra drum keys, gel dampeners, and moon gels in your stick bag. Quickly fine-tuning your snare or floor tom helps dial in the room, especially if it’s small or boomy.
If your snare rings out too much in a brick-walled club, apply a gel and retune higher or lower. Professionals listen from different spots in the venue—whether during rehearsal or from side stage—and adjust accordingly.
Ask a bandmate to play your kit while you walk the venue. Doing so gives you a front-of-house perspective, and you can communicate any changes with precise instructions.
Monitor Mixes and Drummer-Specific Requests
Dialing in your monitor mix is crucial for tight performance, especially with complex arrangements. Use a reference song on your phone to communicate desired drum tones. Ask for more kick or click when backing tracks are involved.
Phrase requests concisely, like, “Can you give me more keys and less bass in my wedge?” Avoid vague language so the engineer knows exactly what to adjust on the fly.
Test all monitor elements before the first song, not during. Using check phrases like, “Ready for full band check now,” speeds up the process and creates synergy between you and the crew.
Preparing Mentally and Physically for Showtime
Pre-show routines help drummers find focus, keep nerves in check, and maintain energy throughout a long gig. Building consistency through a personal warmup keeps your hands, mind, and muscles tuned in as the set approaches.
Your pre gig checklist should include mental and physical preparation steps. Use rituals that set your mindset for success, whether you’re headlining or sitting in with a new act for the night.
Warmup Routines for Hands, Feet, and Mind
Start by stretching wrists, ankles, and shoulders—mimic the motions you’ll use in your set. Follow with slow rudiments, like single-stroke rolls and paradiddles, to prime finger control. Move to quick foot doubles on your bass drum pedal with a focus on consistency.
Work your way up from a relaxed groove to full-speed fills and accents. This progression helps transition from rehearsal mode to performance adrenaline without risking injury. Keep your warmup consistent so your body recognizes “game time.”
Mentally, visualize the first song’s intro. Picture yourself on stage, focusing on steady breathing. This pre-visualization increases confidence and brings you into the present moment for a composed downbeat.
Mindfulness and Recovery When Stress Arises
Practice short breathing exercises before getting on stage, inhaling slowly through your nose and exhaling through pursed lips. This sends a calming signal to both your muscles and brain. Use a trigger phrase, like, “I’m ready,” as you stand by your kit.
Keep water within arm’s reach during the set and take deliberate sips between songs. This habit grounds you physically and offers a mental pause before the next section.
If a mistake happens on stage, treat it like a pothole on a bike ride: acknowledge it, adjust, and move forward. Focus on the groove, not the error, and take a deep breath when you can.
Fine-Tuning the Onstage Setup for Comfort and Flow
Final positioning of each component translates into superior comfort and safety behind the drums. Use routines that keep the flow natural and minimize stage clutter for both you and your bandmates.
Be ready to tweak component heights and angles after the initial setup. Familiar cues, like a throne slightly above knee height or a tilted snare, help you transition seamlessly into performance mode.
Cable Management and Safety for You and Your Band
Bundle excess cable under racks or along riser edges with velcro ties or gaffer tape. This prevents tripping hazards and accidental unplugging, especially in chaotic festival or club environments. Don’t hesitate to re-route cables after watching how bandmates move during setup.
Check for exposed pedalboard power cables—tape them down flat. Share the importance of cable safety with your band using phrases like, “Let’s secure cables before the doors open, so nobody trips during our set.”
Inspect the entire perimeter of your setup: can you walk comfortably around your drums? Address anything that restricts your movement, especially during fast set changes.
Personalizing Drum Placement for Maximum Control
Use familiar landmarks, like rug markings or memory locks, to recreate your ideal setup every show. Bring a small flashlight or phone light to check positions if venue lighting is poor. This keeps every drum exactly where your hands and feet expect them.
If you rent or backline gear, take photos of your preferred setup at home and reference them during adjustment. Transferring these setup cues to a new kit shortens adjustment time and keeps performance consistent.
Finish by stepping back for a full view of your setup. Confirm cymbal heights, hi-hat angles, and pedal positions. Trusting the process here lets your focus shift to music, not gear, when the show starts.
Active Communication and Coordination Before and During Each Show
Building clear communication with your band and crew is just as critical as practicing paradiddles. Having concrete checkpoint moments reduces confusion, keeps the pre gig checklist on track, and guarantees everyone supports one another before lights up.
Listeners notice when bands gel onstage. Successful teams use specific cues and actionable checkpoints for a friction-free performance experience.
Soundcheck Scripts and Band Cues for Efficient Rehearsals
Use agreed-upon scripts like, “Everybody ready for drums?” or “One bar count-in from me.” Such language puts everyone on the same page, reduces pre-show chatter, and minimizes wasted time during tight changeovers.
During transitions, communicate with quick hand signals: thumbs up for ready, two fingers for two minutes. These tangible cues cut stage noise and ensure your wishes are clearly understood even in loud rooms.
Let the group know if you’re troubleshooting: a simple “Give me a sec to swap a cable” buys time and breaks tension. Building these habits makes the pre gig checklist seamless for everyone.
Adjusting On-the-Fly During a Live Set
Flexibility matters on stage. If a tempo change or tune adjustment pops up, listen and adapt with a nod to your bandleader. Keep your eyes up and watch cue signals, whether it’s a nod, a tap, or verbal call-out.
Make quick verbal requests during short breaks, like, “Pull the keys down in my monitor” or “Let’s tighten up the ending after this chorus.” Direct speech clarifies everyone’s job, even under pressure.
If a problem arises mid-song, like a dropped stick or loose snare, communicate visually with your band—shake your head, point, or mouth “hold on.” This avoids disruption and keeps the gig running smoothly.
Bringing It All Together: Pre Gig Checklist as a Habit for Drummers
The most reliable drummers make their pre gig checklist a ritual, from gear checks to mental warmups. Every actionable tip above was born from practical gig experiences and small tweaks that prevent larger setbacks.
By sticking to this checklist for every performance, you promote trust within your band, guarantee your own focus, and deliver tighter shows that audiences remember for the right reasons.
Making preparation second nature lets the music take center stage. The strongest drumming performances come from players who support themselves with structure first, then let their creativity flow without worry.